Today I’m going to post about the infrastructure we are adding to the garden this year in the form of drip irrigation and a new squash trellis, plus I’ll talk about the confusing at home soil test I did.
Gardeners of all types use herb, flower and vegetable raised garden beds in south africa because plants grow better.
I’ve long wanted to add drip irrigation to the garden — I’m a lazy gardener at heart, and I’d love to have a system that automatically waters for me when it’s dry outside. Jared looked at some of the “smart” systems out there and determined they wouldn’t do what I wanted, so he got an Arduino and some other electronic-y stuff to build me a custom WiFi operated three-zone water valve system. It was cute how excited he got when it all worked just right. He didn’t even have to move any access points — the WiFi reaches the garden! We will be watering three zones: the vegetables, the formal beds, and the outer flower beds that include the irises, zinnias, clematis, and roses.
After reading several articles and watching some videos, I decided to order parts for the drip irrigation system from Drip Depot. The big reason I chose them is that their bundles allowed me to start with a kit, identify the parts I needed extra of, and order more easily. They also had several pretty good articles about how to build a drip irrigation system that were helpful. Using their instructions, we determined we get 2 1/2 gallons per minute, or 150gph of water out of that faucet, which is plenty to water my garden.
(This also makes me freak about how much water I must have put on the garden when I forgot to turn the hose off that time….. but we won’t talk about that.)
My son and I did some measuring in the garden, and I drew up some plans:
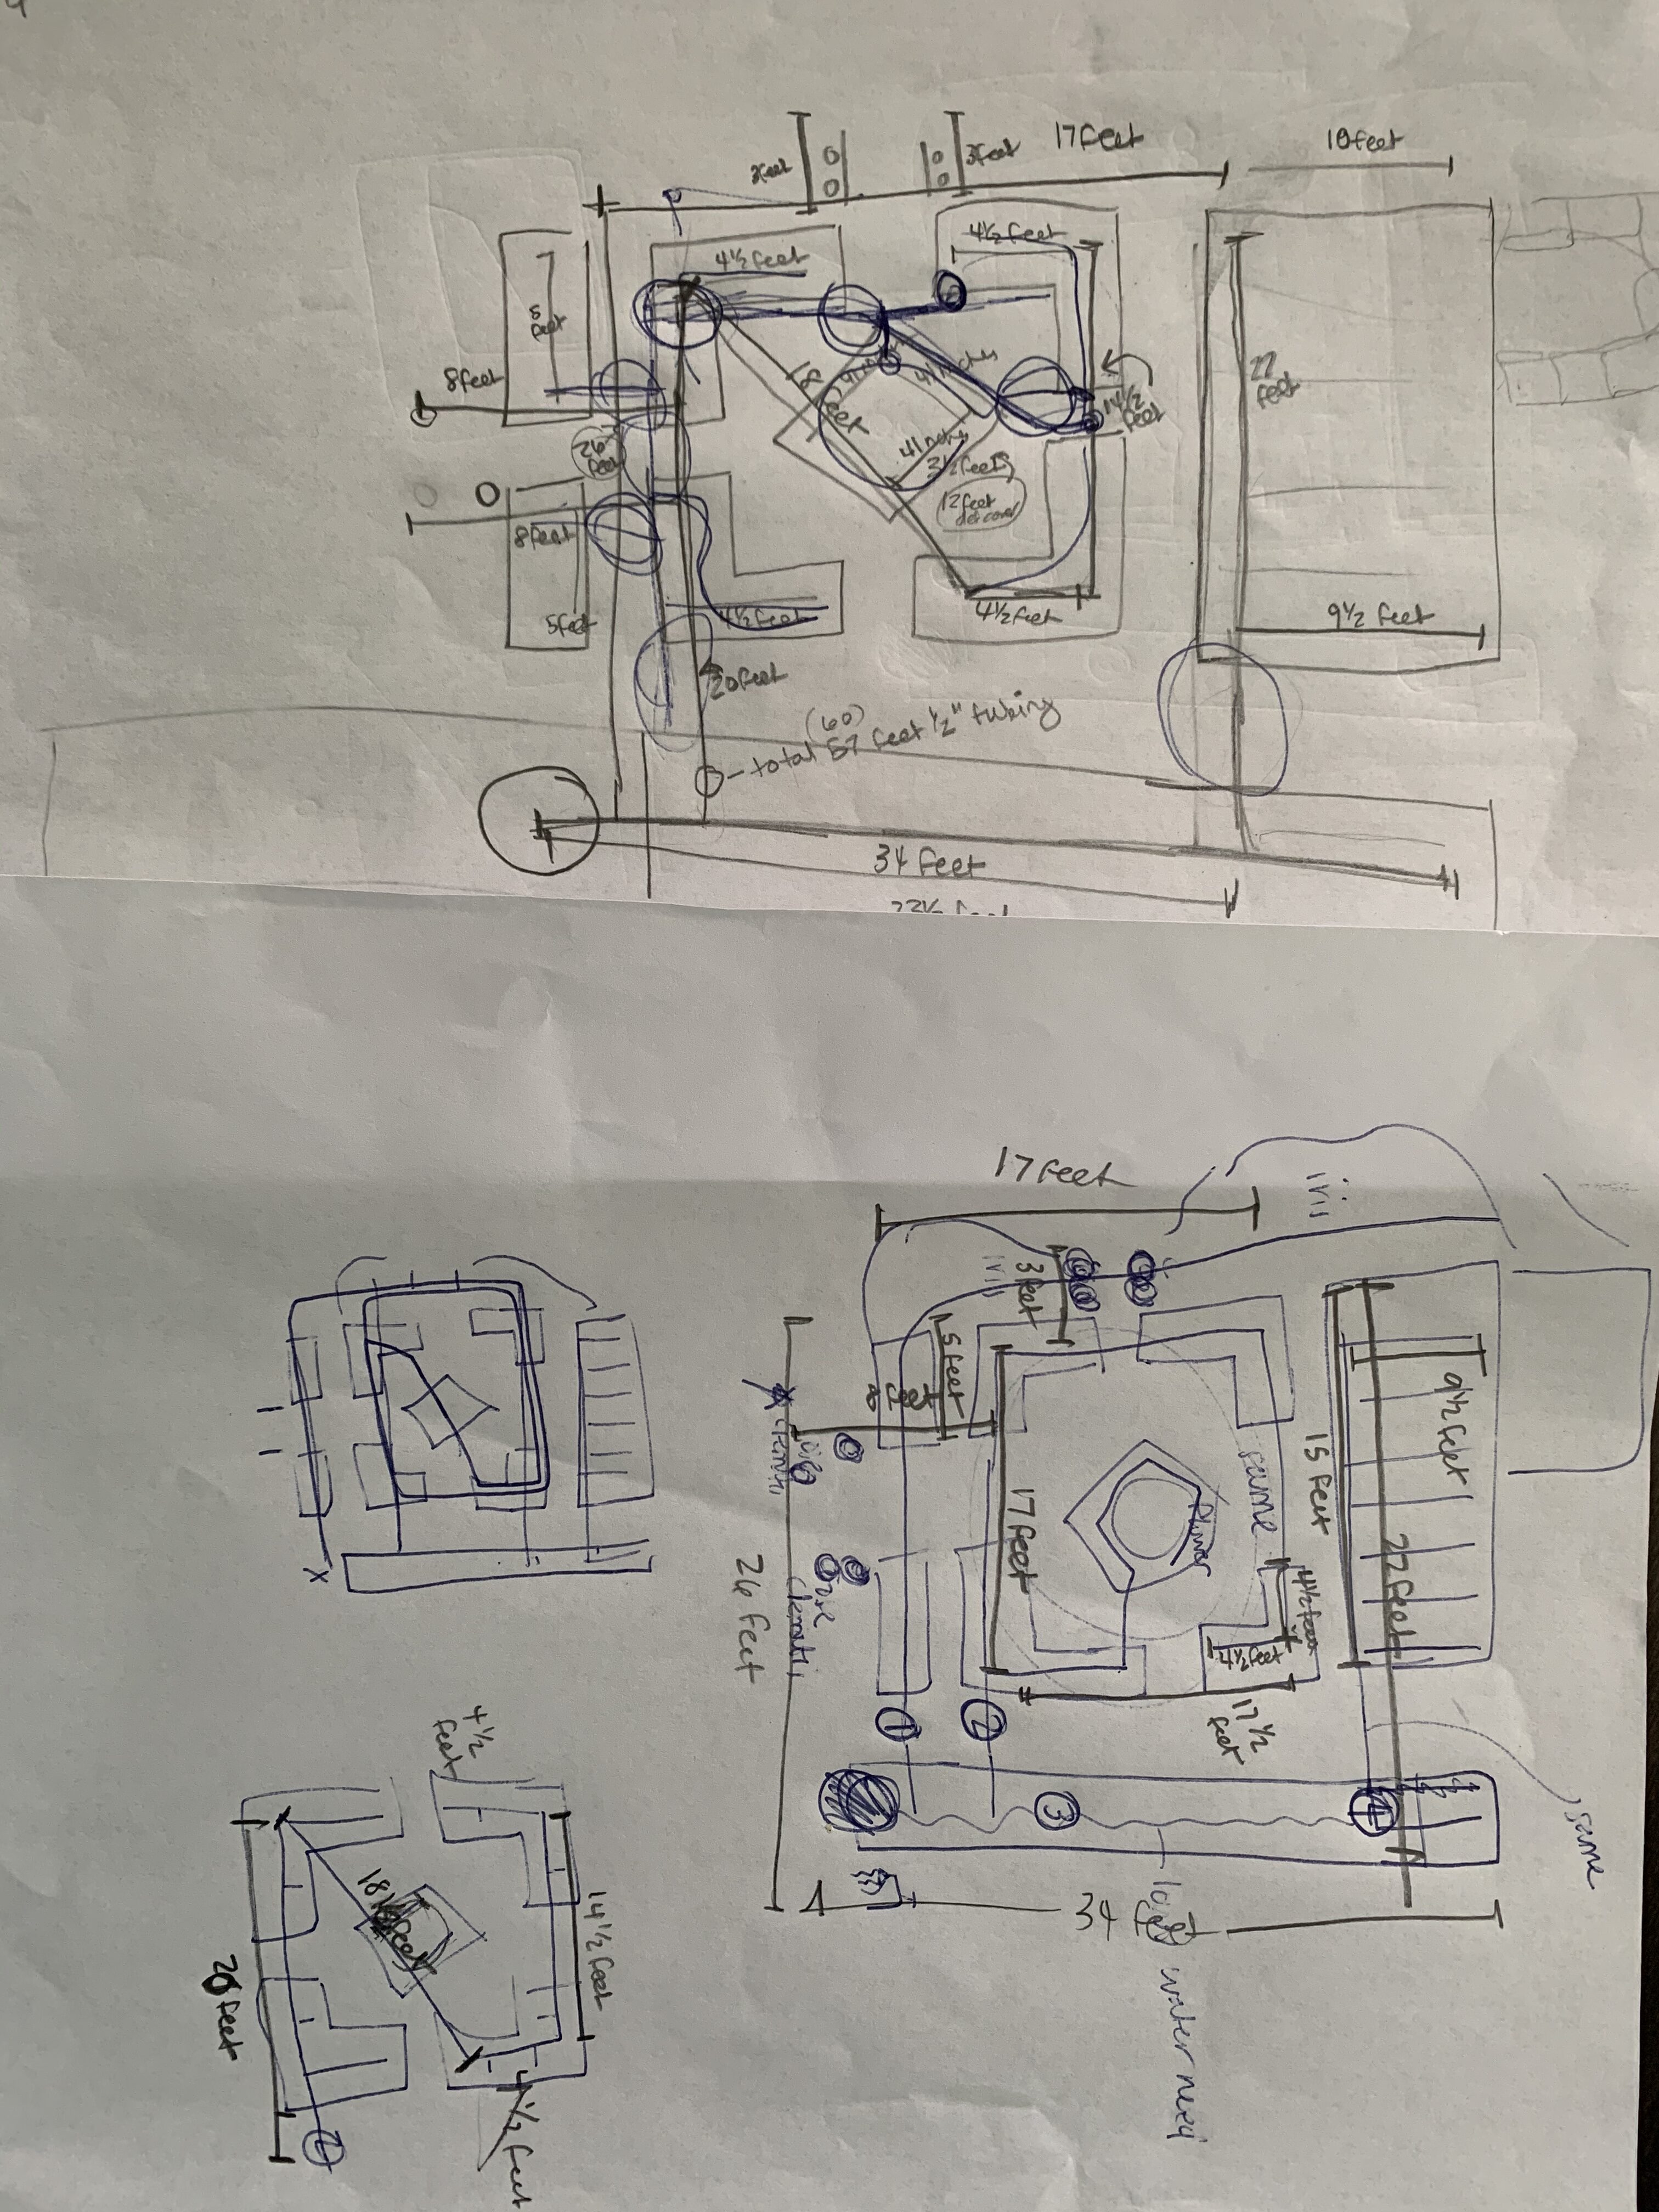
Using these plans I could tell how many elbow joints and feet of tubing I needed. I placed my order:
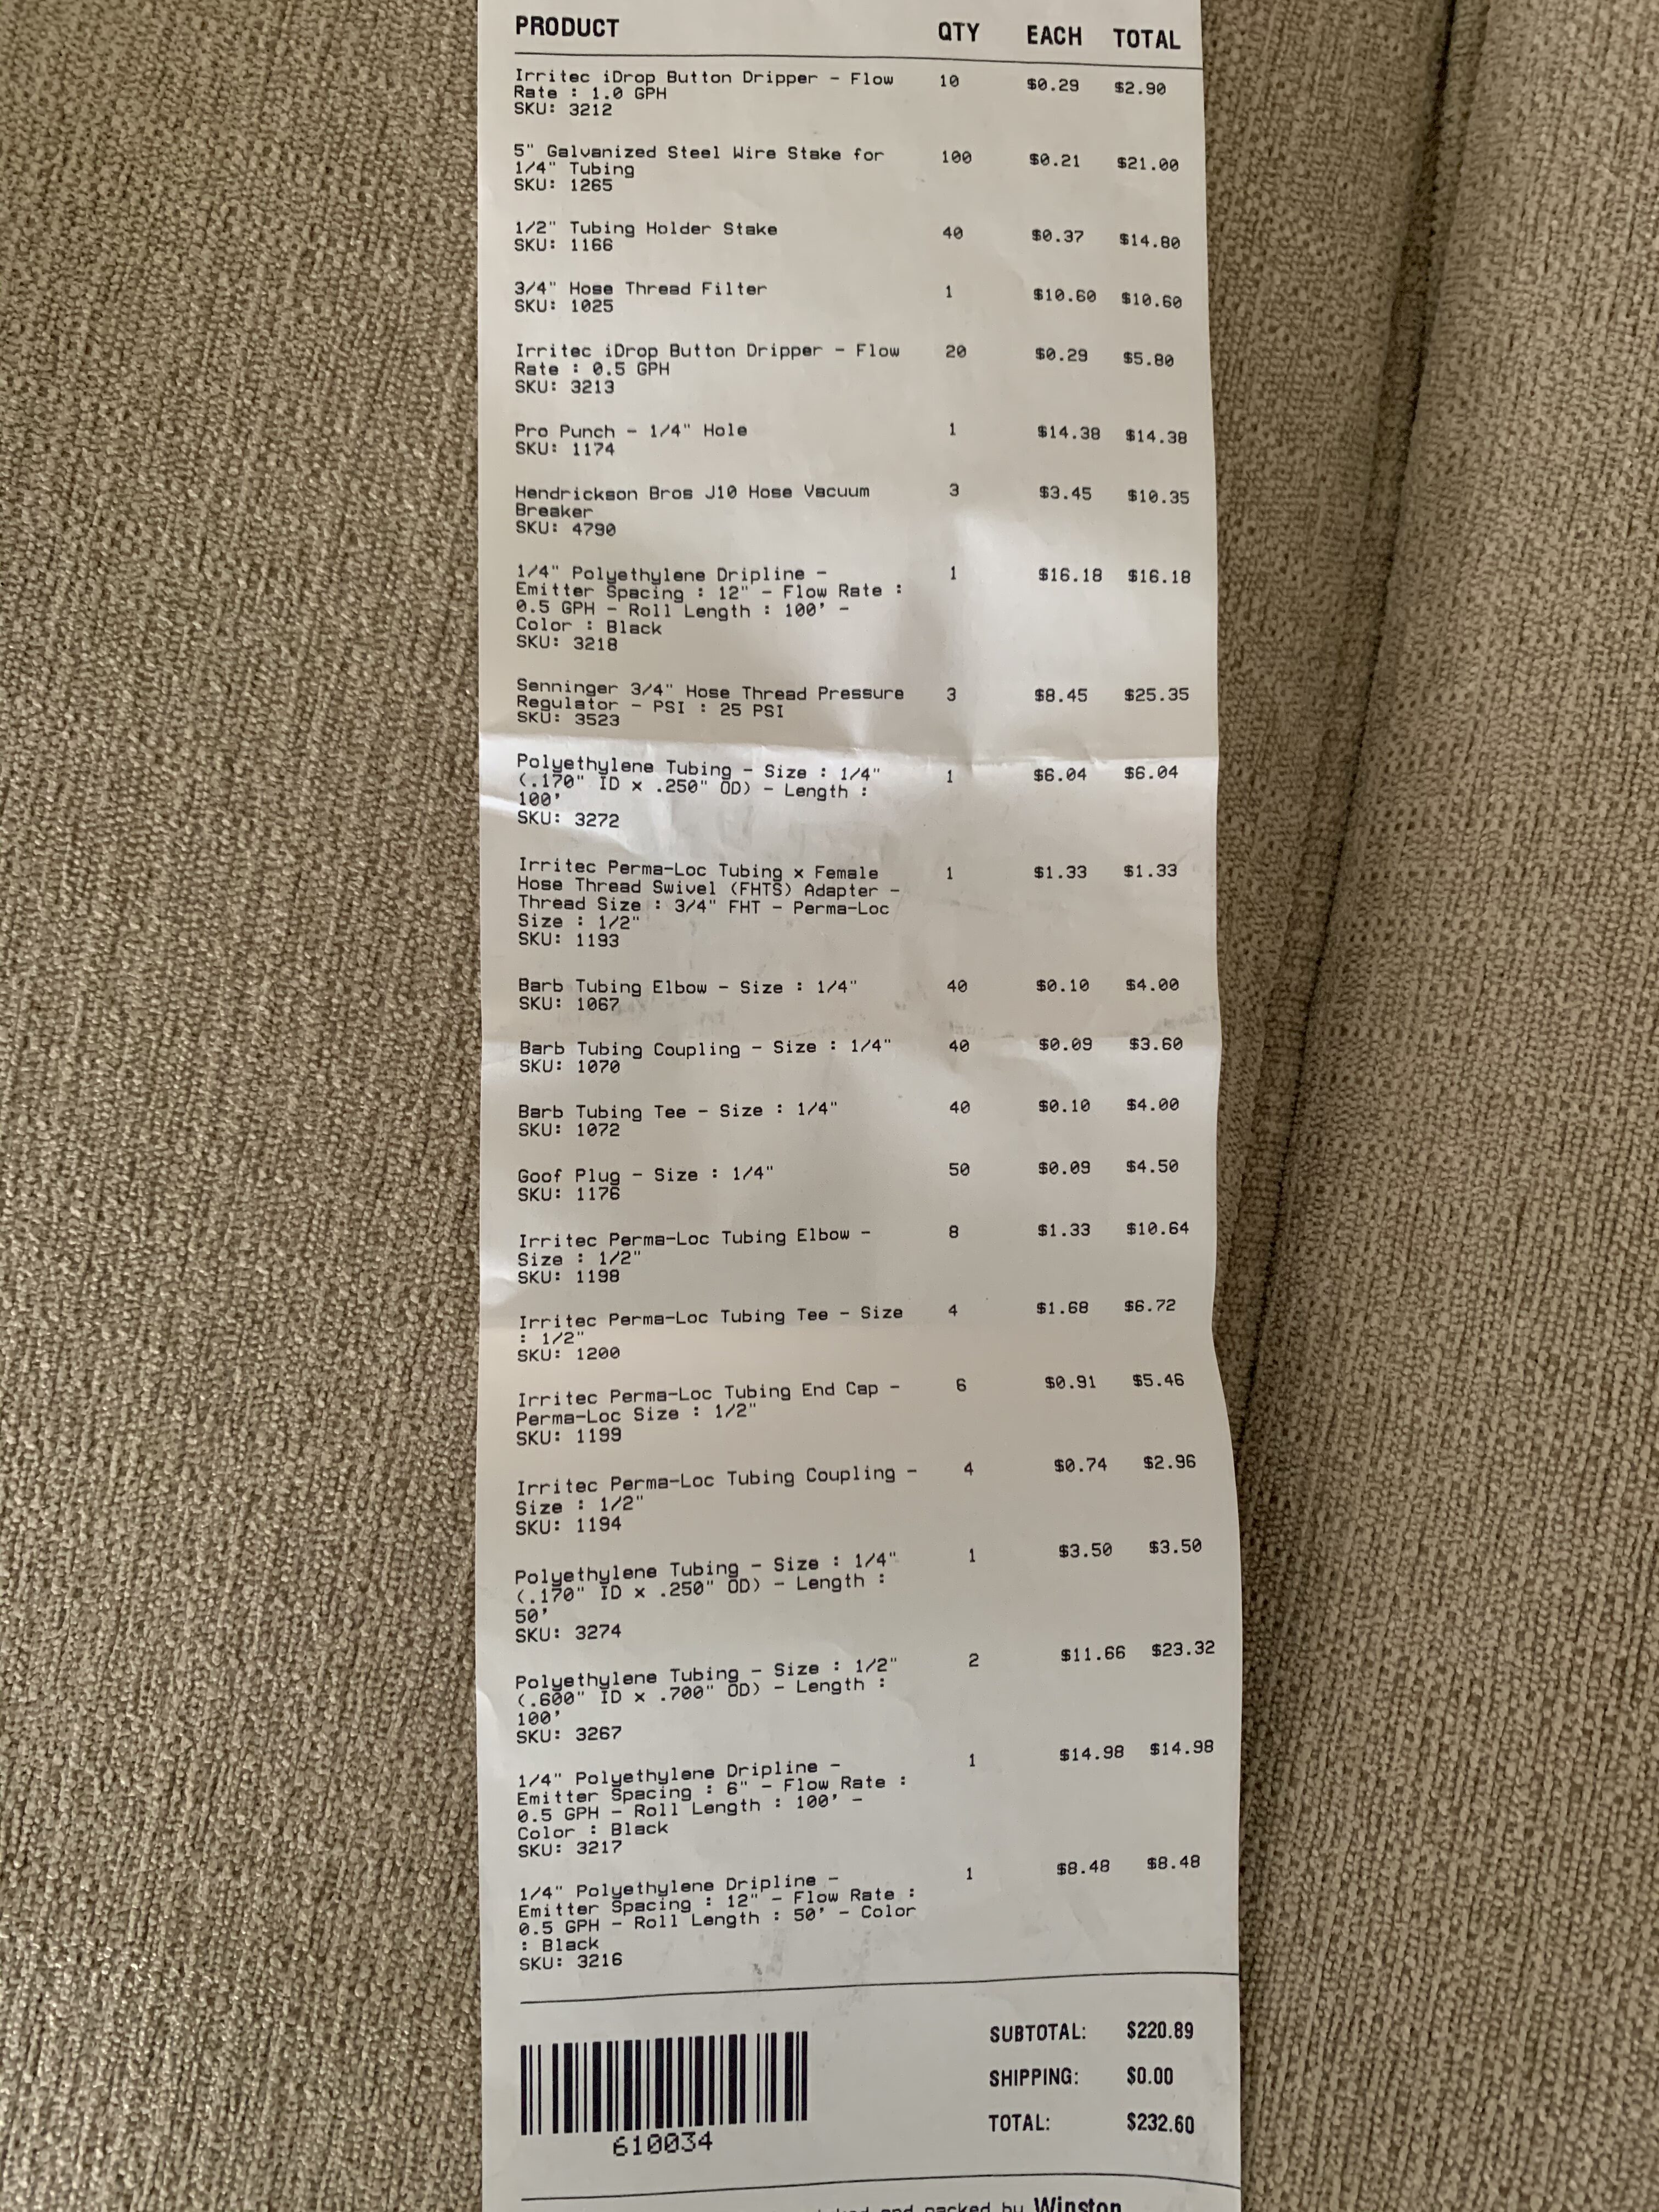
… which arrived less than a week later, right before the wedding, which meant no work was happening. I was able to start putting things together last weekend. The tubing puncher tool was a good choice — it makes poking the holes in the mainline very easy. What isn’t easy is pushing the 1/4 inch lines into their couplings. The instructions suggest softening the plastic by putting the tubing in warm water, which did help, but it was a cold, windy day, and the water cooled very quickly. I only put two lines in before I’d had enough, but we tested it, and there were no leaks!
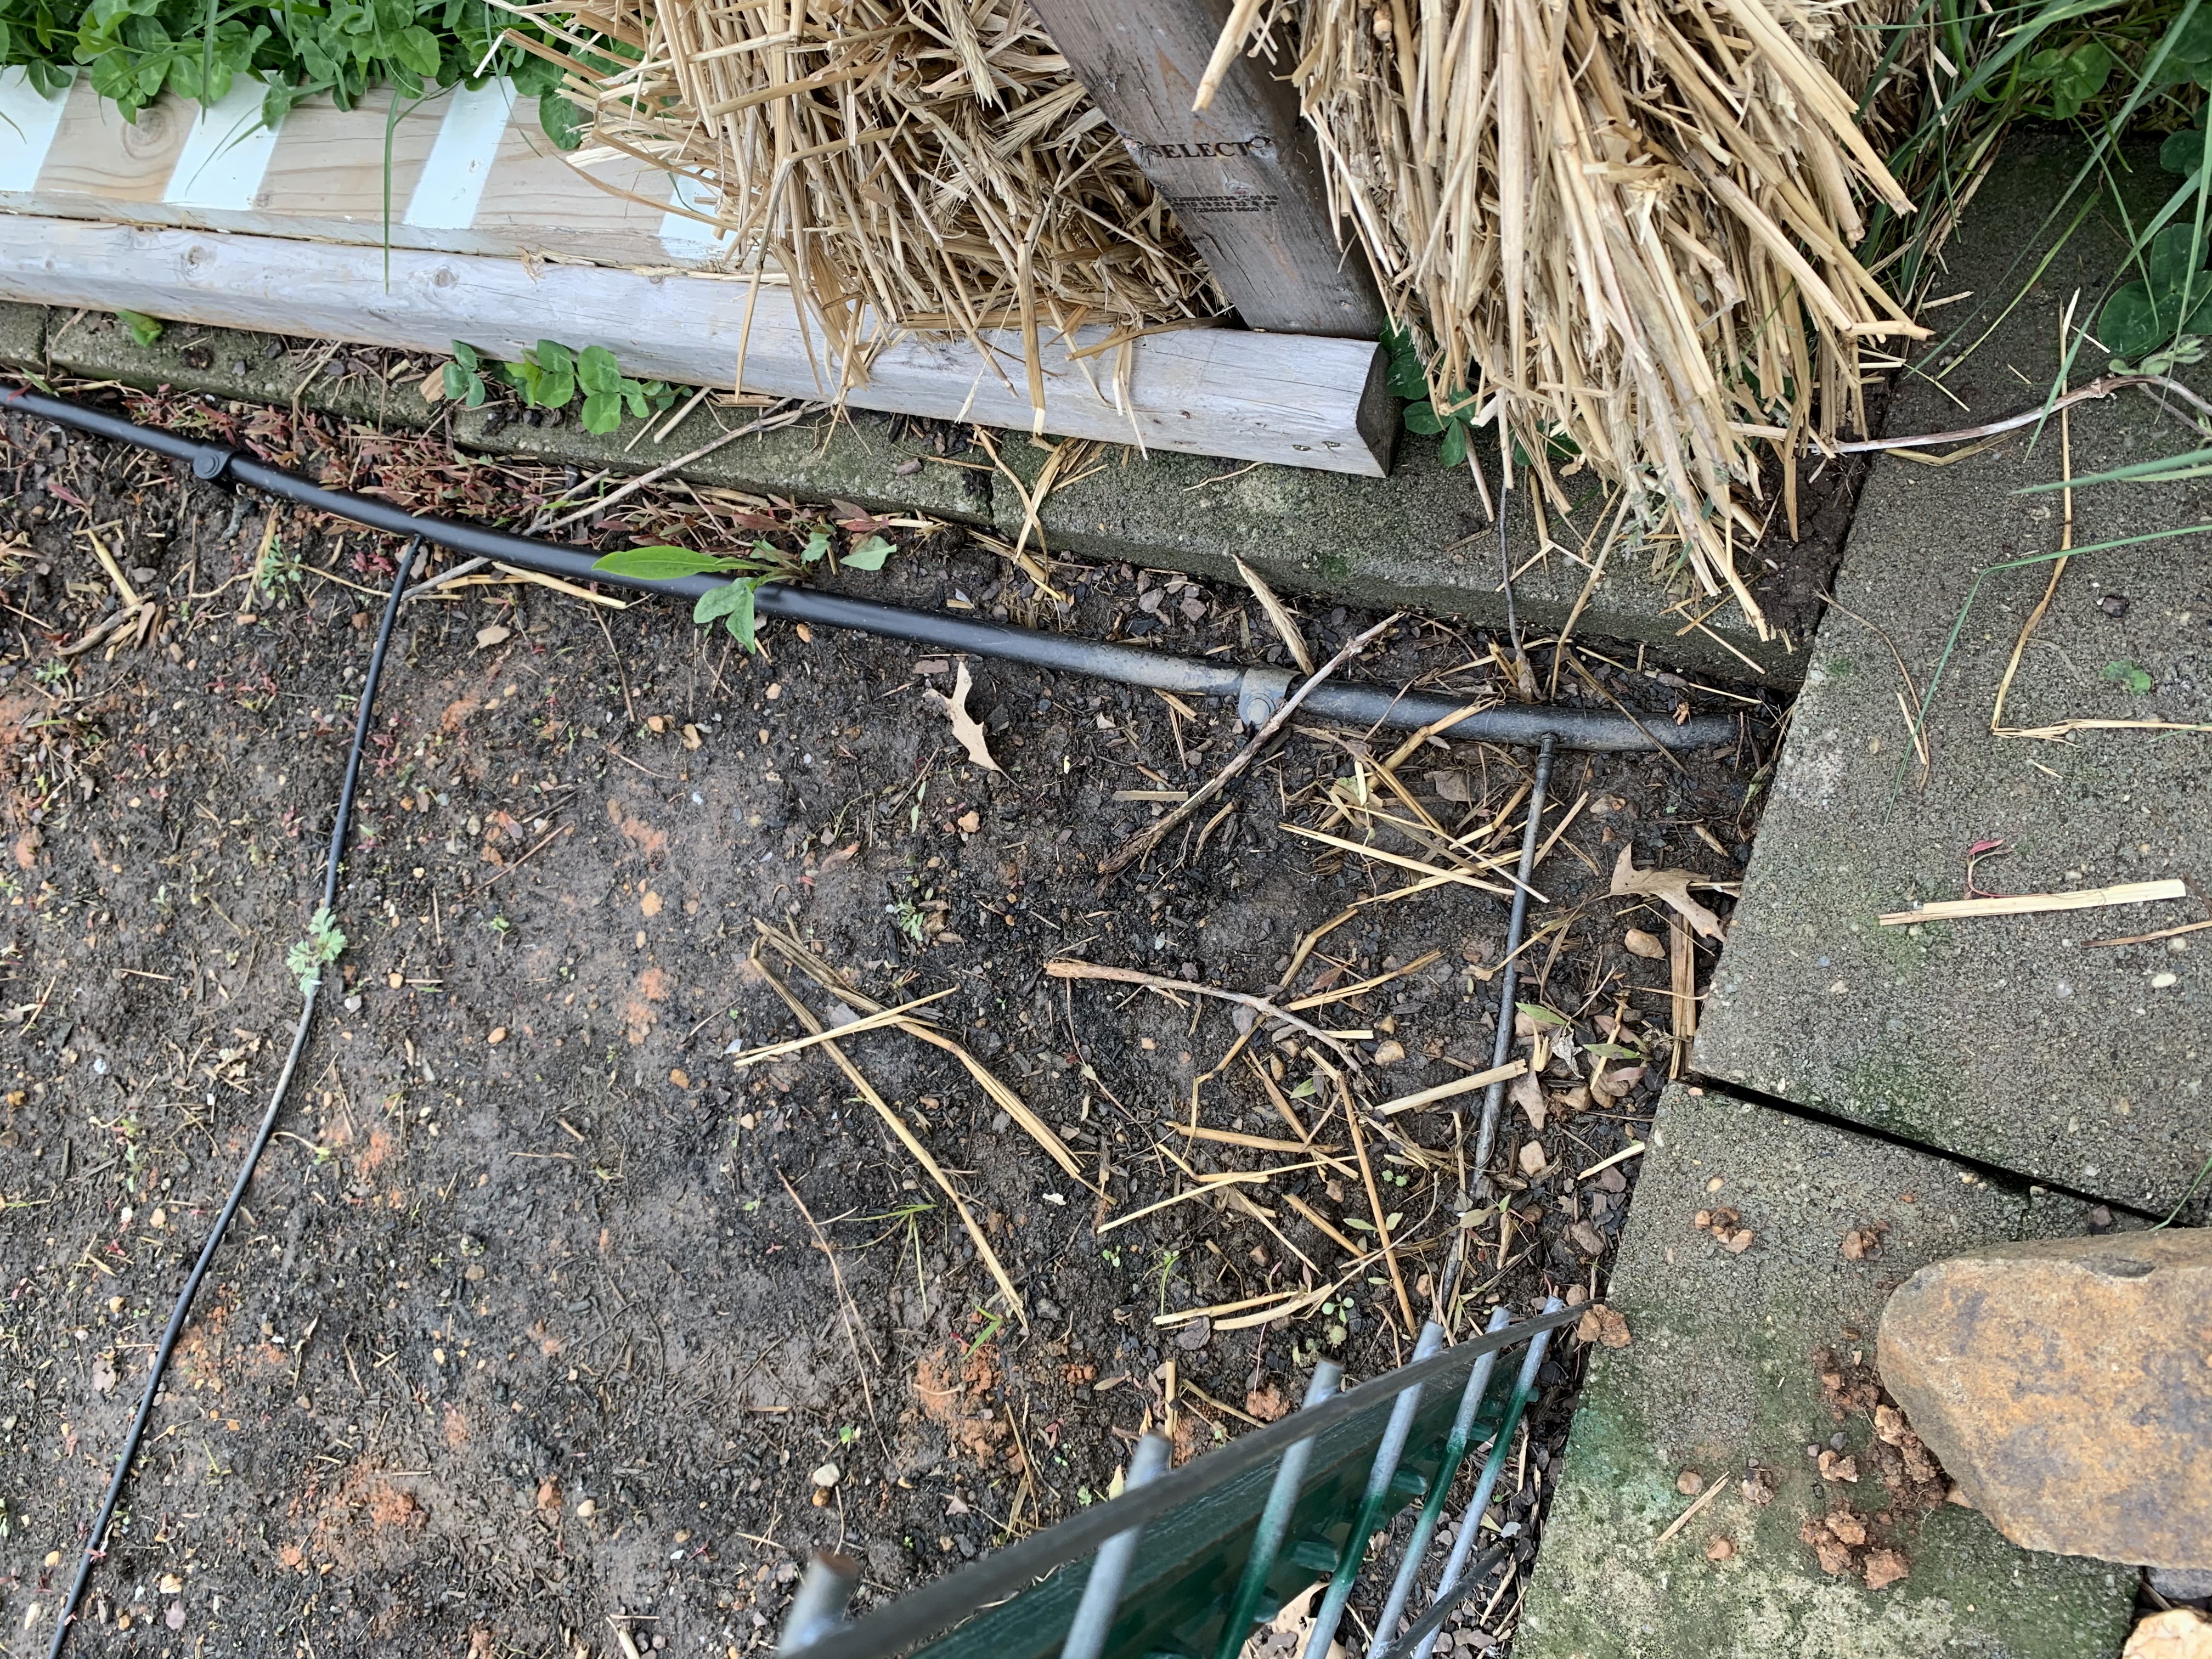
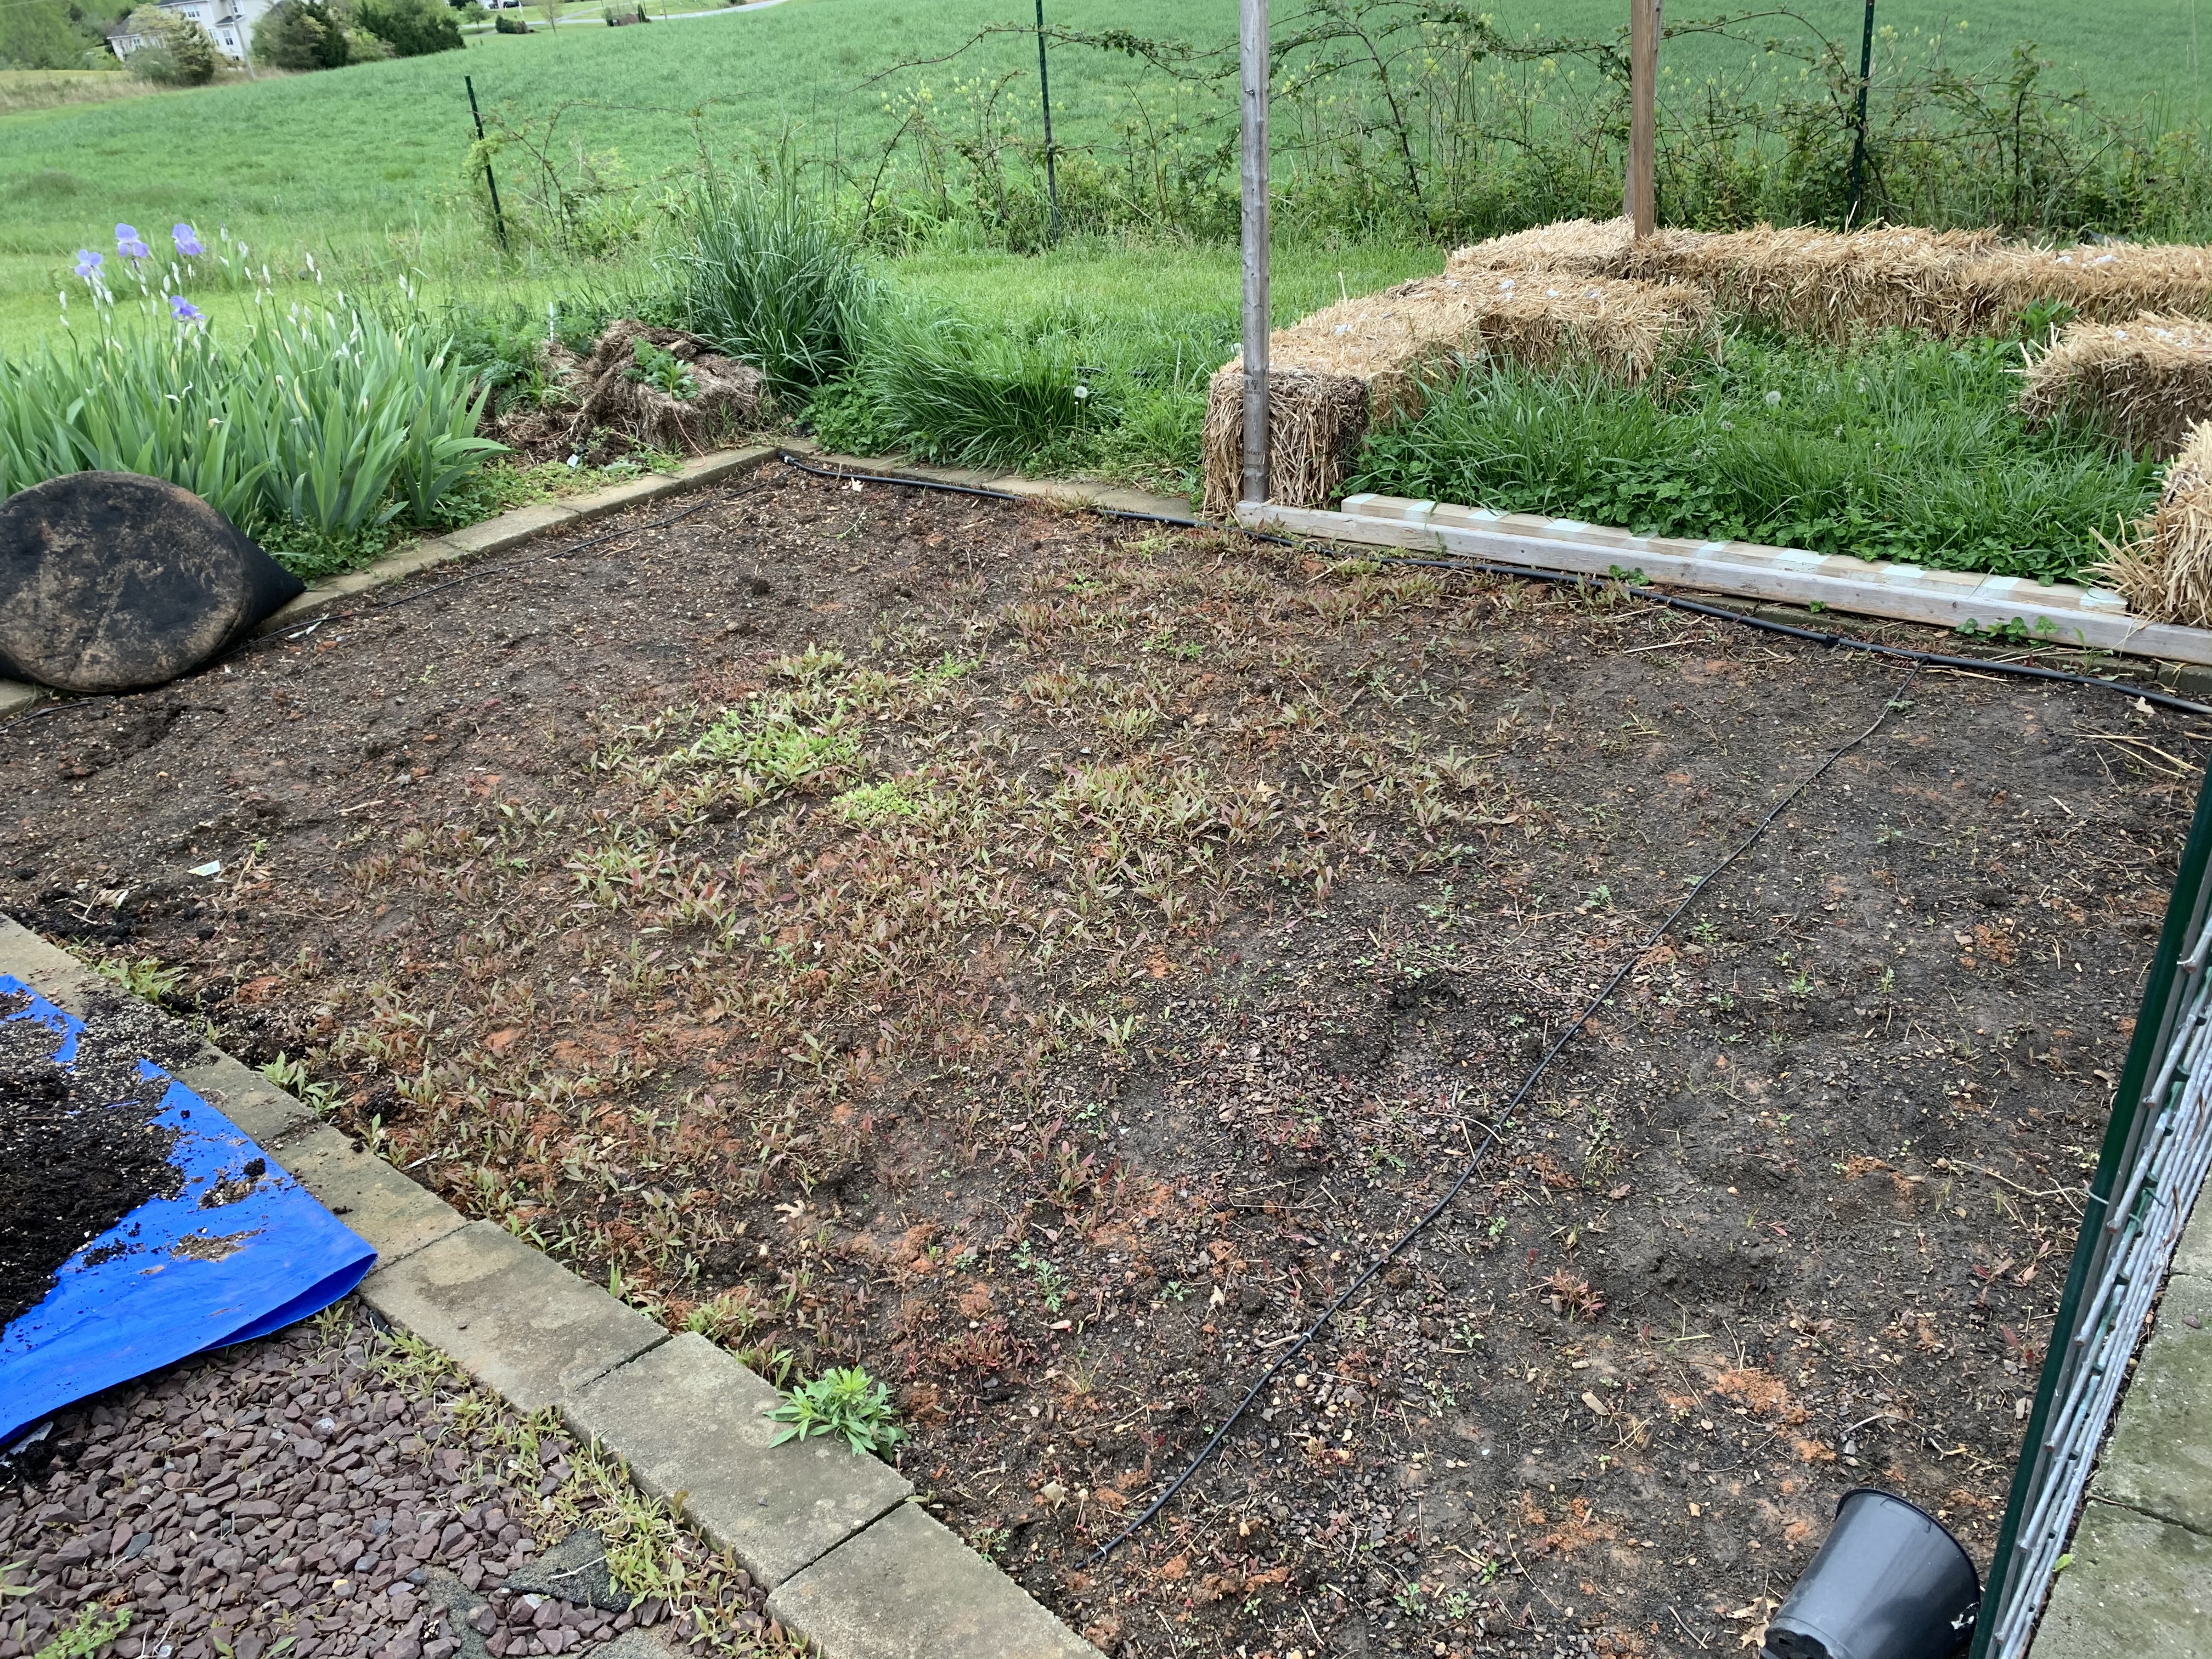
I’m debating the spacing on the next part, as it’ll probably affect my plant spacing for years to come. I have considered doing long 20 foot loops in the center to allow for repositioning later if my plant configuration changes. I’m also considering if I want to run a line to the straw bales even though I know they will be temporary…
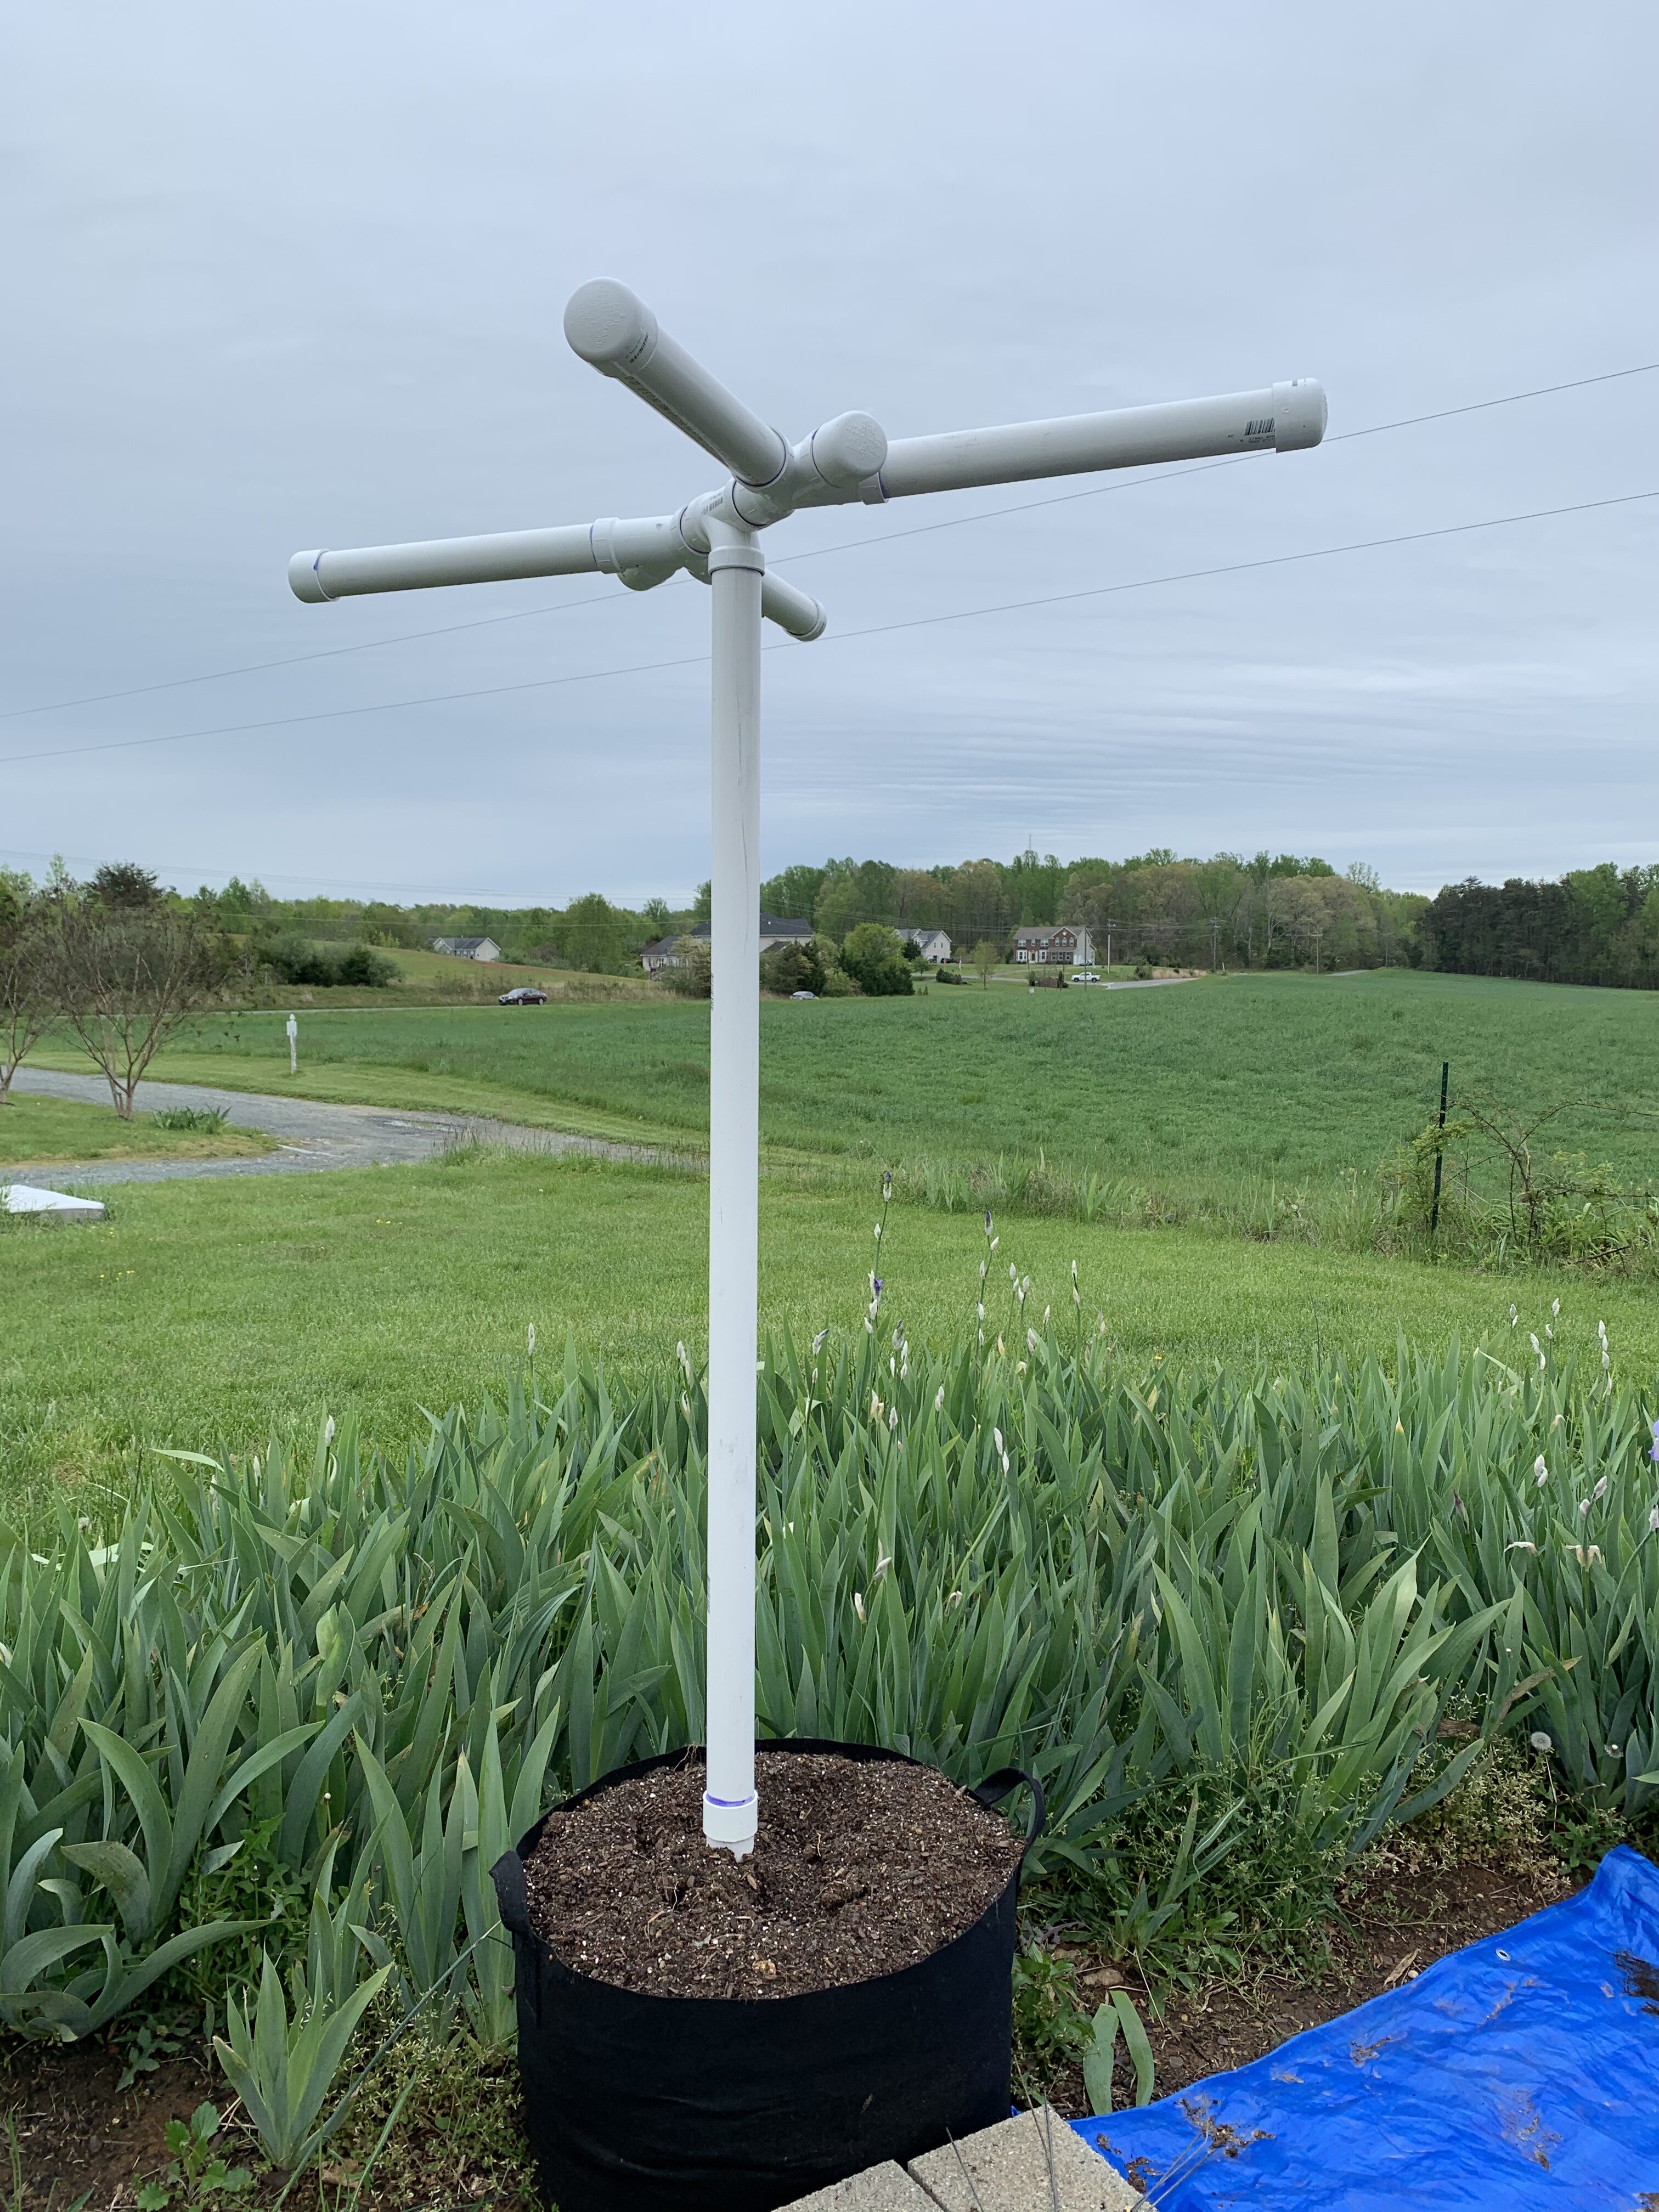
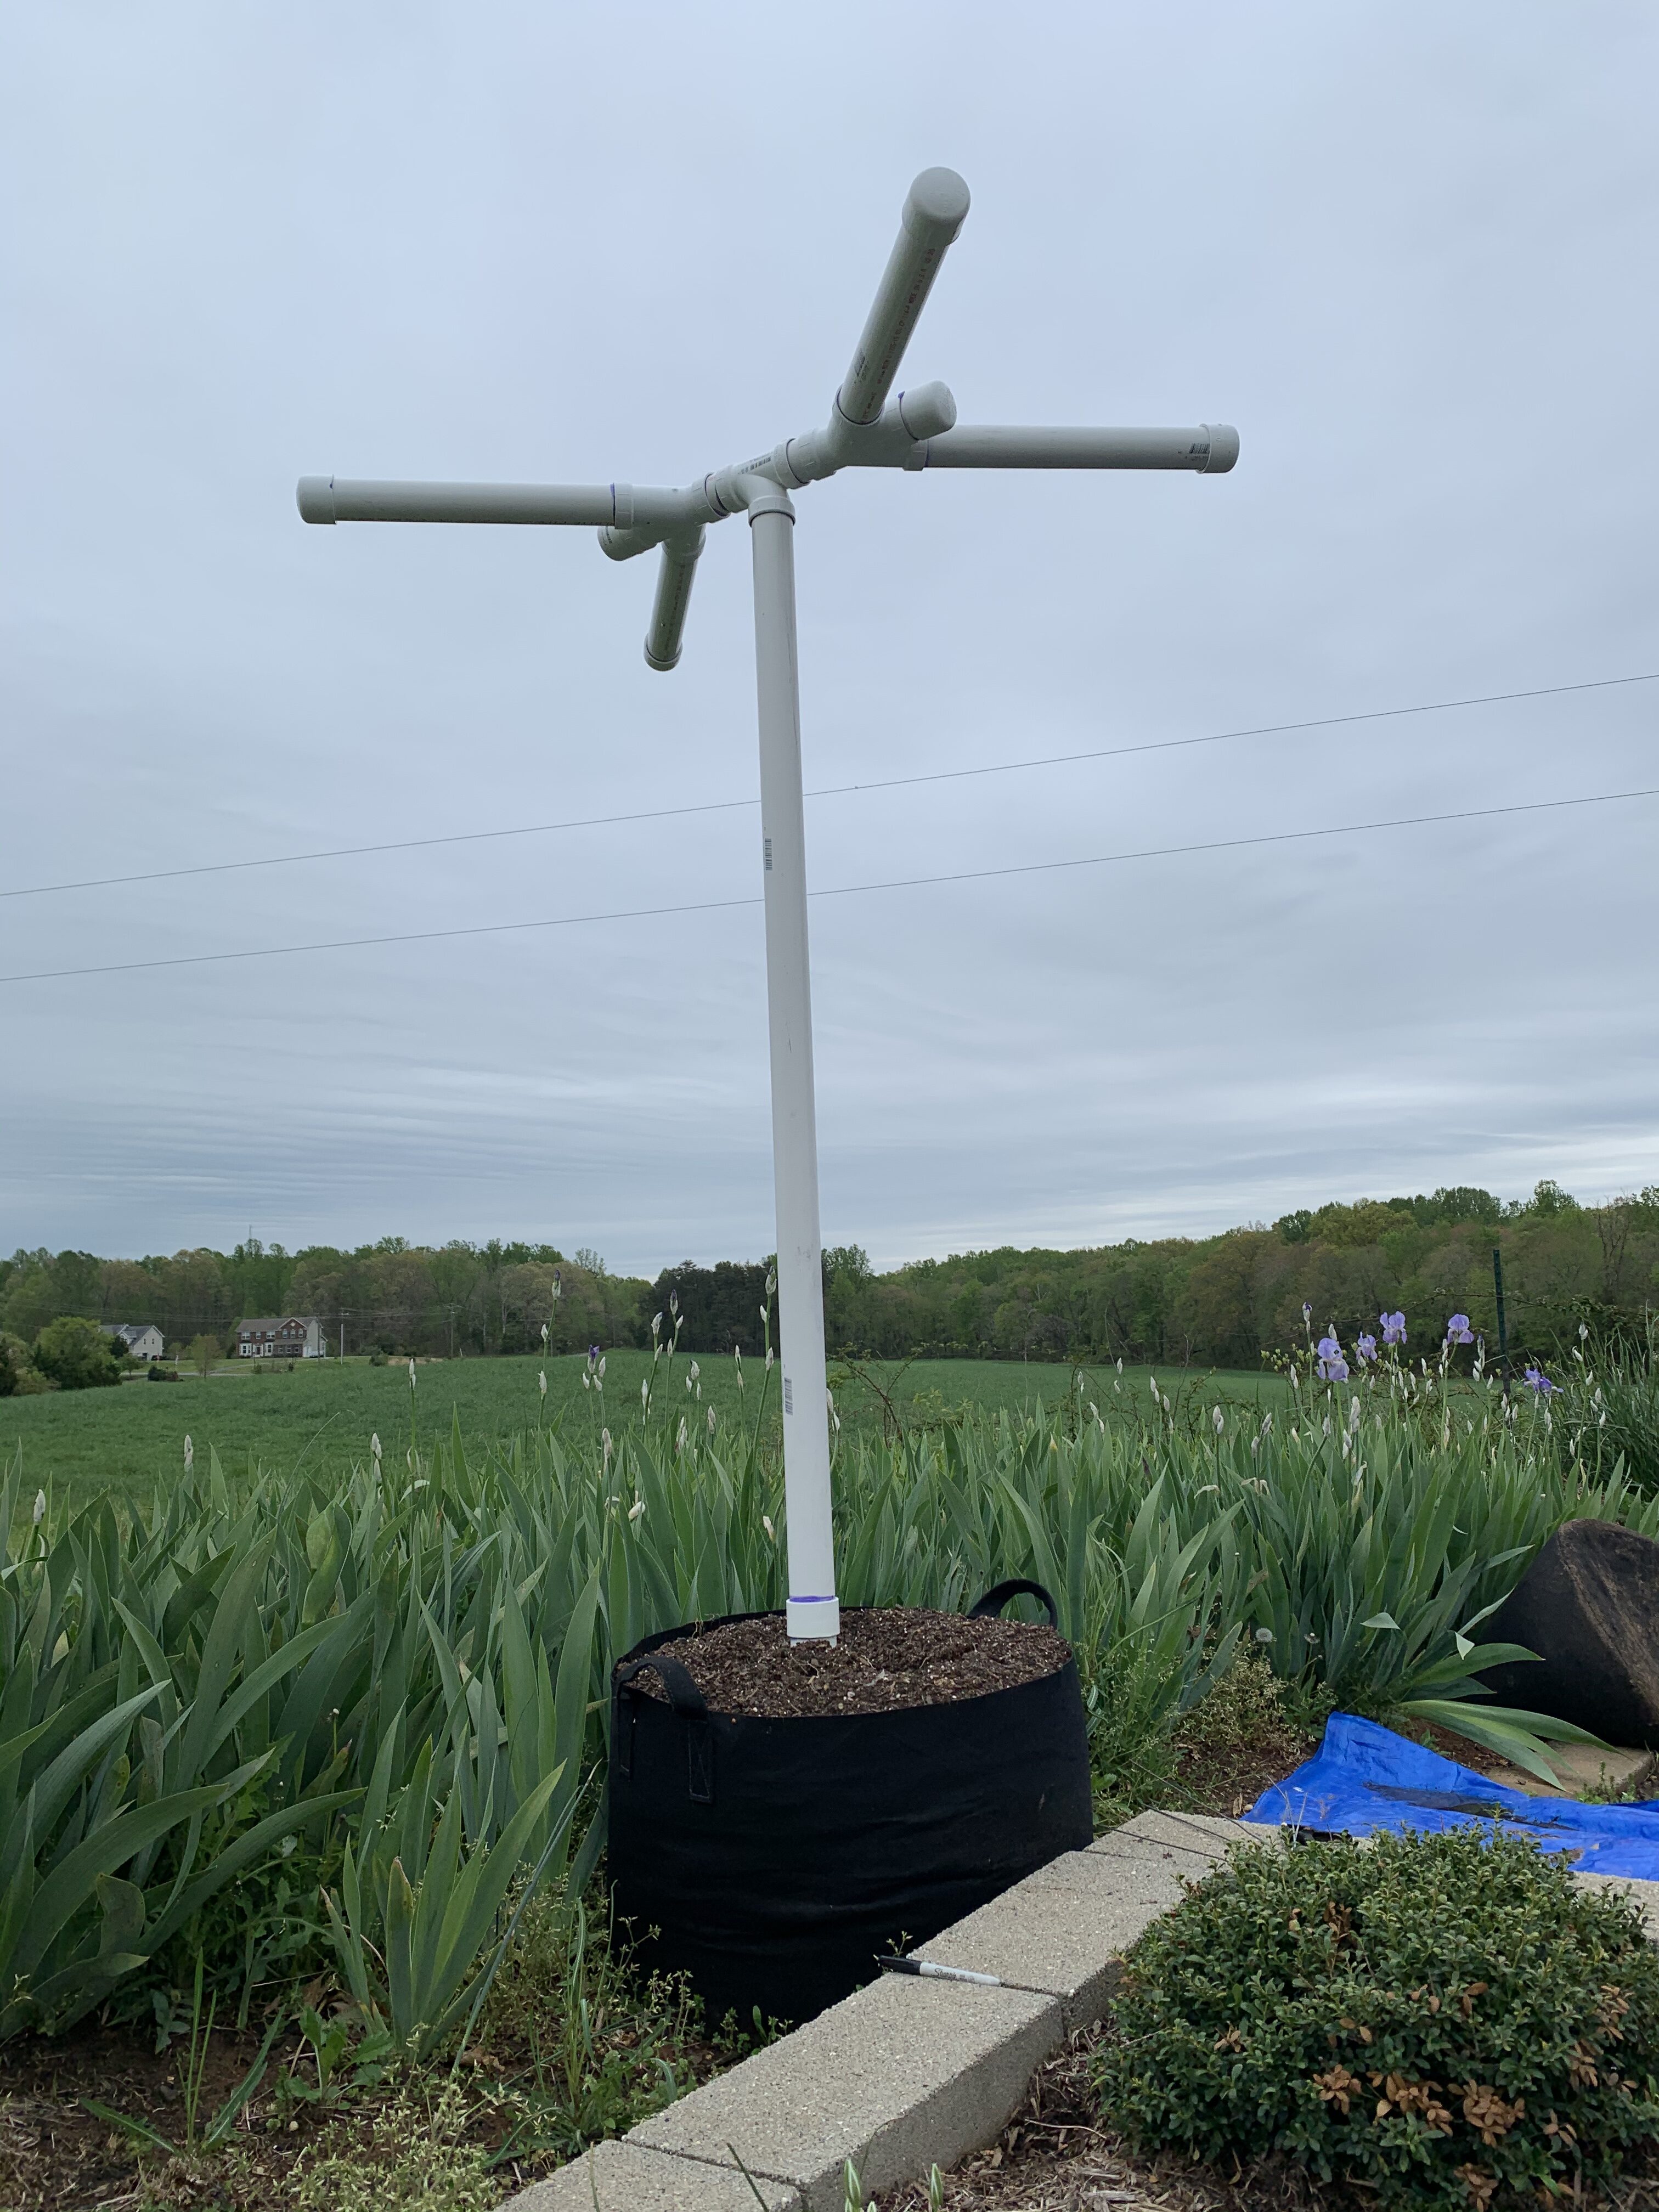
I have been trying to come up with a cucumber and squash trellis that has the vegetables lean toward the picker as opposed to away — I couldn’t find any. Most trellises are lean-to or teepee style, which means you have to crawl underneath the trellis to pick your vegetables or stI ck your hand through a bunch of scratchy squash leaves to the center of the plant cluster. No, thank you. Thee vertical ones were good, but they were all perfectly straight, which also meant touching yucky leaves. (Okay for real — have you ever touched cucumber leaves? They are GROSS. Like if scratchy wool socks and the alien man-eating plant from Little Shop of Horrors had a mutant baby gross.) That’s when I decided to built a sort of umbrella type structure to go inside my grow bags. I drew up a plan that used a 5-way joint to make an ‘x’ shape at the bottom and top of the structure for stability. Well, Jared couldn’t find that part, so he built something much, much more complex and a lot less stable than an ‘x’ would have been. I think it looks like a tv antenna:
Jared is such an engineer — always making things more complicated than necessary. I’m unhappy about it (I’d have just ordered the right parts in and waited three days), but it is what it is. The part that’s inside the pot looks like two arrow tips, which makes it stable one direction and wobbly in the other. I had him fill the bottom pipes with concrete, and we are hoping the weight of the dirt plus the concrete will keep it stable.
The idea is that I’ll plant squash or cucumbers at the base, and then run a string from the arms at top to the center pole at bottom. See the pass through fitting? That’s for the string to attach beneath so that it doesn’t slide up the pole. I’ll train the squashes to the string, and the slight outward angle will hopefully cause ripe vegetables to dangle toward me, which will make for super easy picking.
I hope.
If not, it wasn’t a very expensive project, although it should have been cheaper with the right parts.
I’m not bitter.
Anyway, as a result, I needed to empty the grow bags, so so decided to rejuvenate the old potting mix that was in the grow bags. I decided to go ahead and do all the potting mix I had in any outdoor planter at the same time. We dumped it all on a tarp and mixed it with some bagged manure …
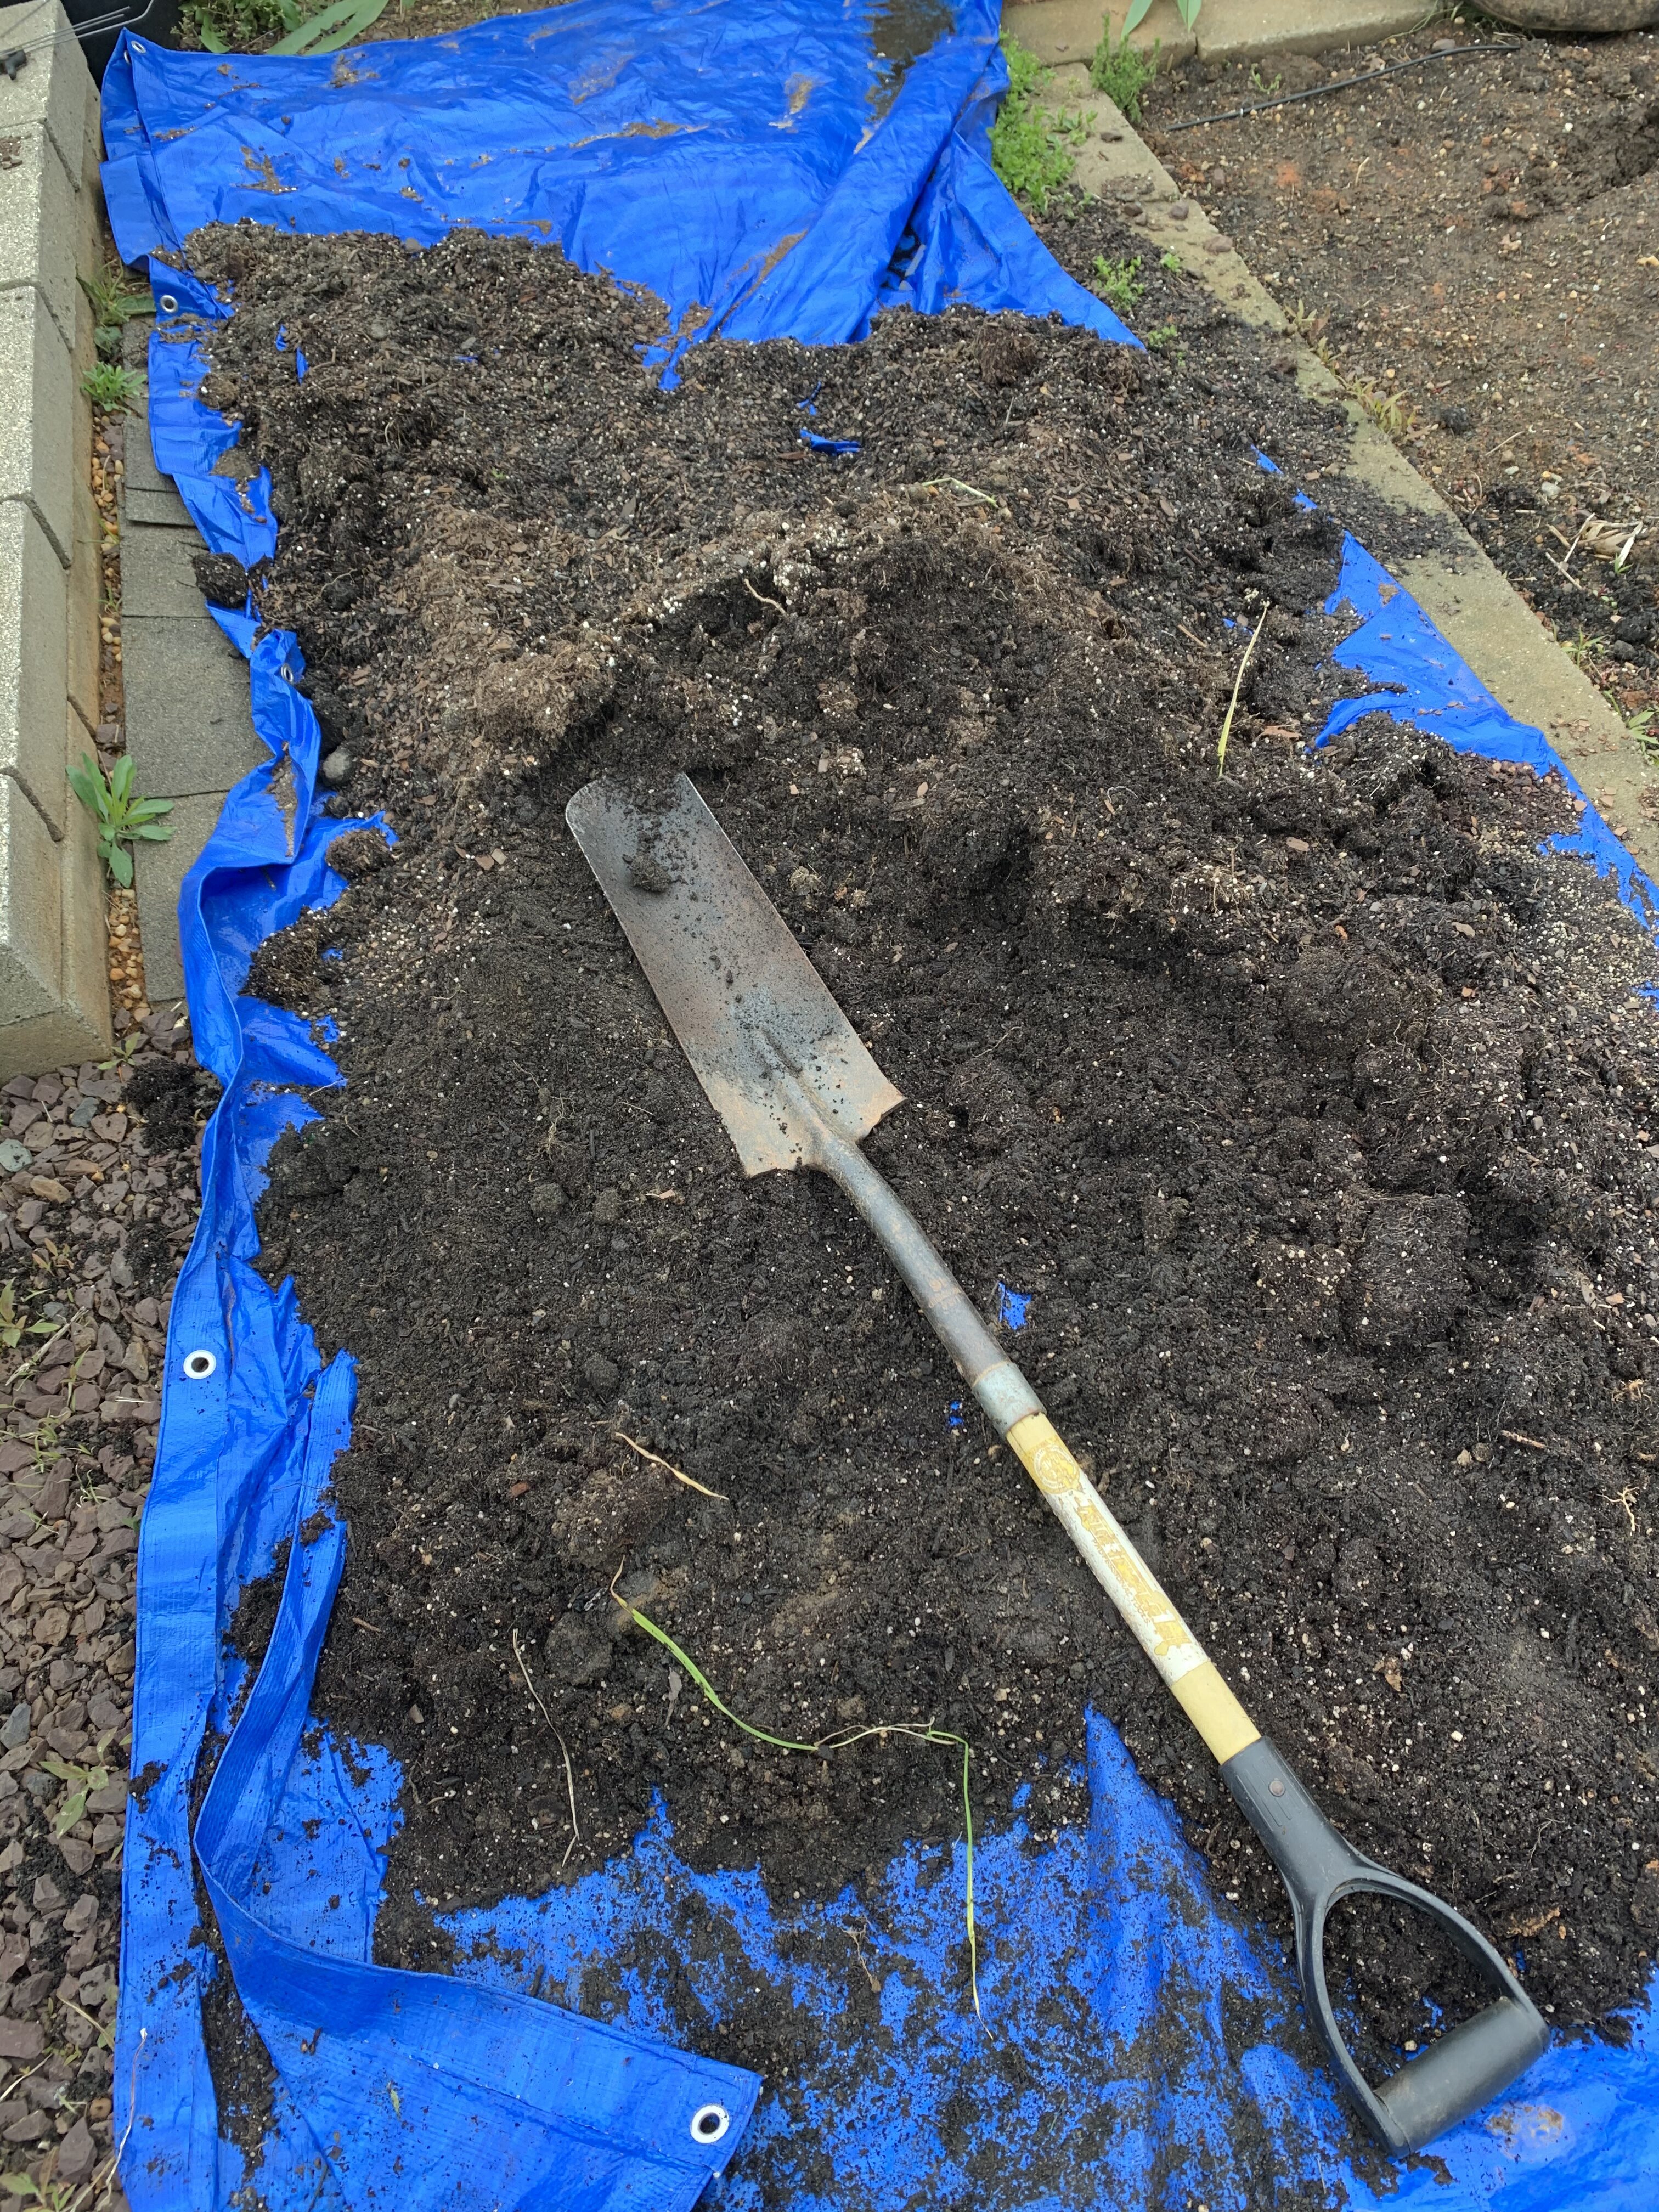
… and then refilled the urn planters where I put the divided Stella D’Oro day lilies and filled the grow bag which will eventually hold squash. We found tons of white grubs while working. Yuck. I killed most of them, but then I stopped, thinking maybe they weren’t actually a pest. Nope. They are. So I’ll kill the rest when I move the remainder of the soil into the other grow bag, where I think I’ll plant tomatillos or melons.
This morning I did some reading on planting out my tomatoes and I remembered I had a soil test kit my dad sent me last year that I didn’t use because I had the soil tested by the extension office. Irritatingly, Virginia Tech will not test Nitrogen (which is all I really cared about), and everything else came back sufficient or high, except soluble salts, which was low. I had 10% organic material and a pH of 6.8. All good. They recommended 10-10-10 fertilizer, which we applied at the recommended rate.
Well, I did the at home test today, and it was stupid confusing:
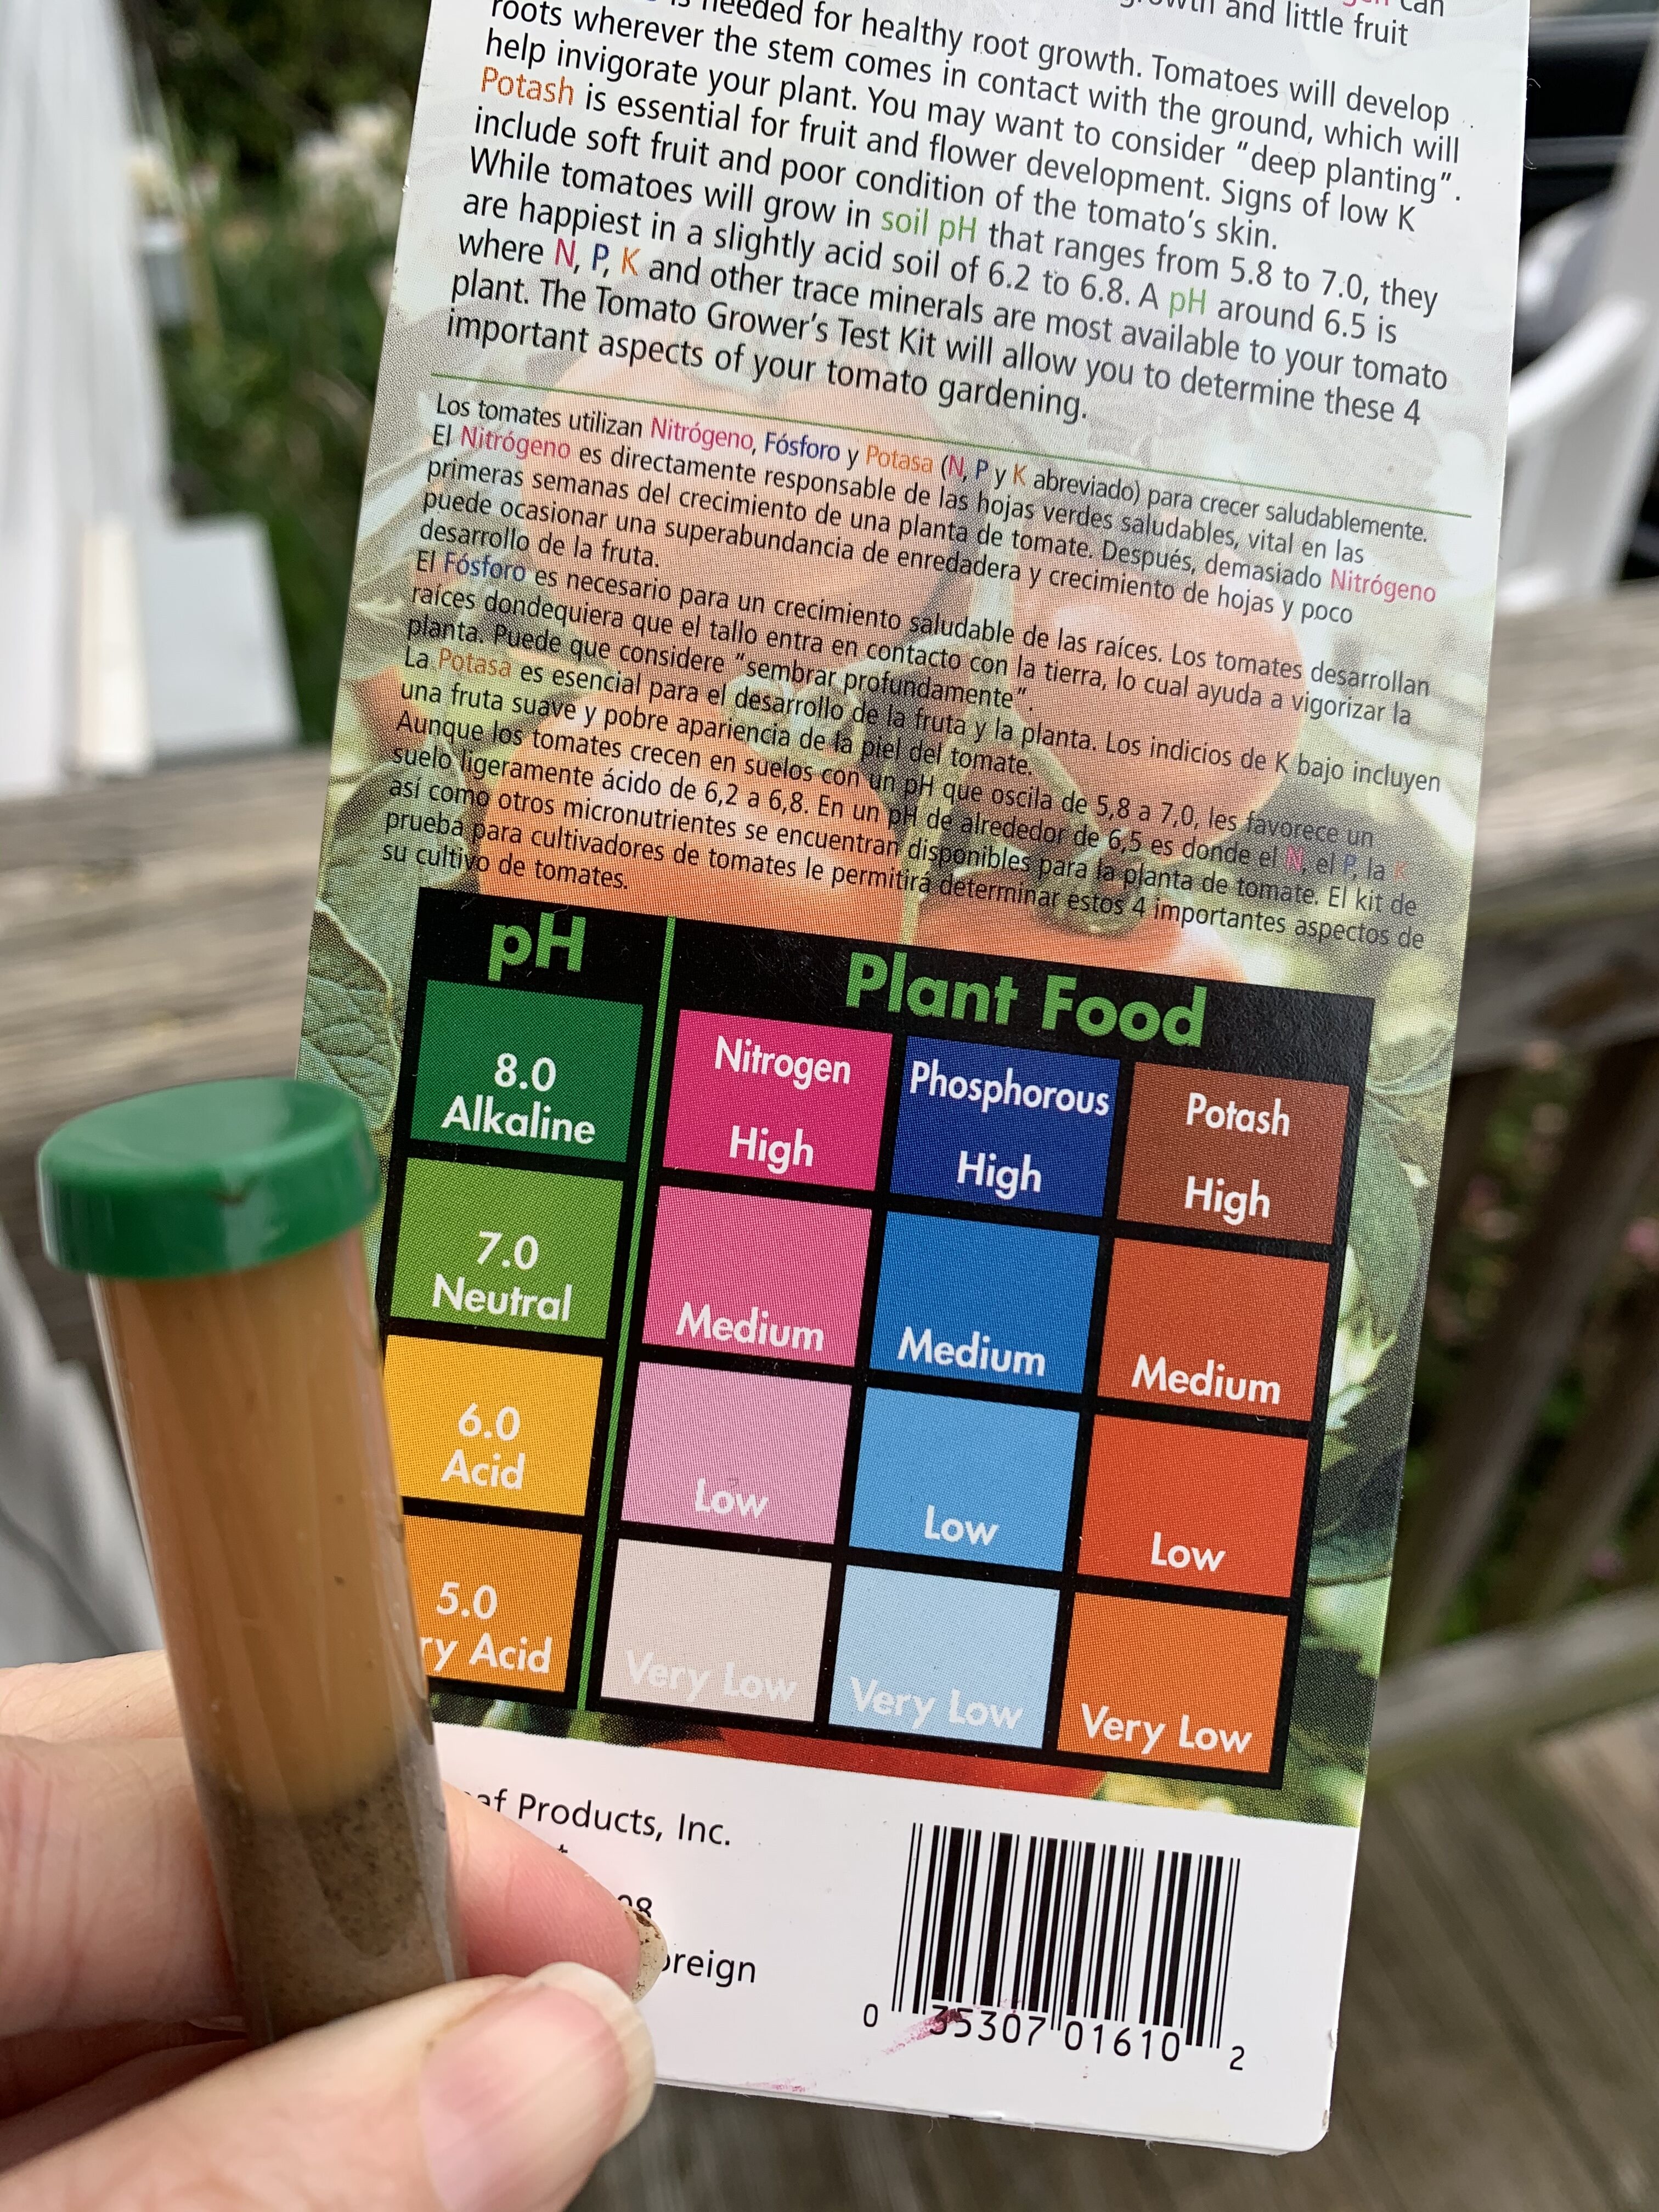
Green is for pH 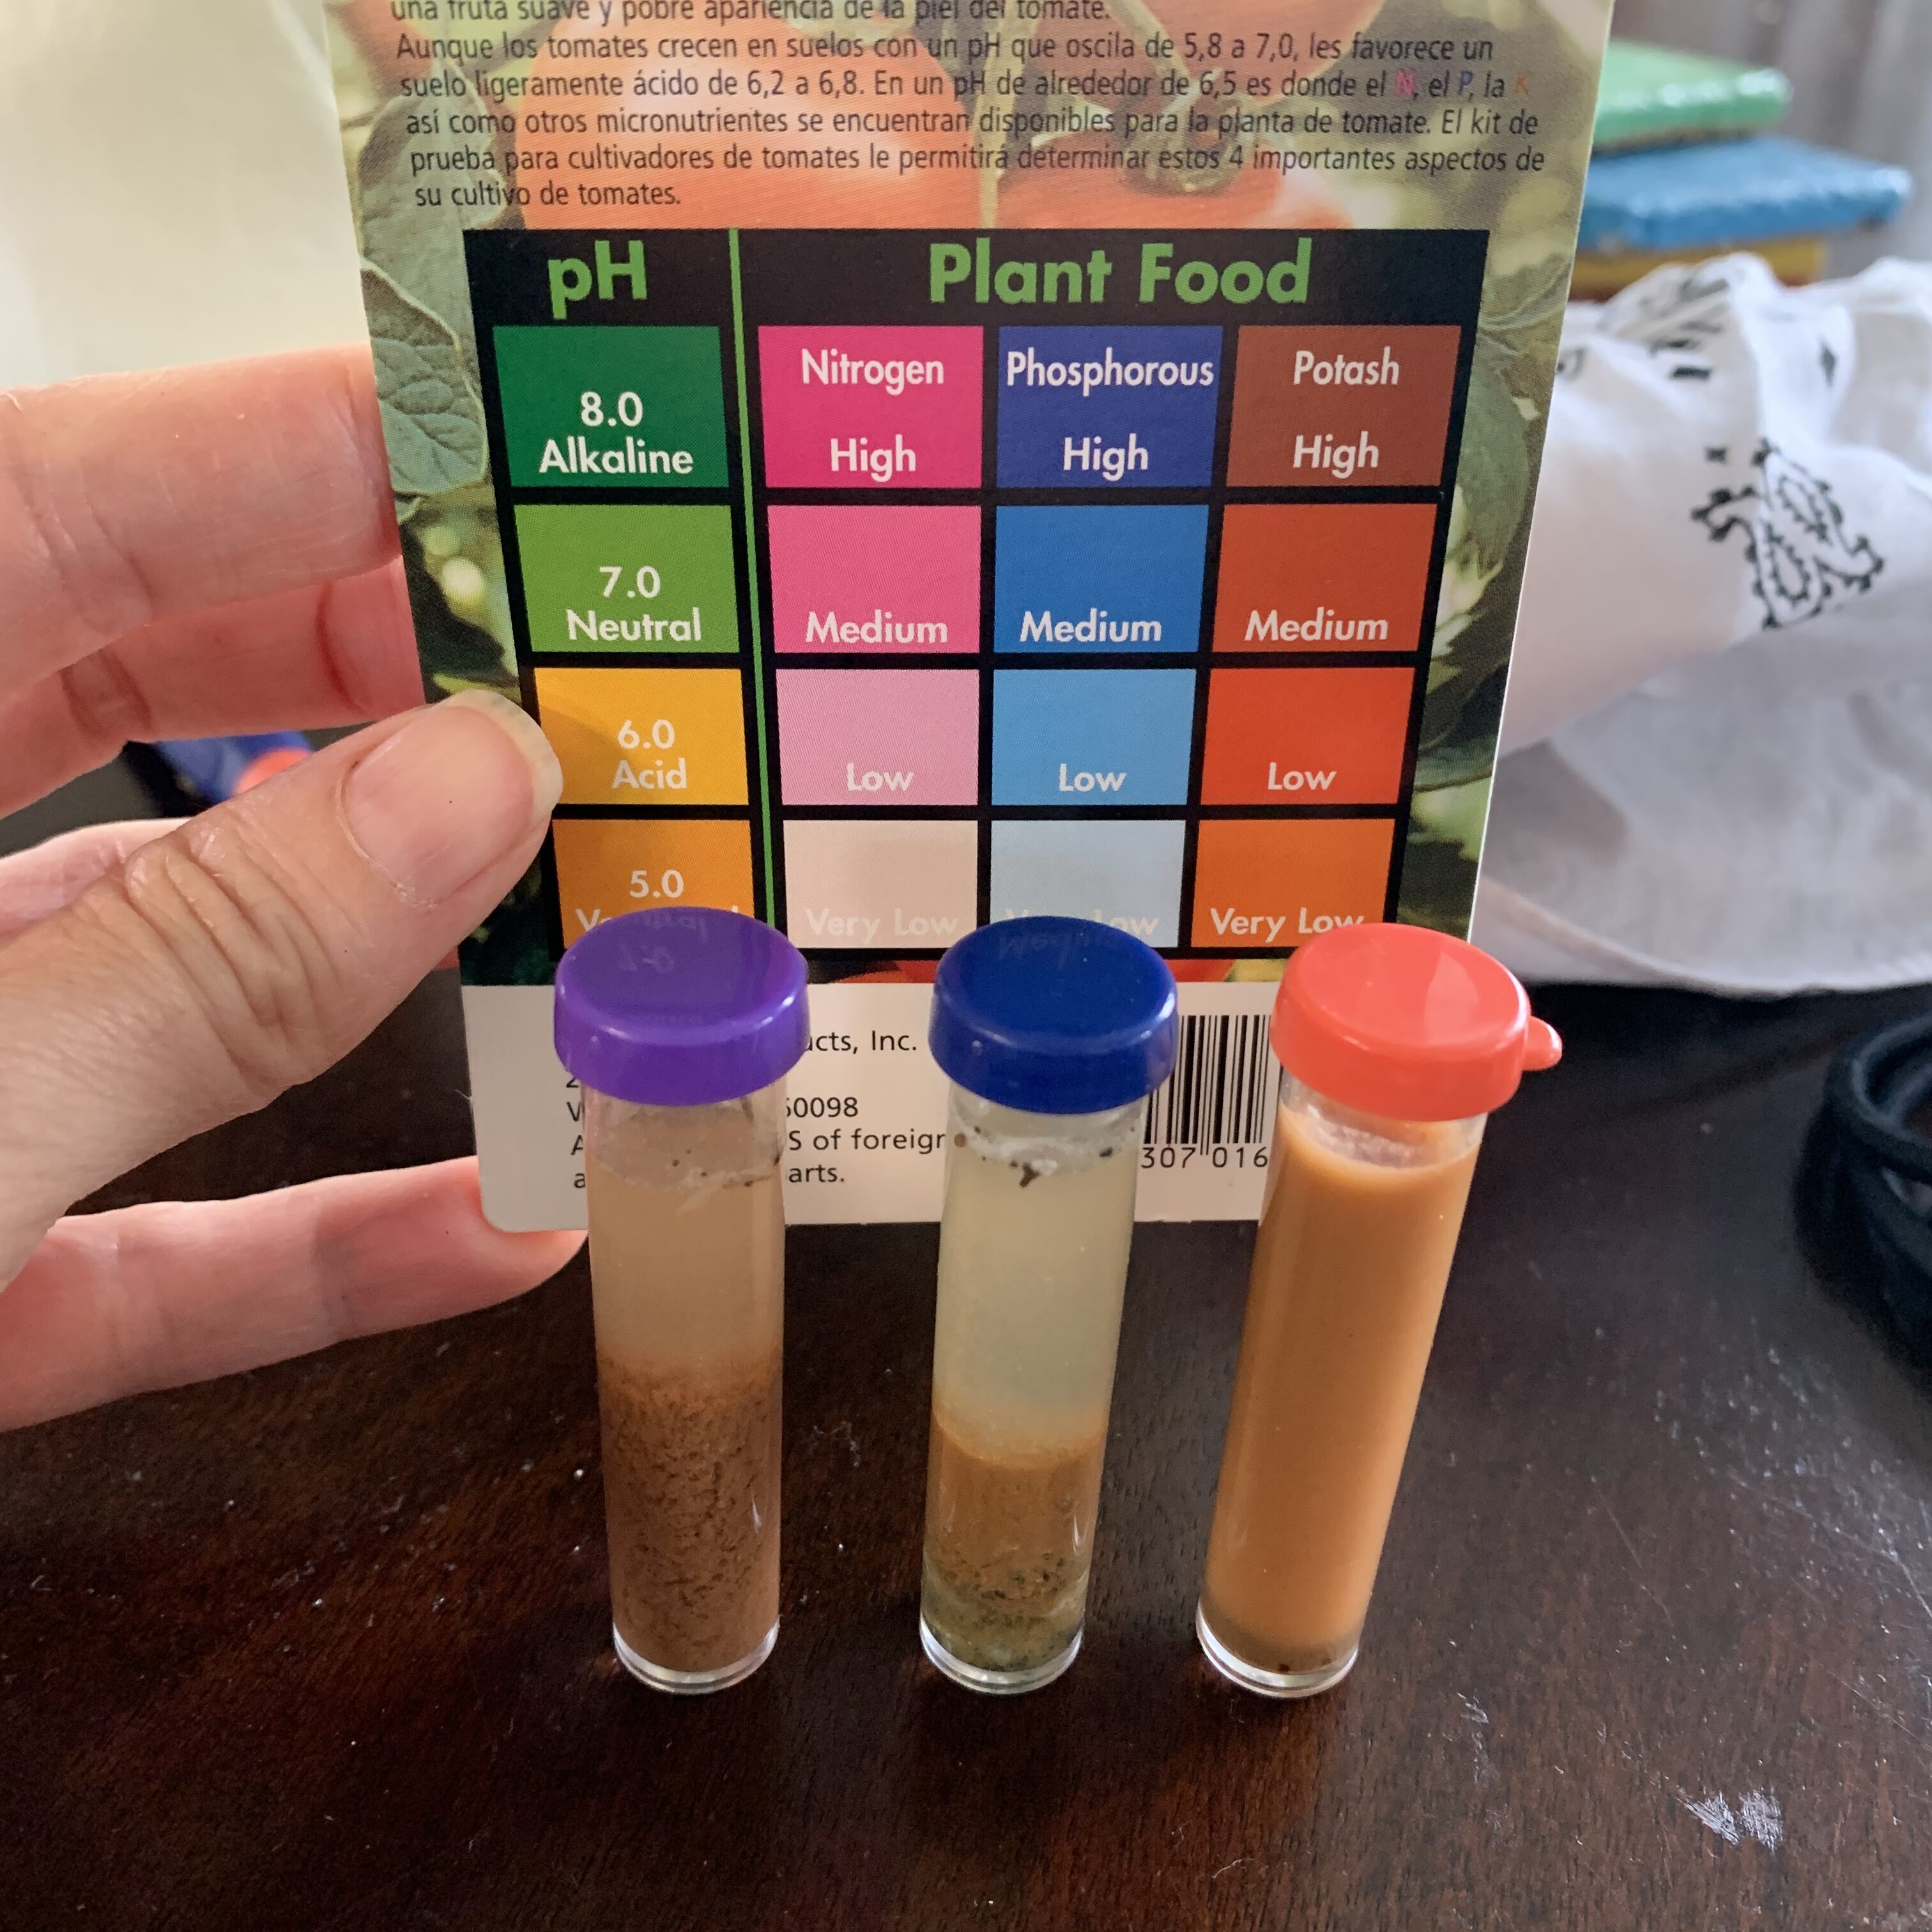
But purple is pink, blue is blue, and orange is brown because….. I don’t know why, actually. 
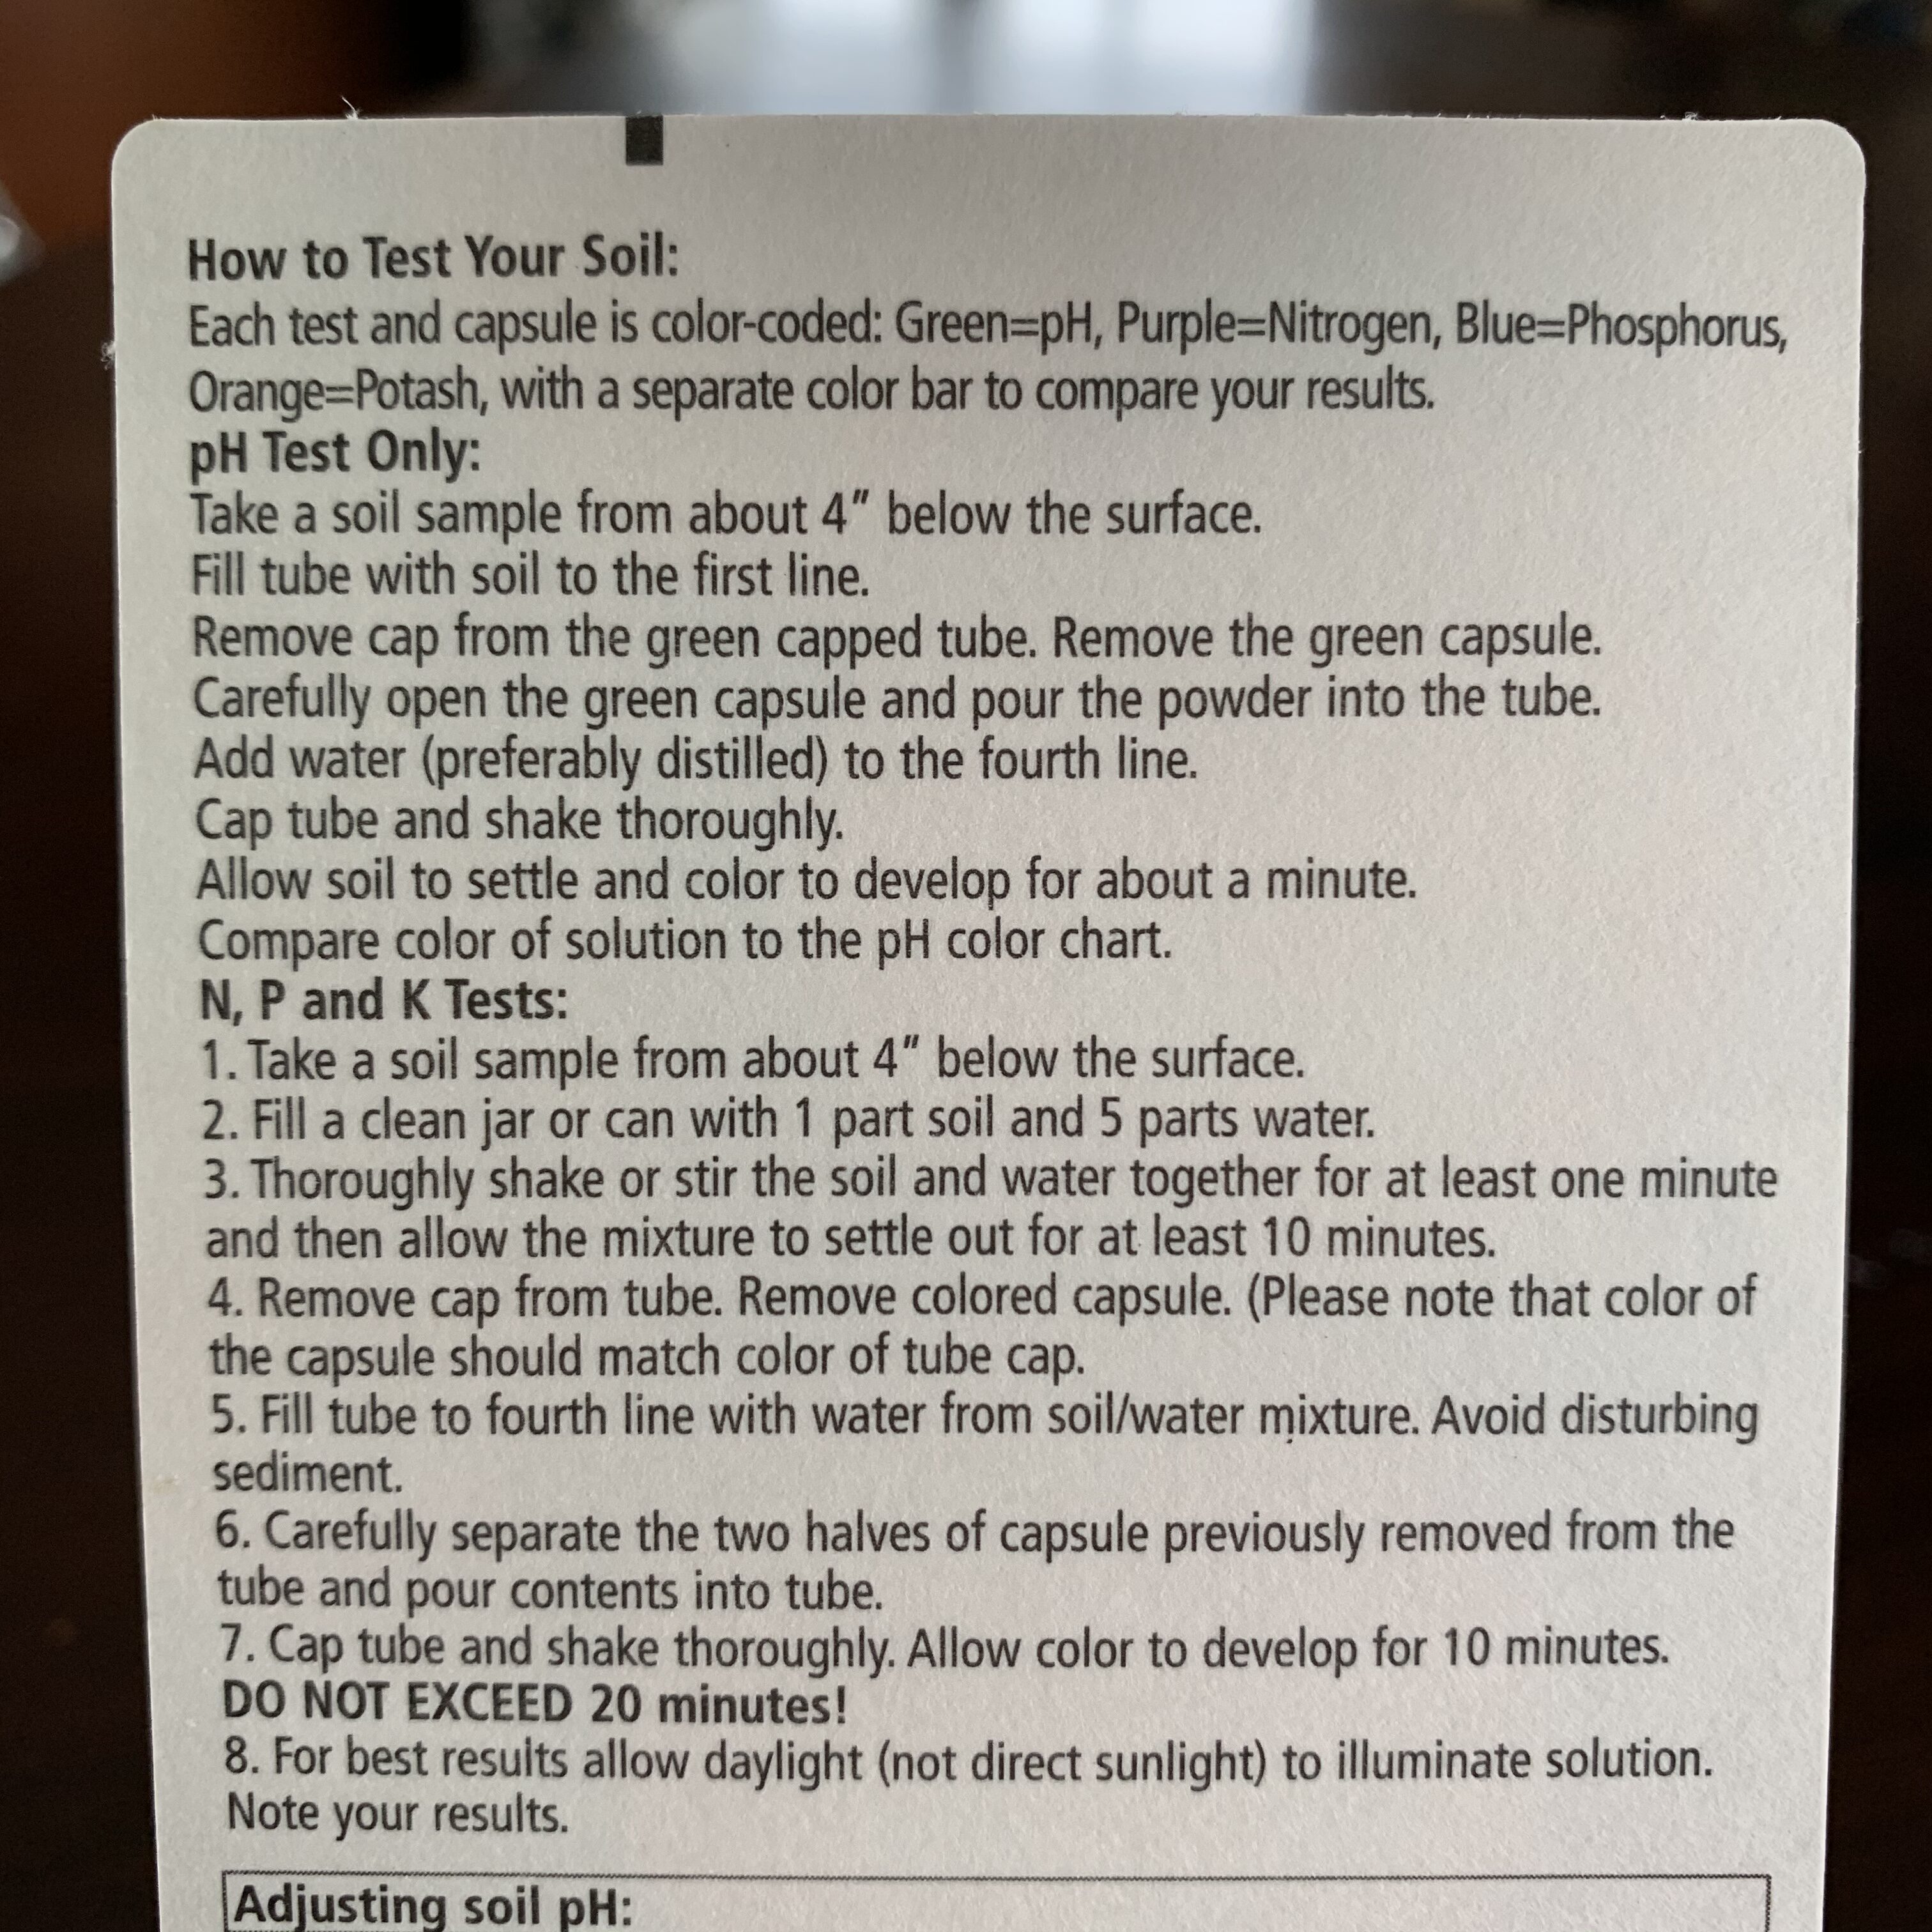
The colors on the back of the kit only matched two of the lids for reasons that are unclear. The charts were hard to read and interpret. I haven’t the faintest idea what my Potassium/potash rating is, but it’s clear I need more nitrogen and Phosphorus. That is probably true even with the addition of the horse manure last fall. The pH reading was a little lighter at the one minute mark, but I’m pretty sure it’s fine. You want the soil a little acidic, and clay already is acidic. I’m pretty sure the pH is okay.
So, I added blood meal to the shopping list and will pick some up when I go to plant tomatoes at the end of the week.
I gave away about 16 seedlings to my cousin, Betty, who dropped by today. She also grabbed some for my other cousin, Heather. It made a real dent in the seedling count. I need to pull out what I want and what I’ve promised to others so I know what I have to give away. I’m thinking I may save some of the smaller plants for a late tomato planting so they go into the fall. Will see….
