And so it begins…
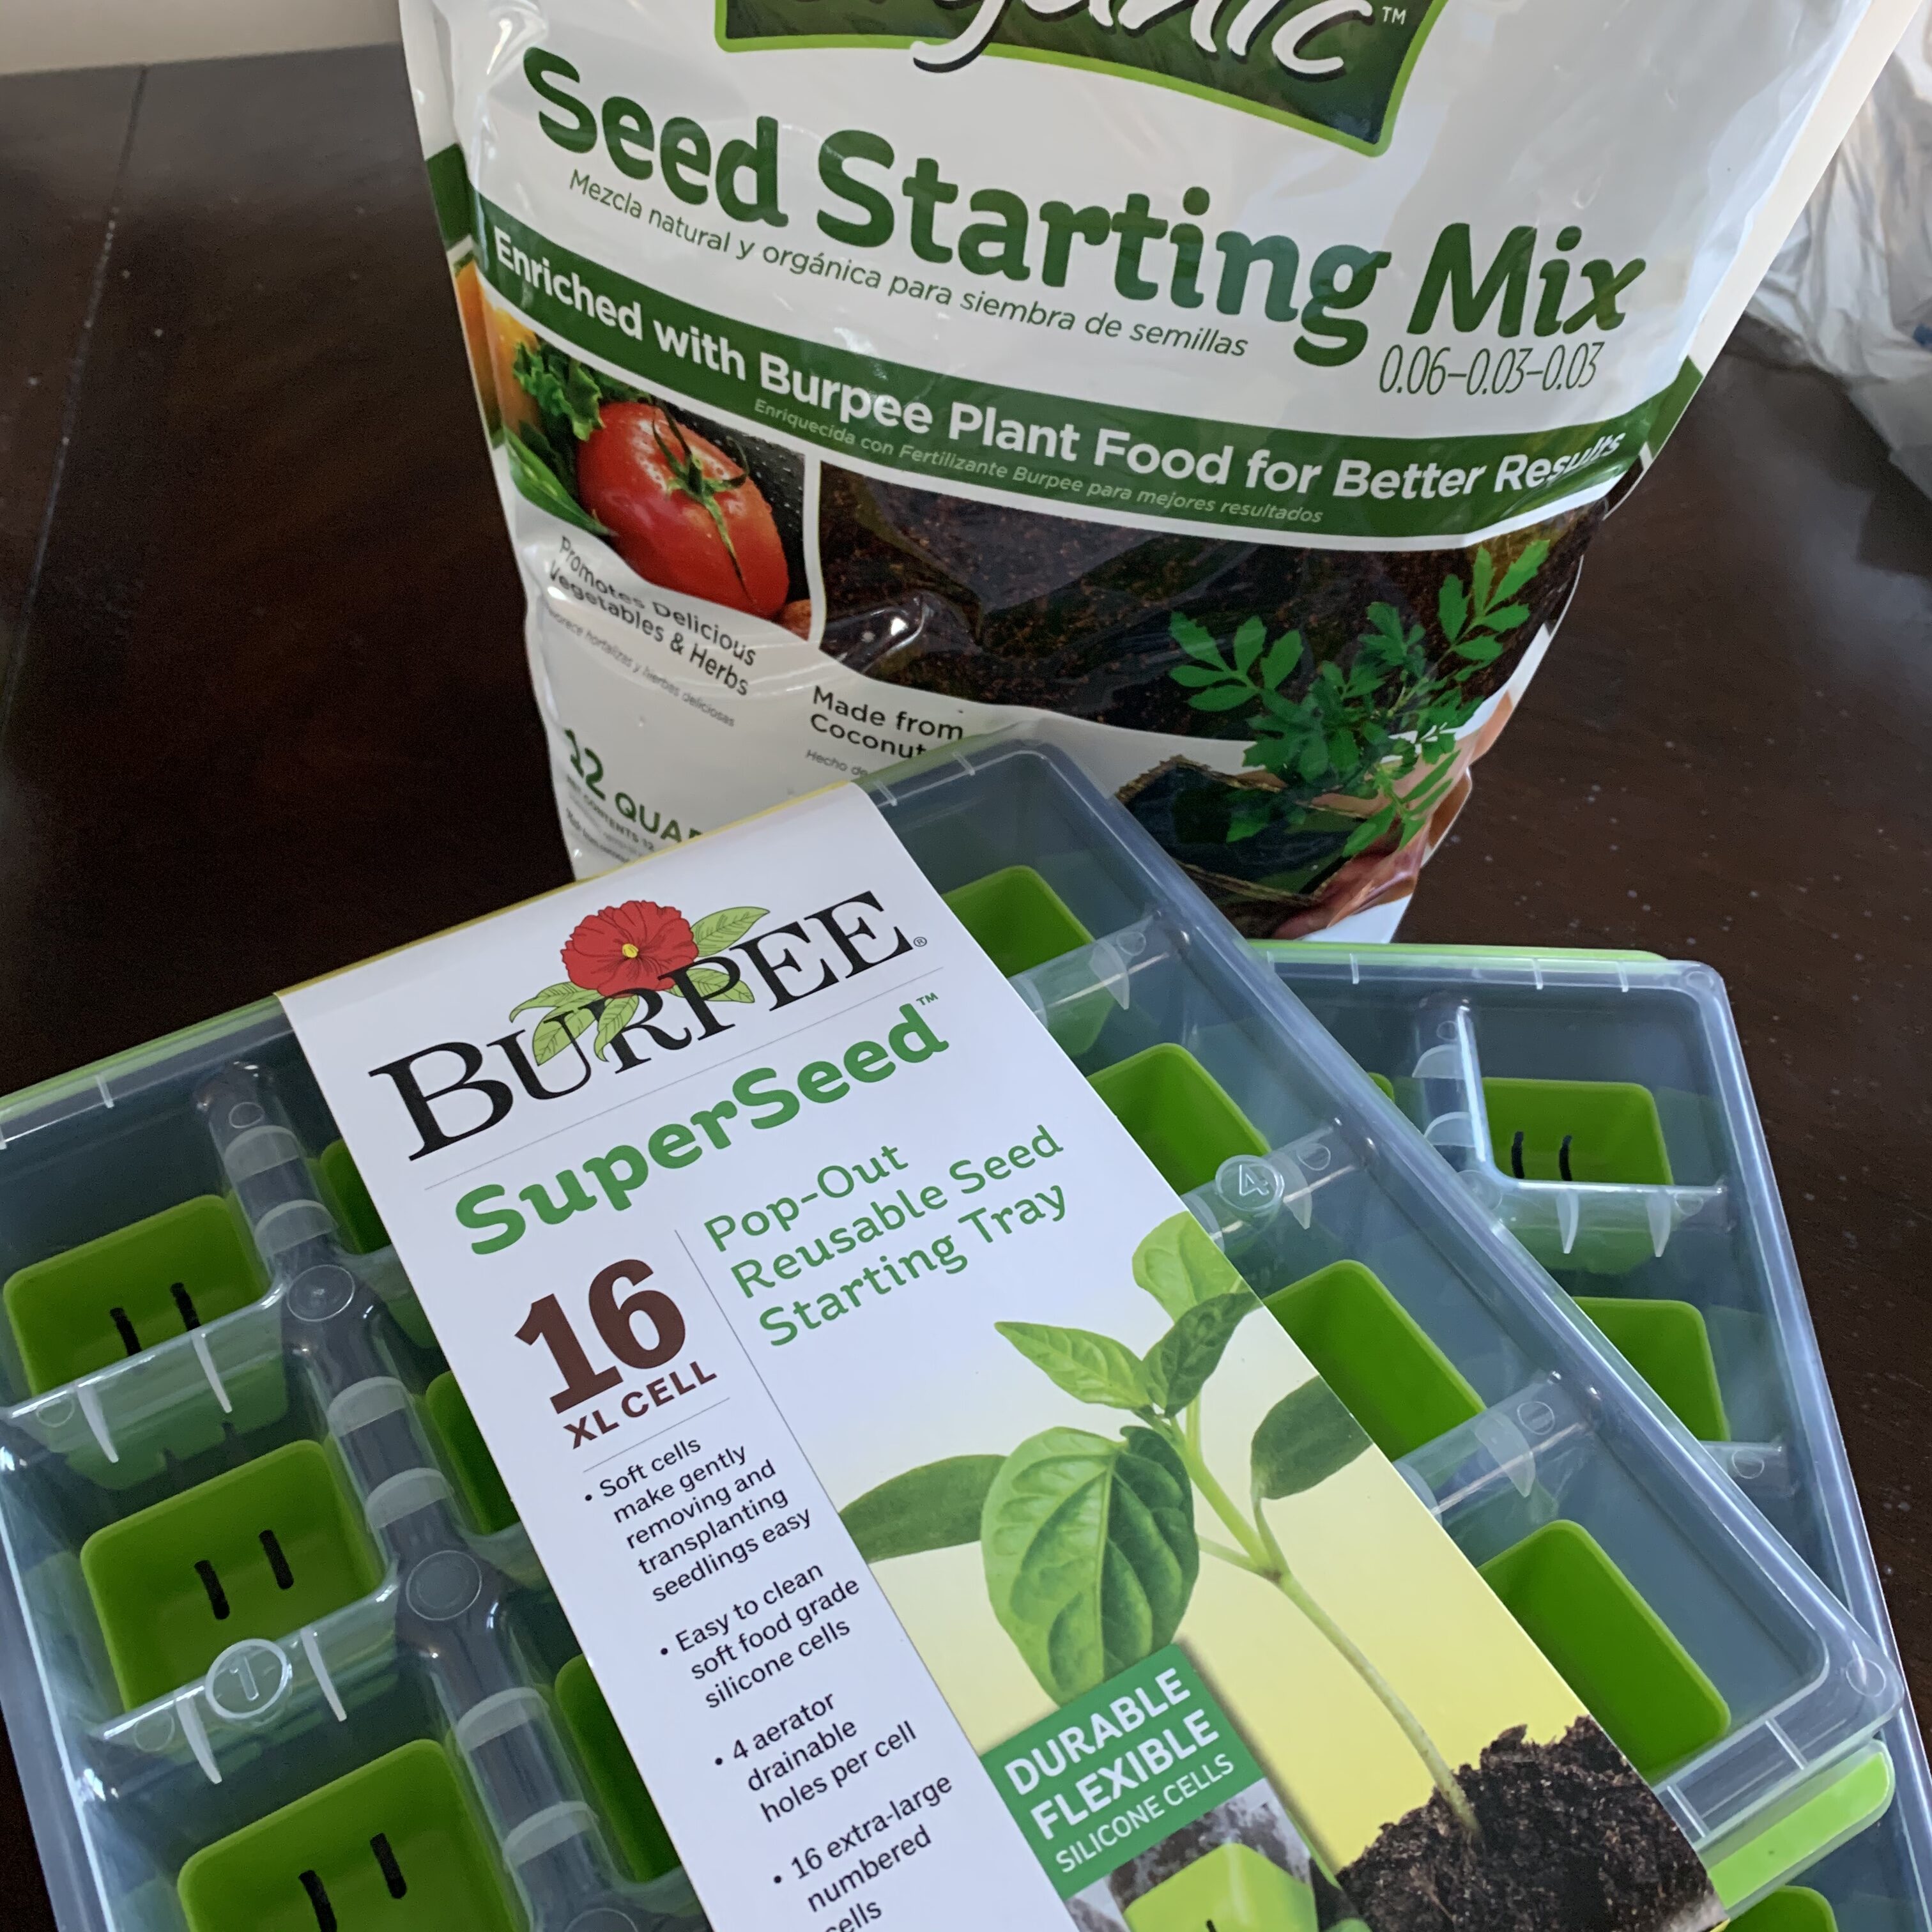
Jared and I stopped by Lowe’s after the gym to pick up some seed starting mix. My friend Dawna runs the garden center at Lowe’s, and she happened to see us when we came in. I asked her if they had any seed starting flats that were better than the junky, disposable hex ones out by the Ferry Morse seed stand. She said that the Burpee seed starters were 2 inch squares and were super sturdy and that they would never wear out. She took us outside to the Burpee seed area to find the seed starter flats. Wow! She was right. These Burpee see planters look amazing!
Dawna also recommended the Burpee seed starting mix because it’s organic, and she says it uses coconut roughage instead of Pete Moss like some other seat starting mixes. We took her advice and bought the Burpee seed starting mix. I have use the seed starting pucks before, and I do not like them. This seed starting mix from Burpee was super easy to use.
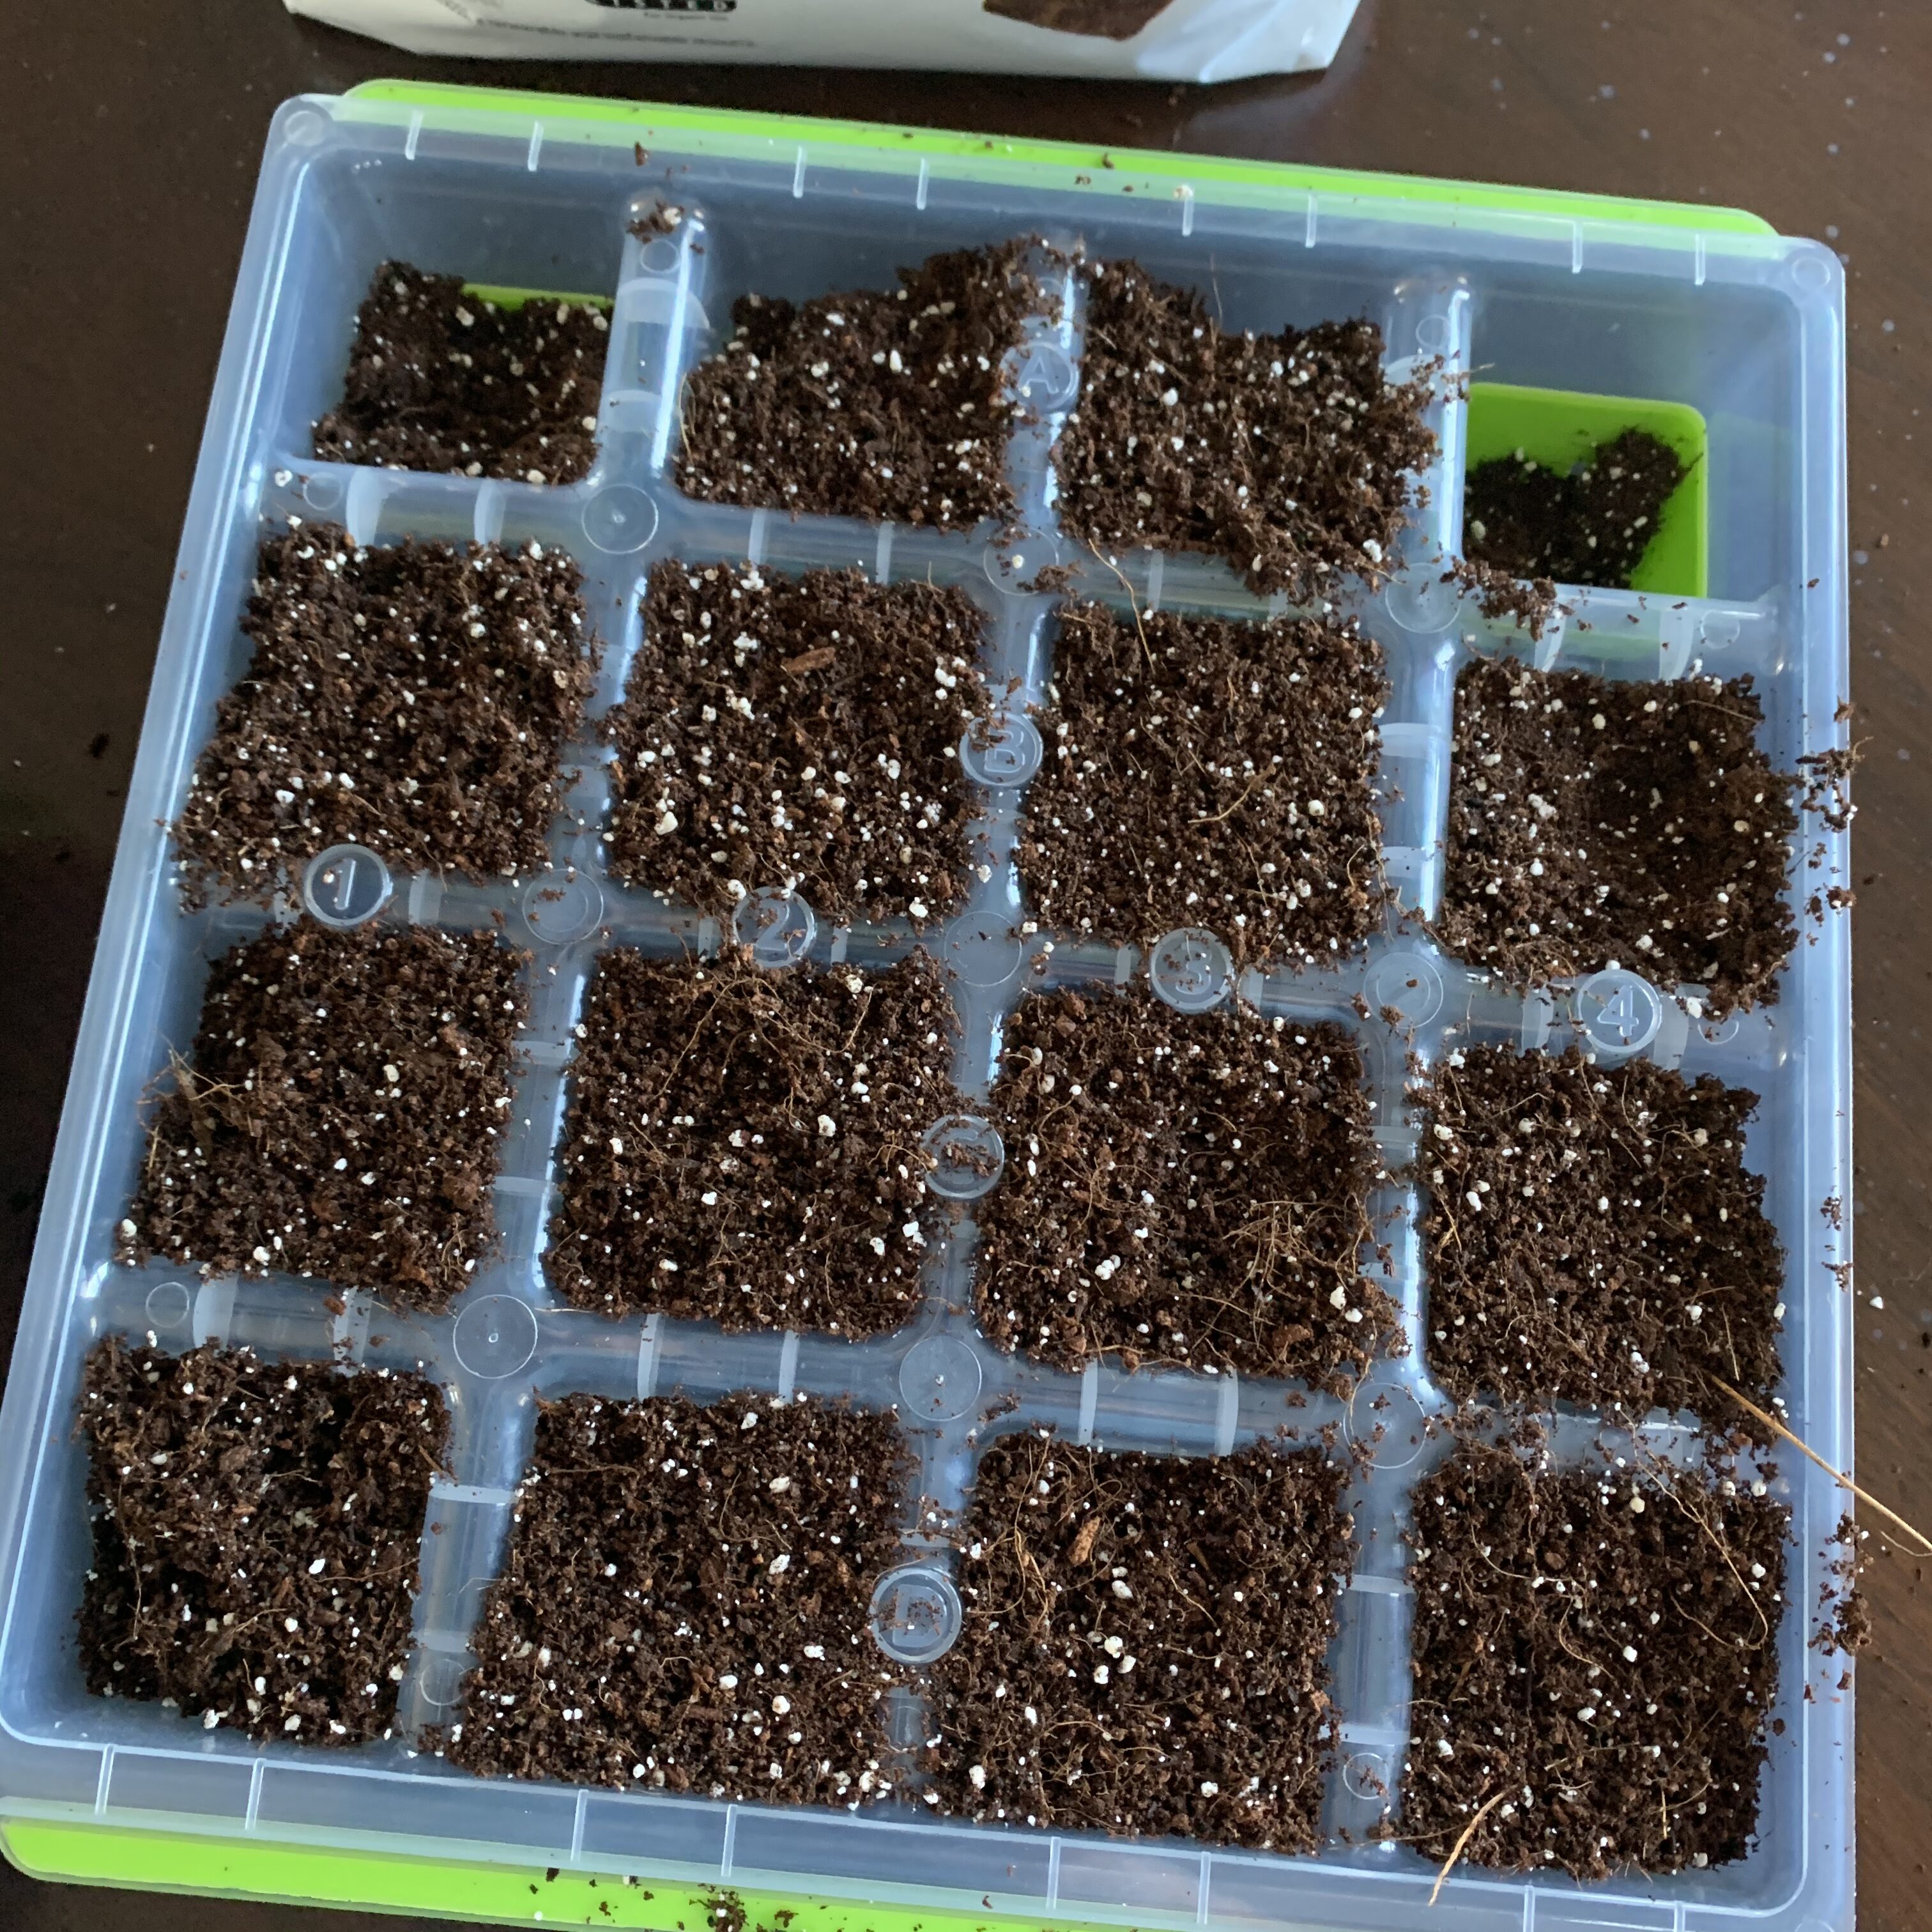
Spread the mix, fill in any holes with extra mix 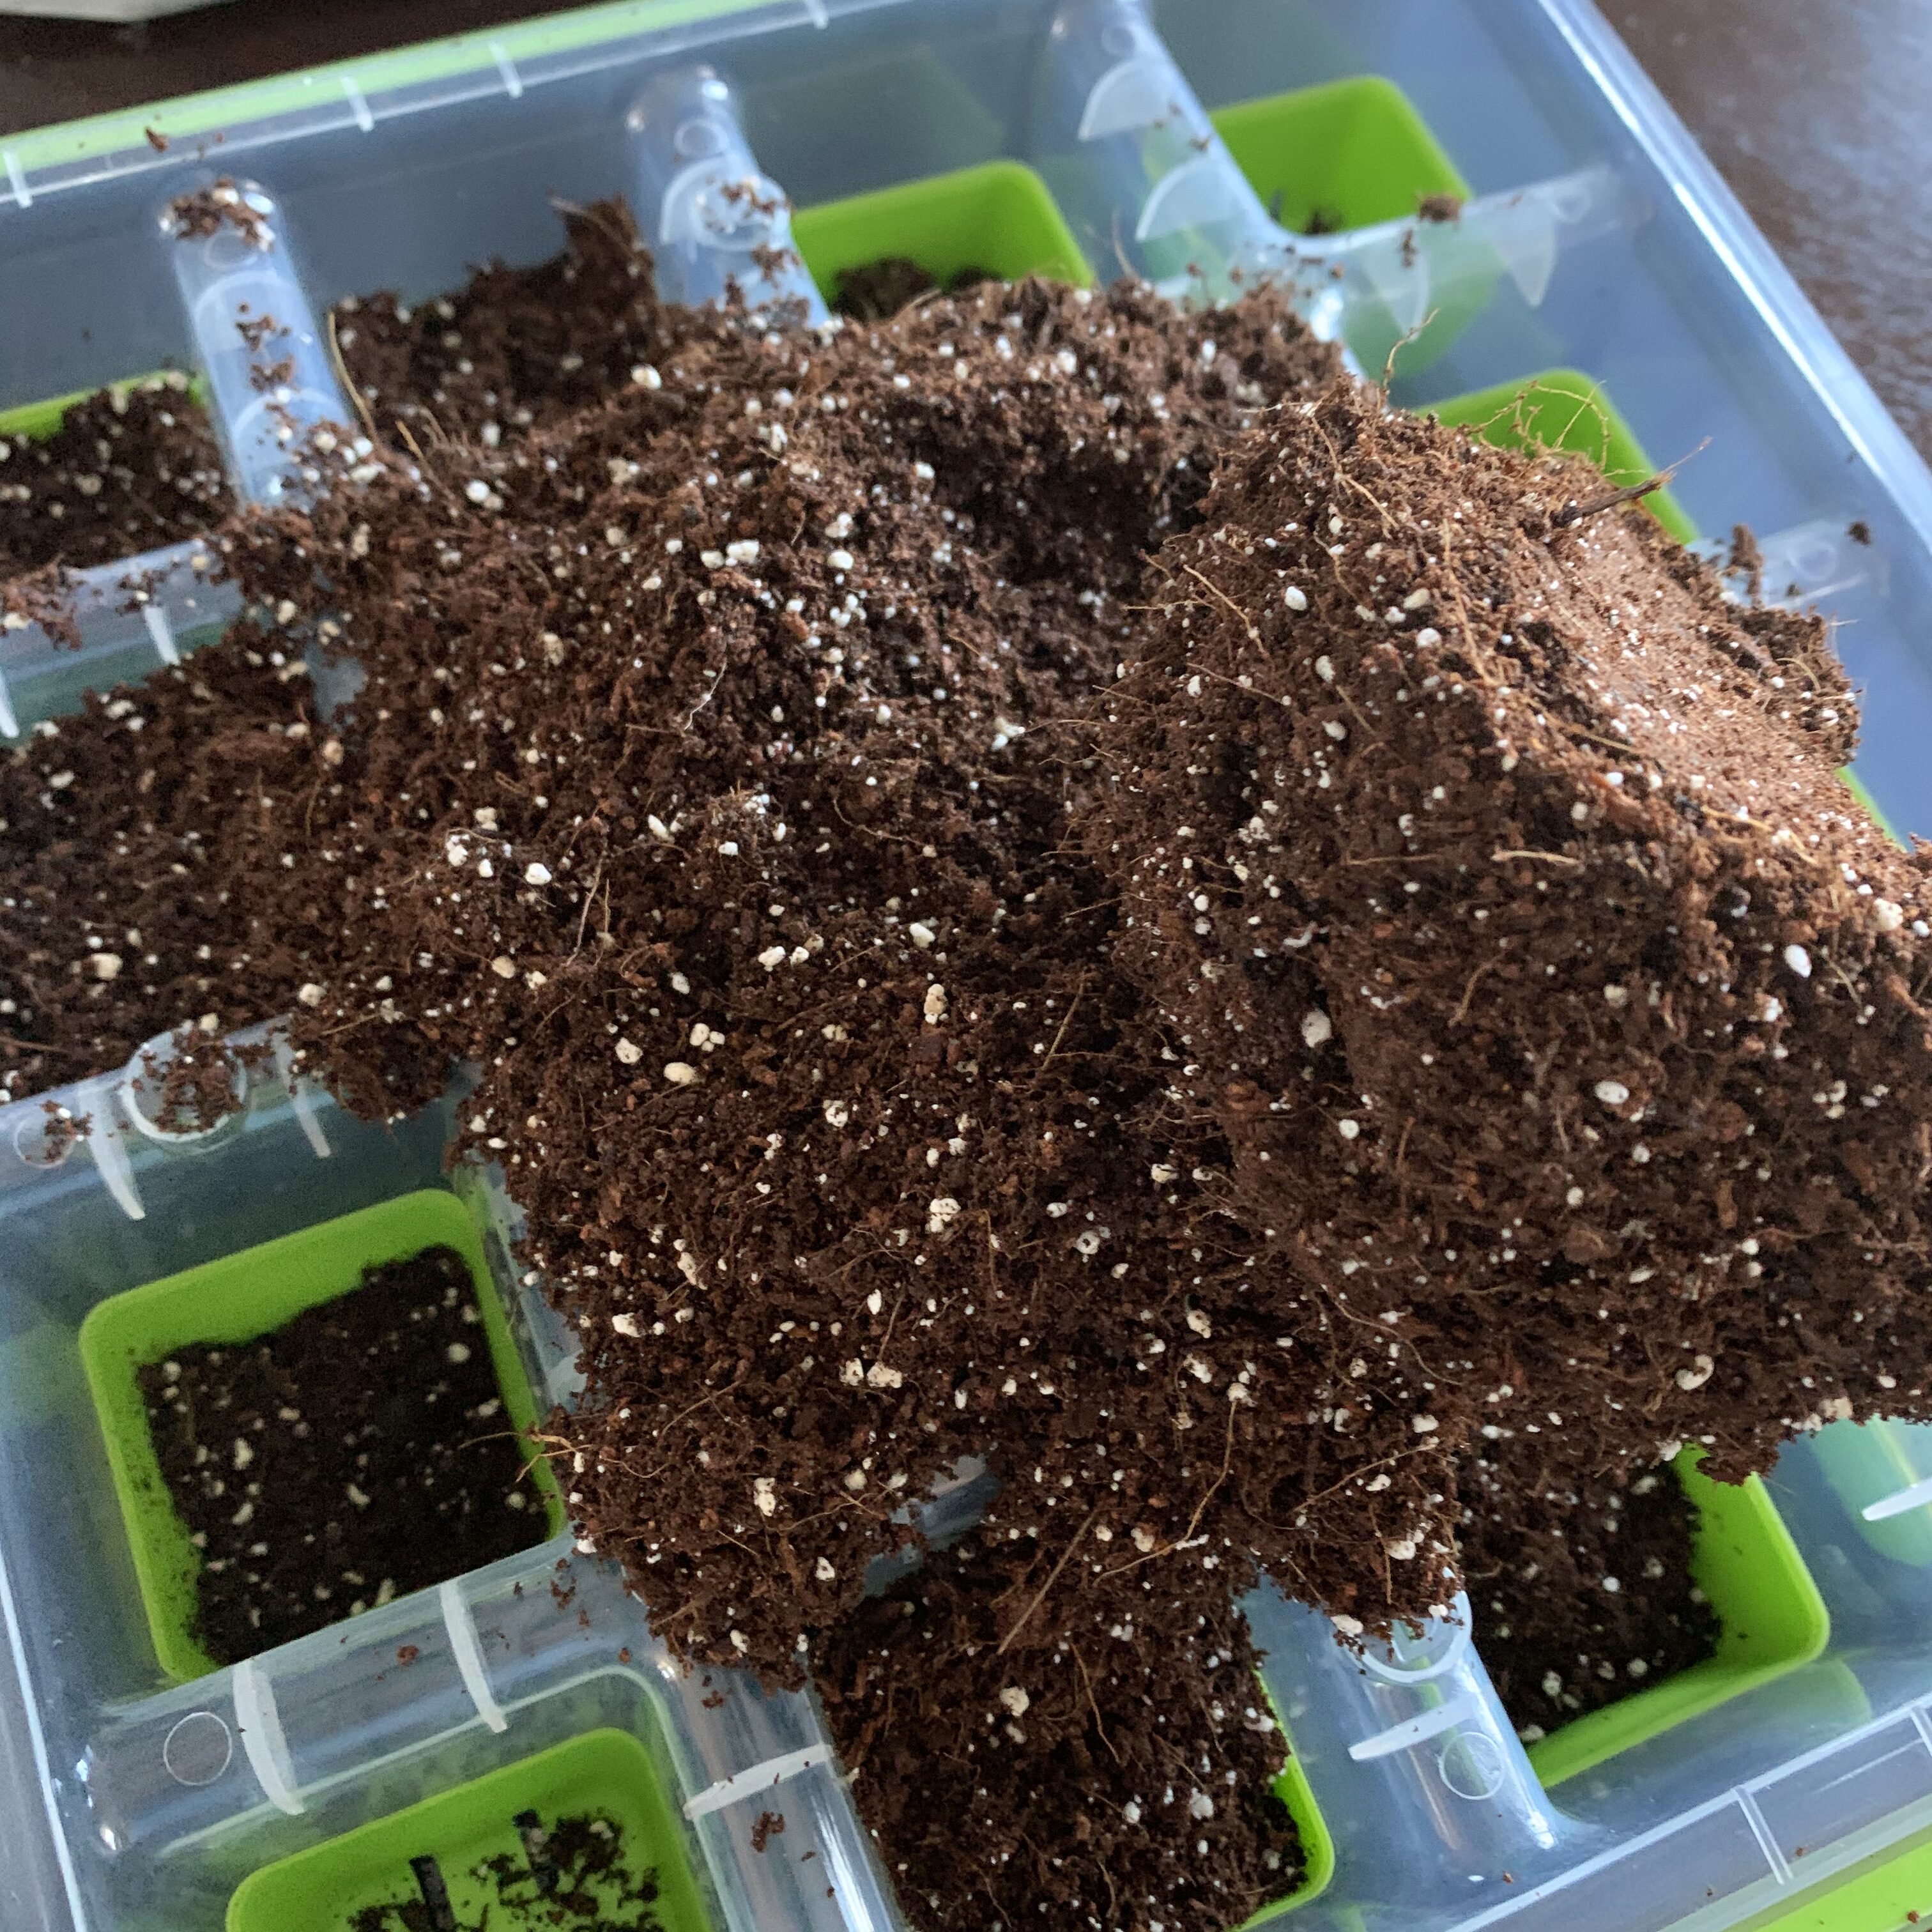
Step one — dump out some starting mix 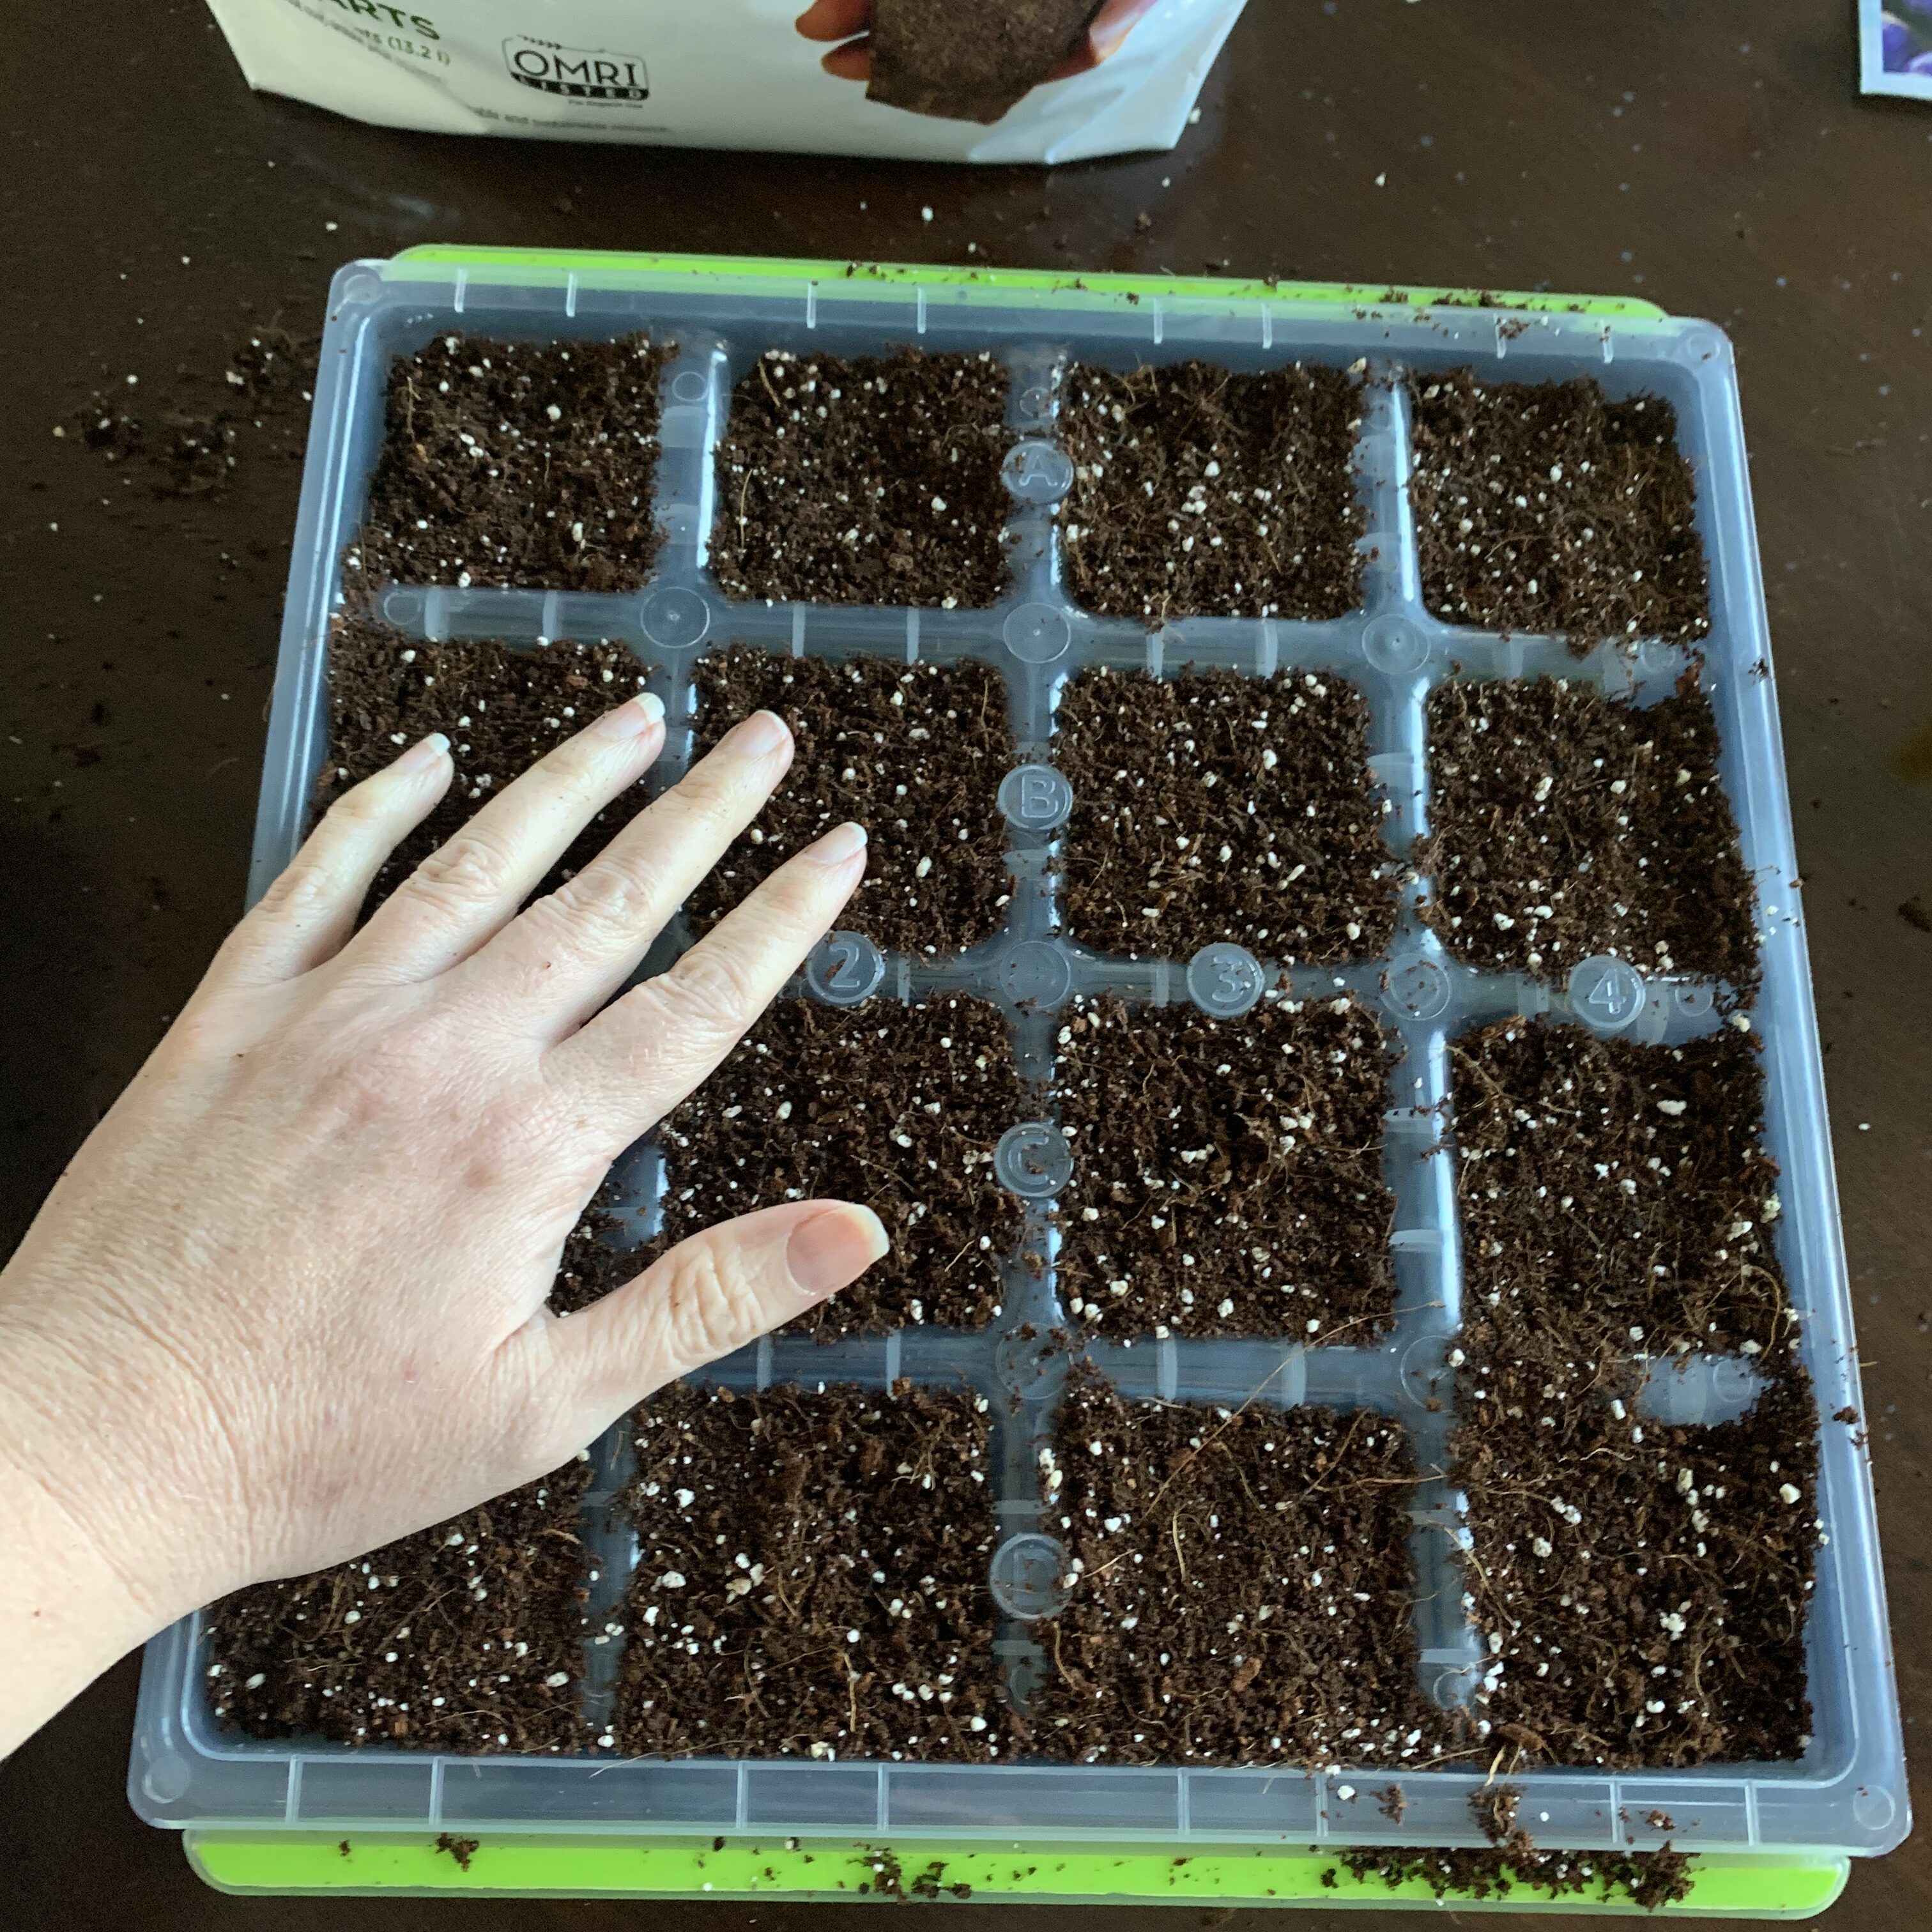
Tamp the mix down and water it
I forgot to water the seed starting mix after I got it in the plugs cells, and so it made adding water later a little tricky. If you do this, don’t forget to water before you start placing your seeds.
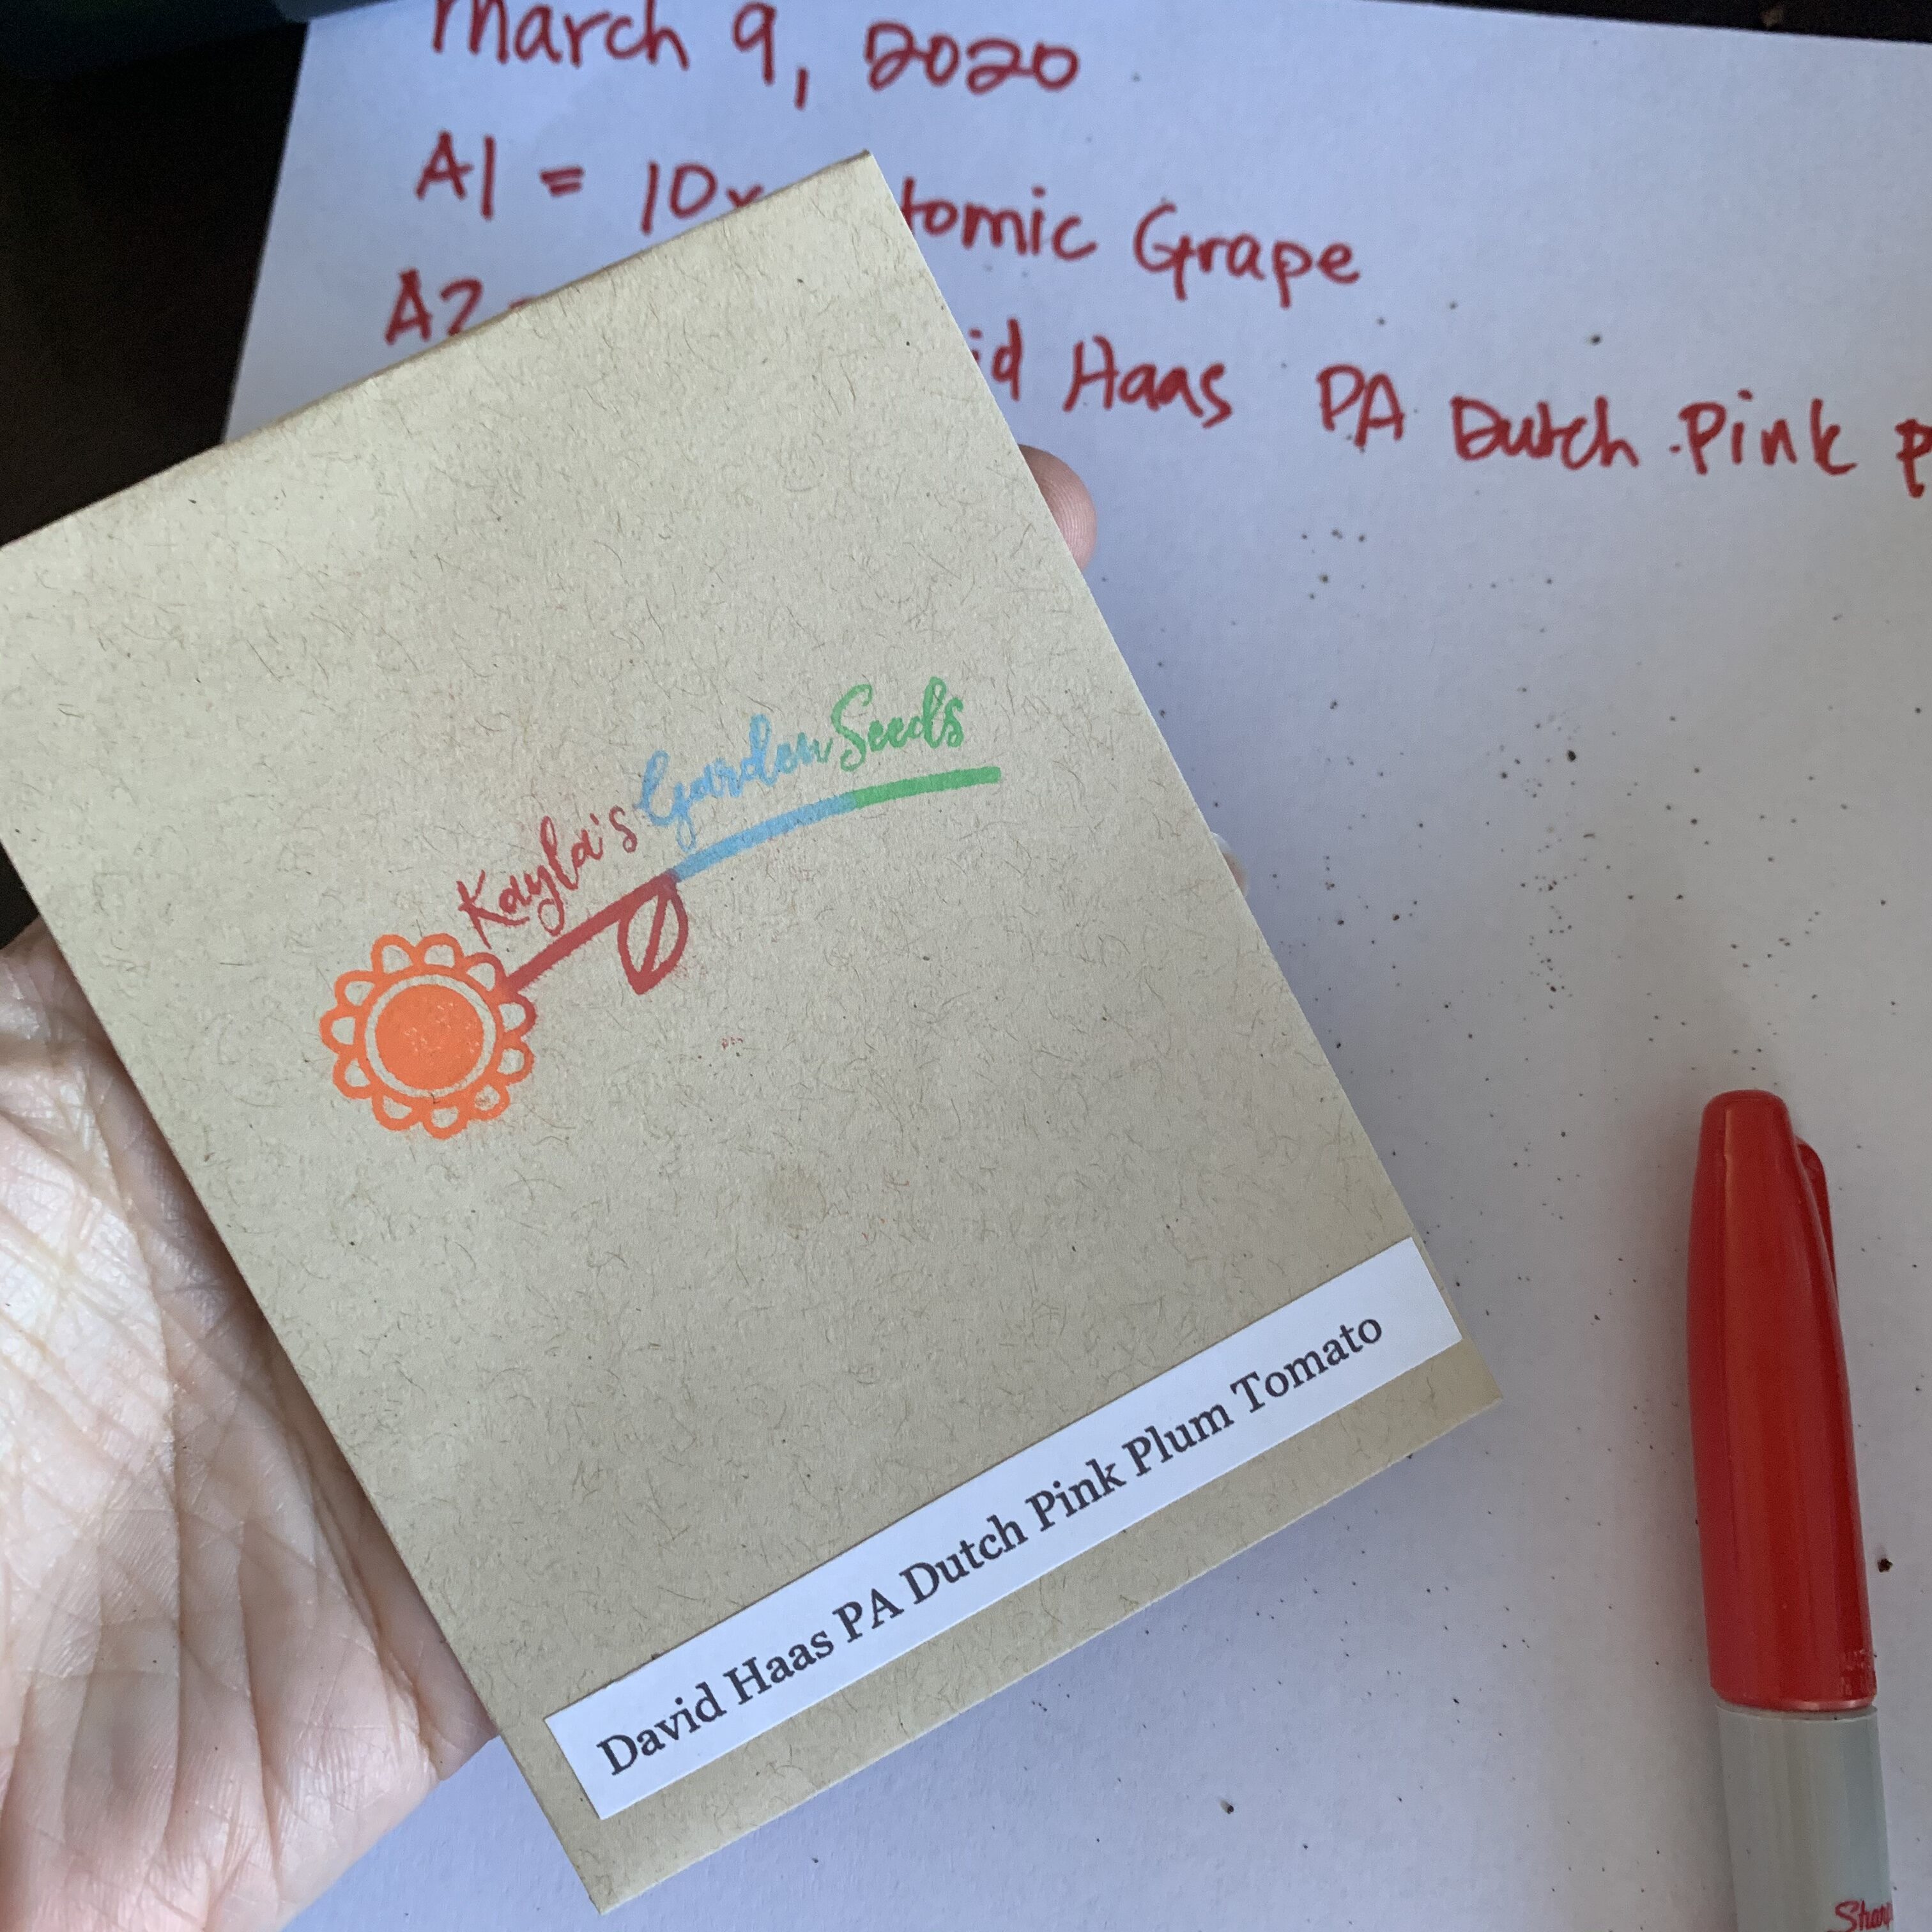
Here are some seeds from Jared’s cousin Kayla 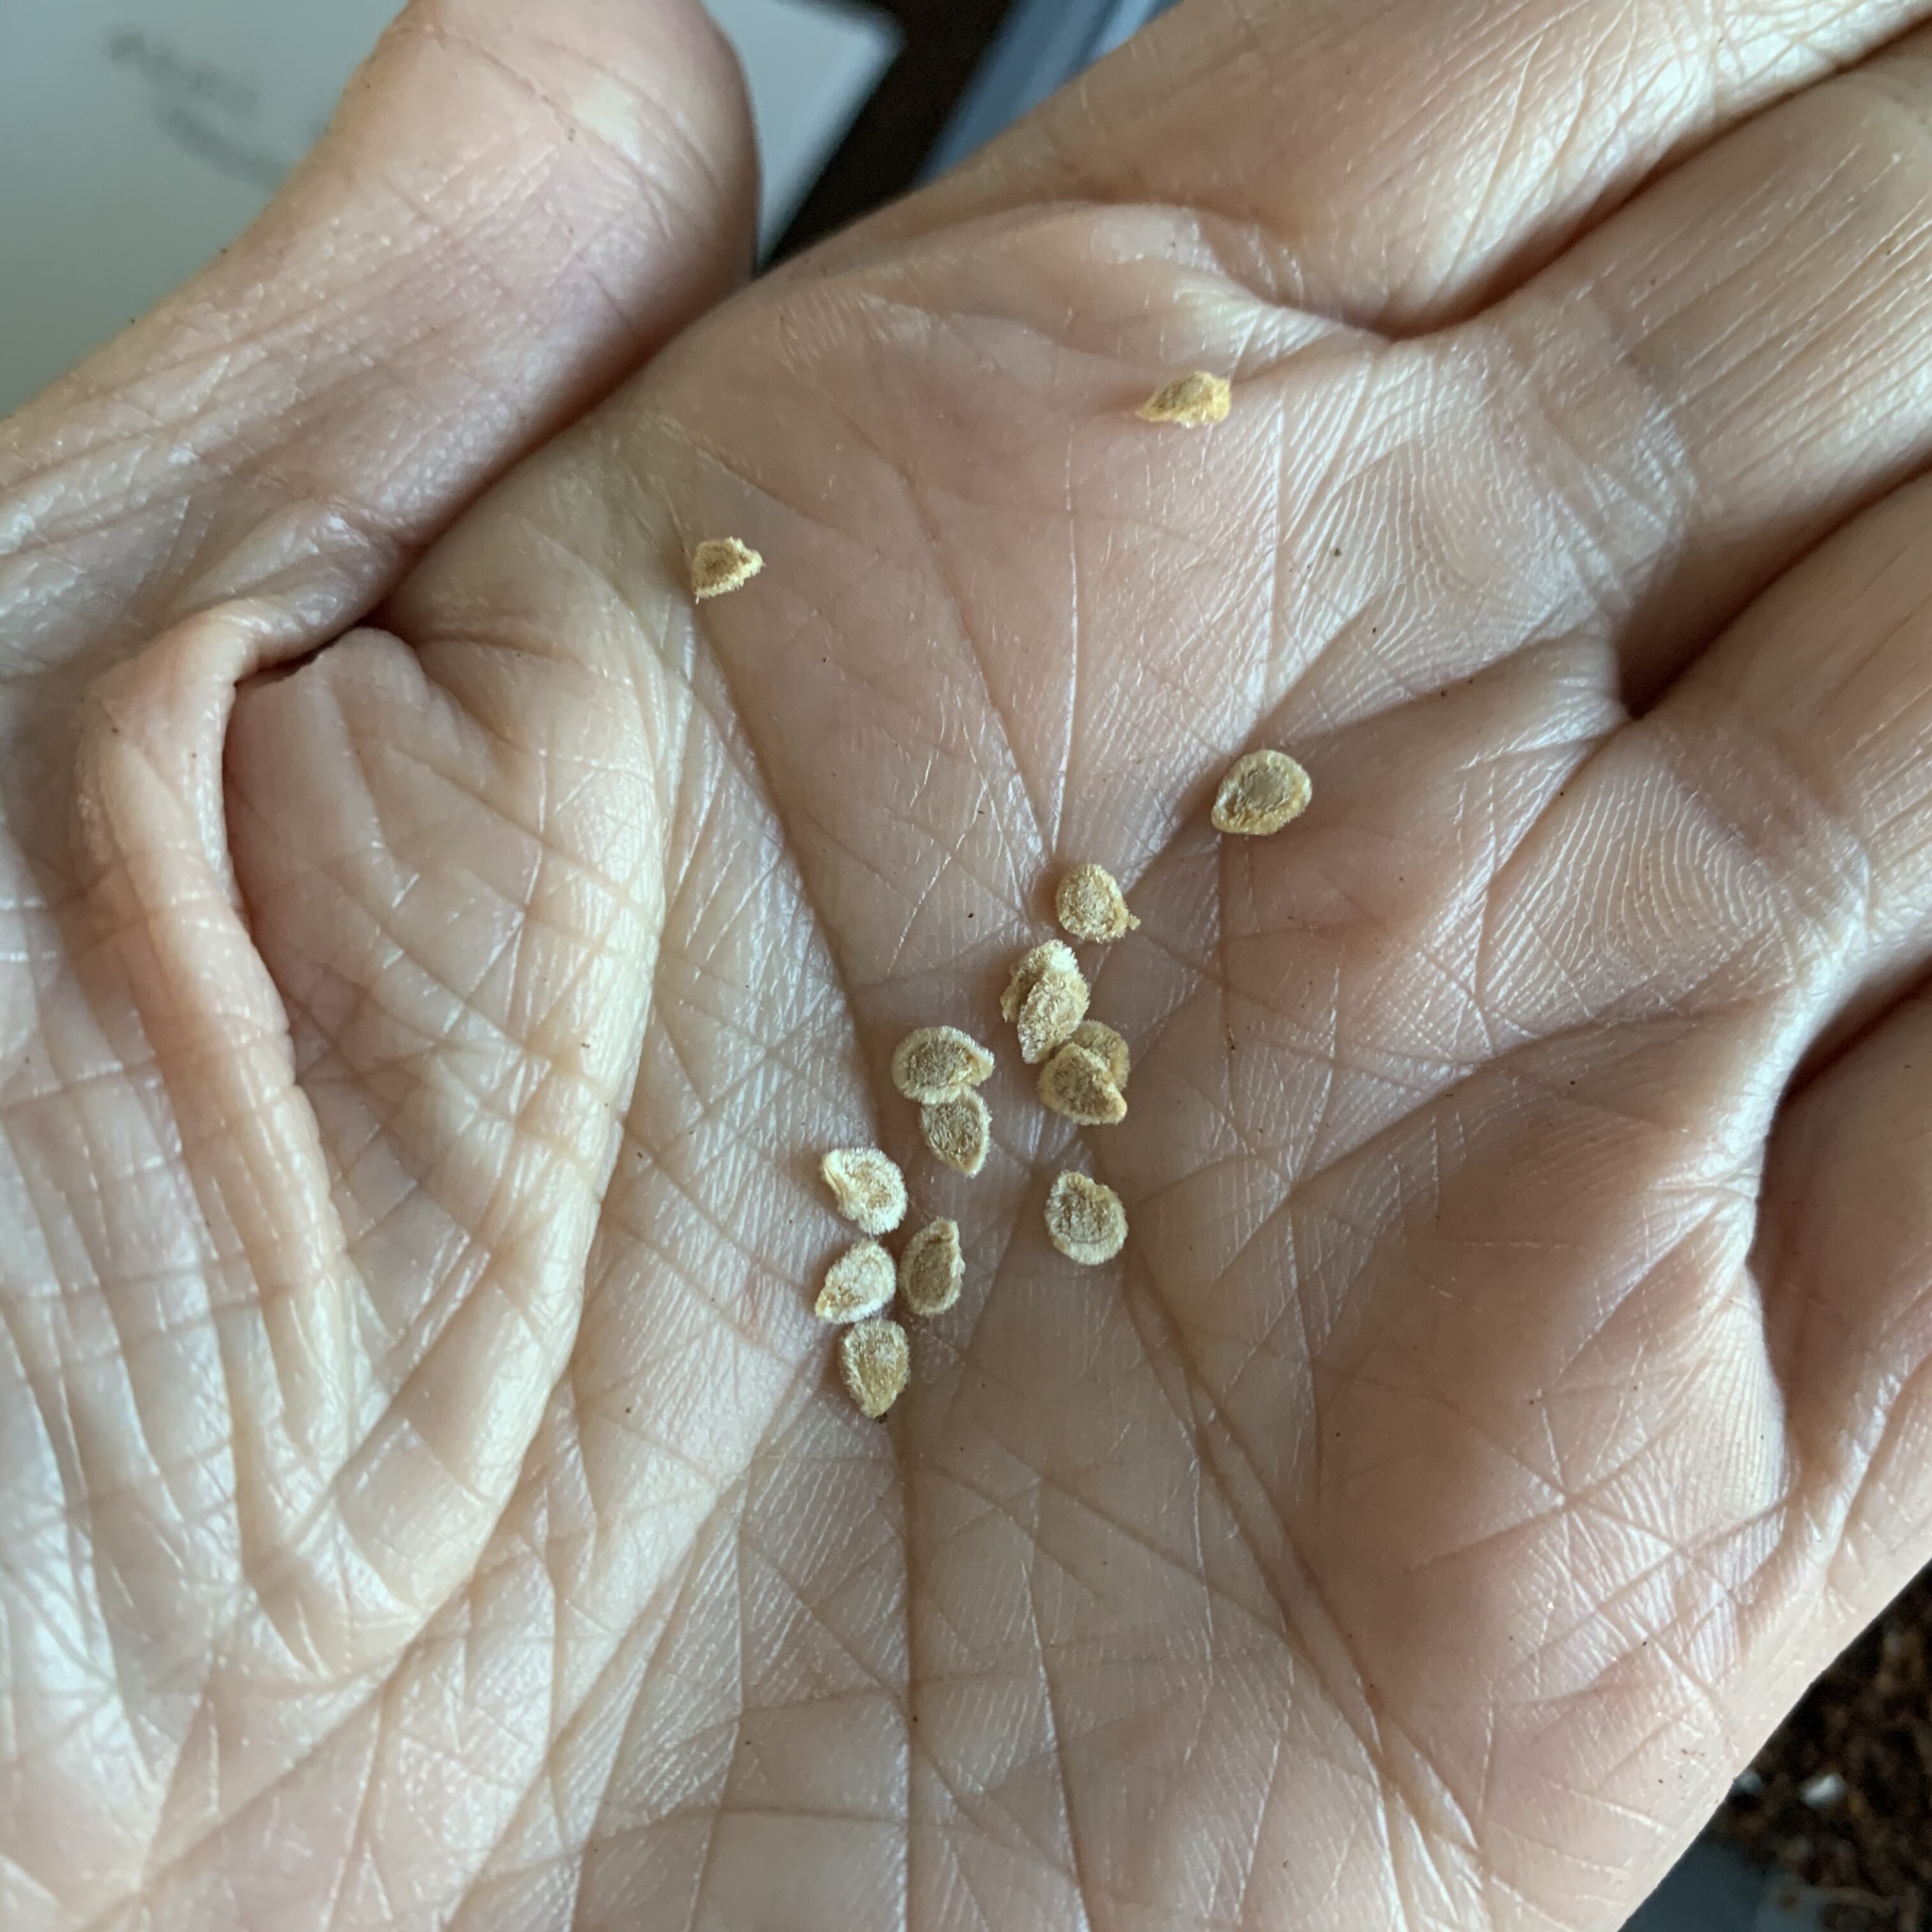
These plum tomato seeds from Kayla are huge! 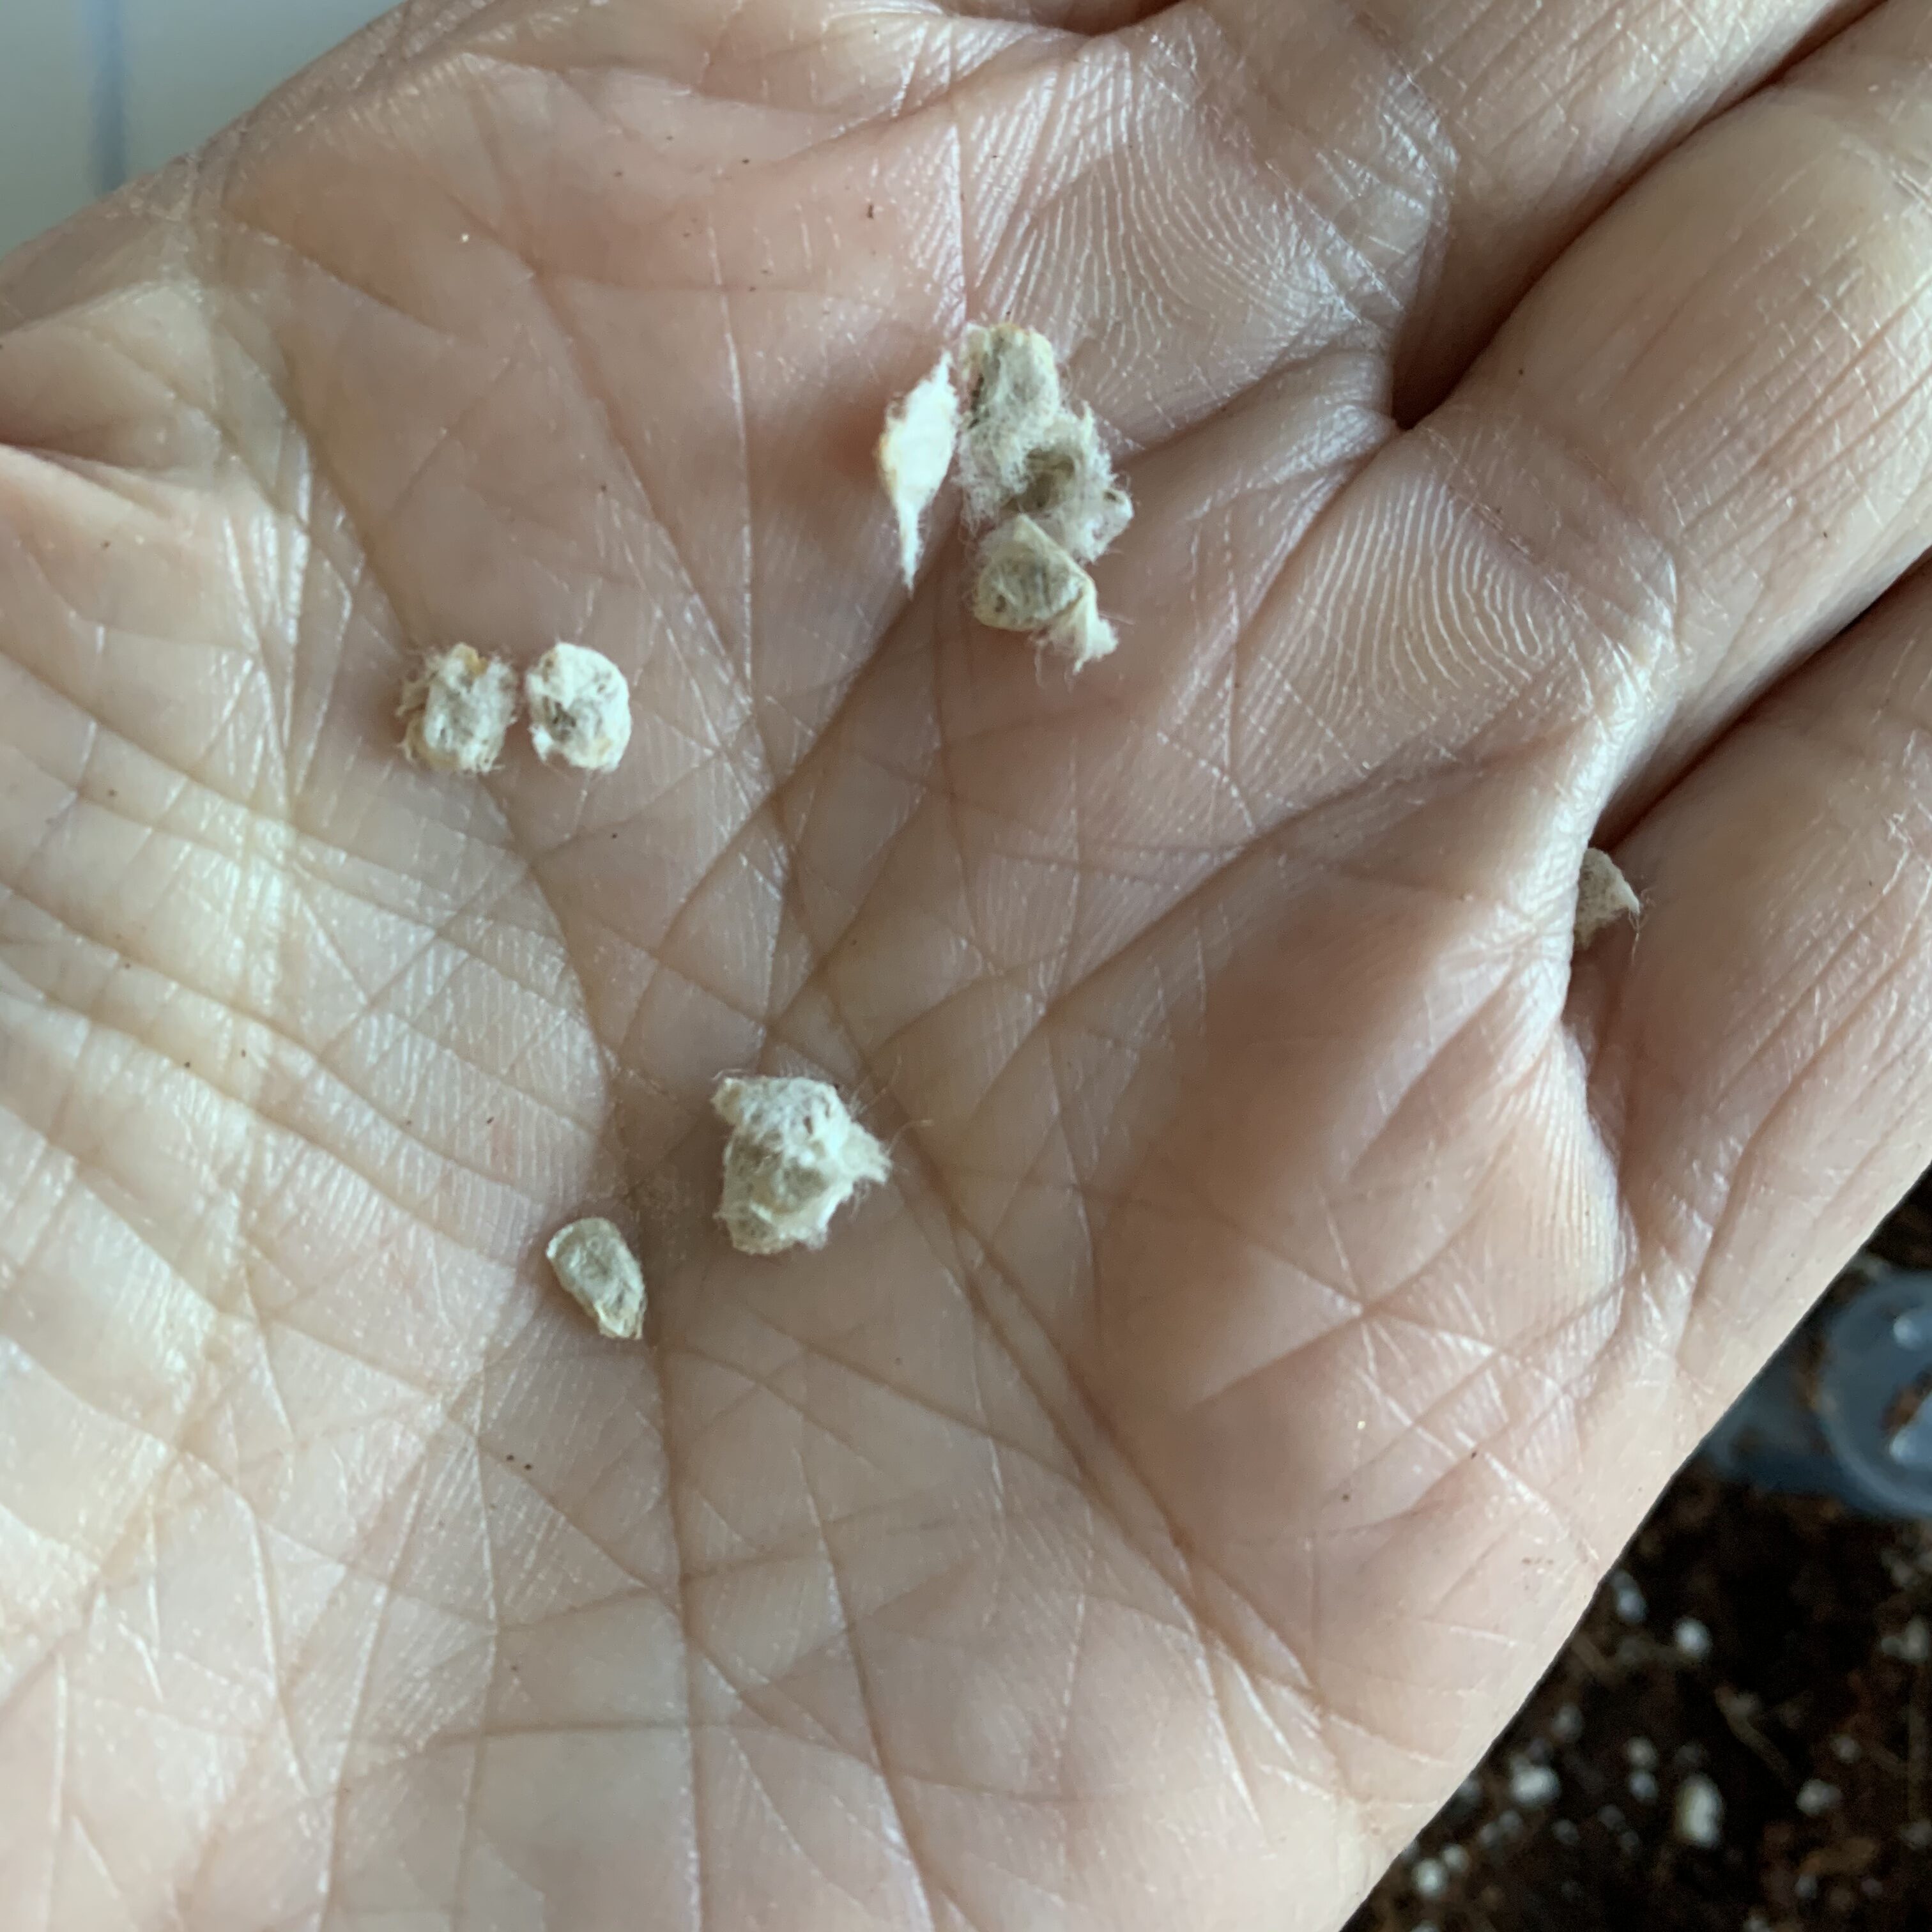
These are some seeds that I stole from Italy on a trip there several years ago. They still have toilet tissue stuck to them from when I collected the seeds. 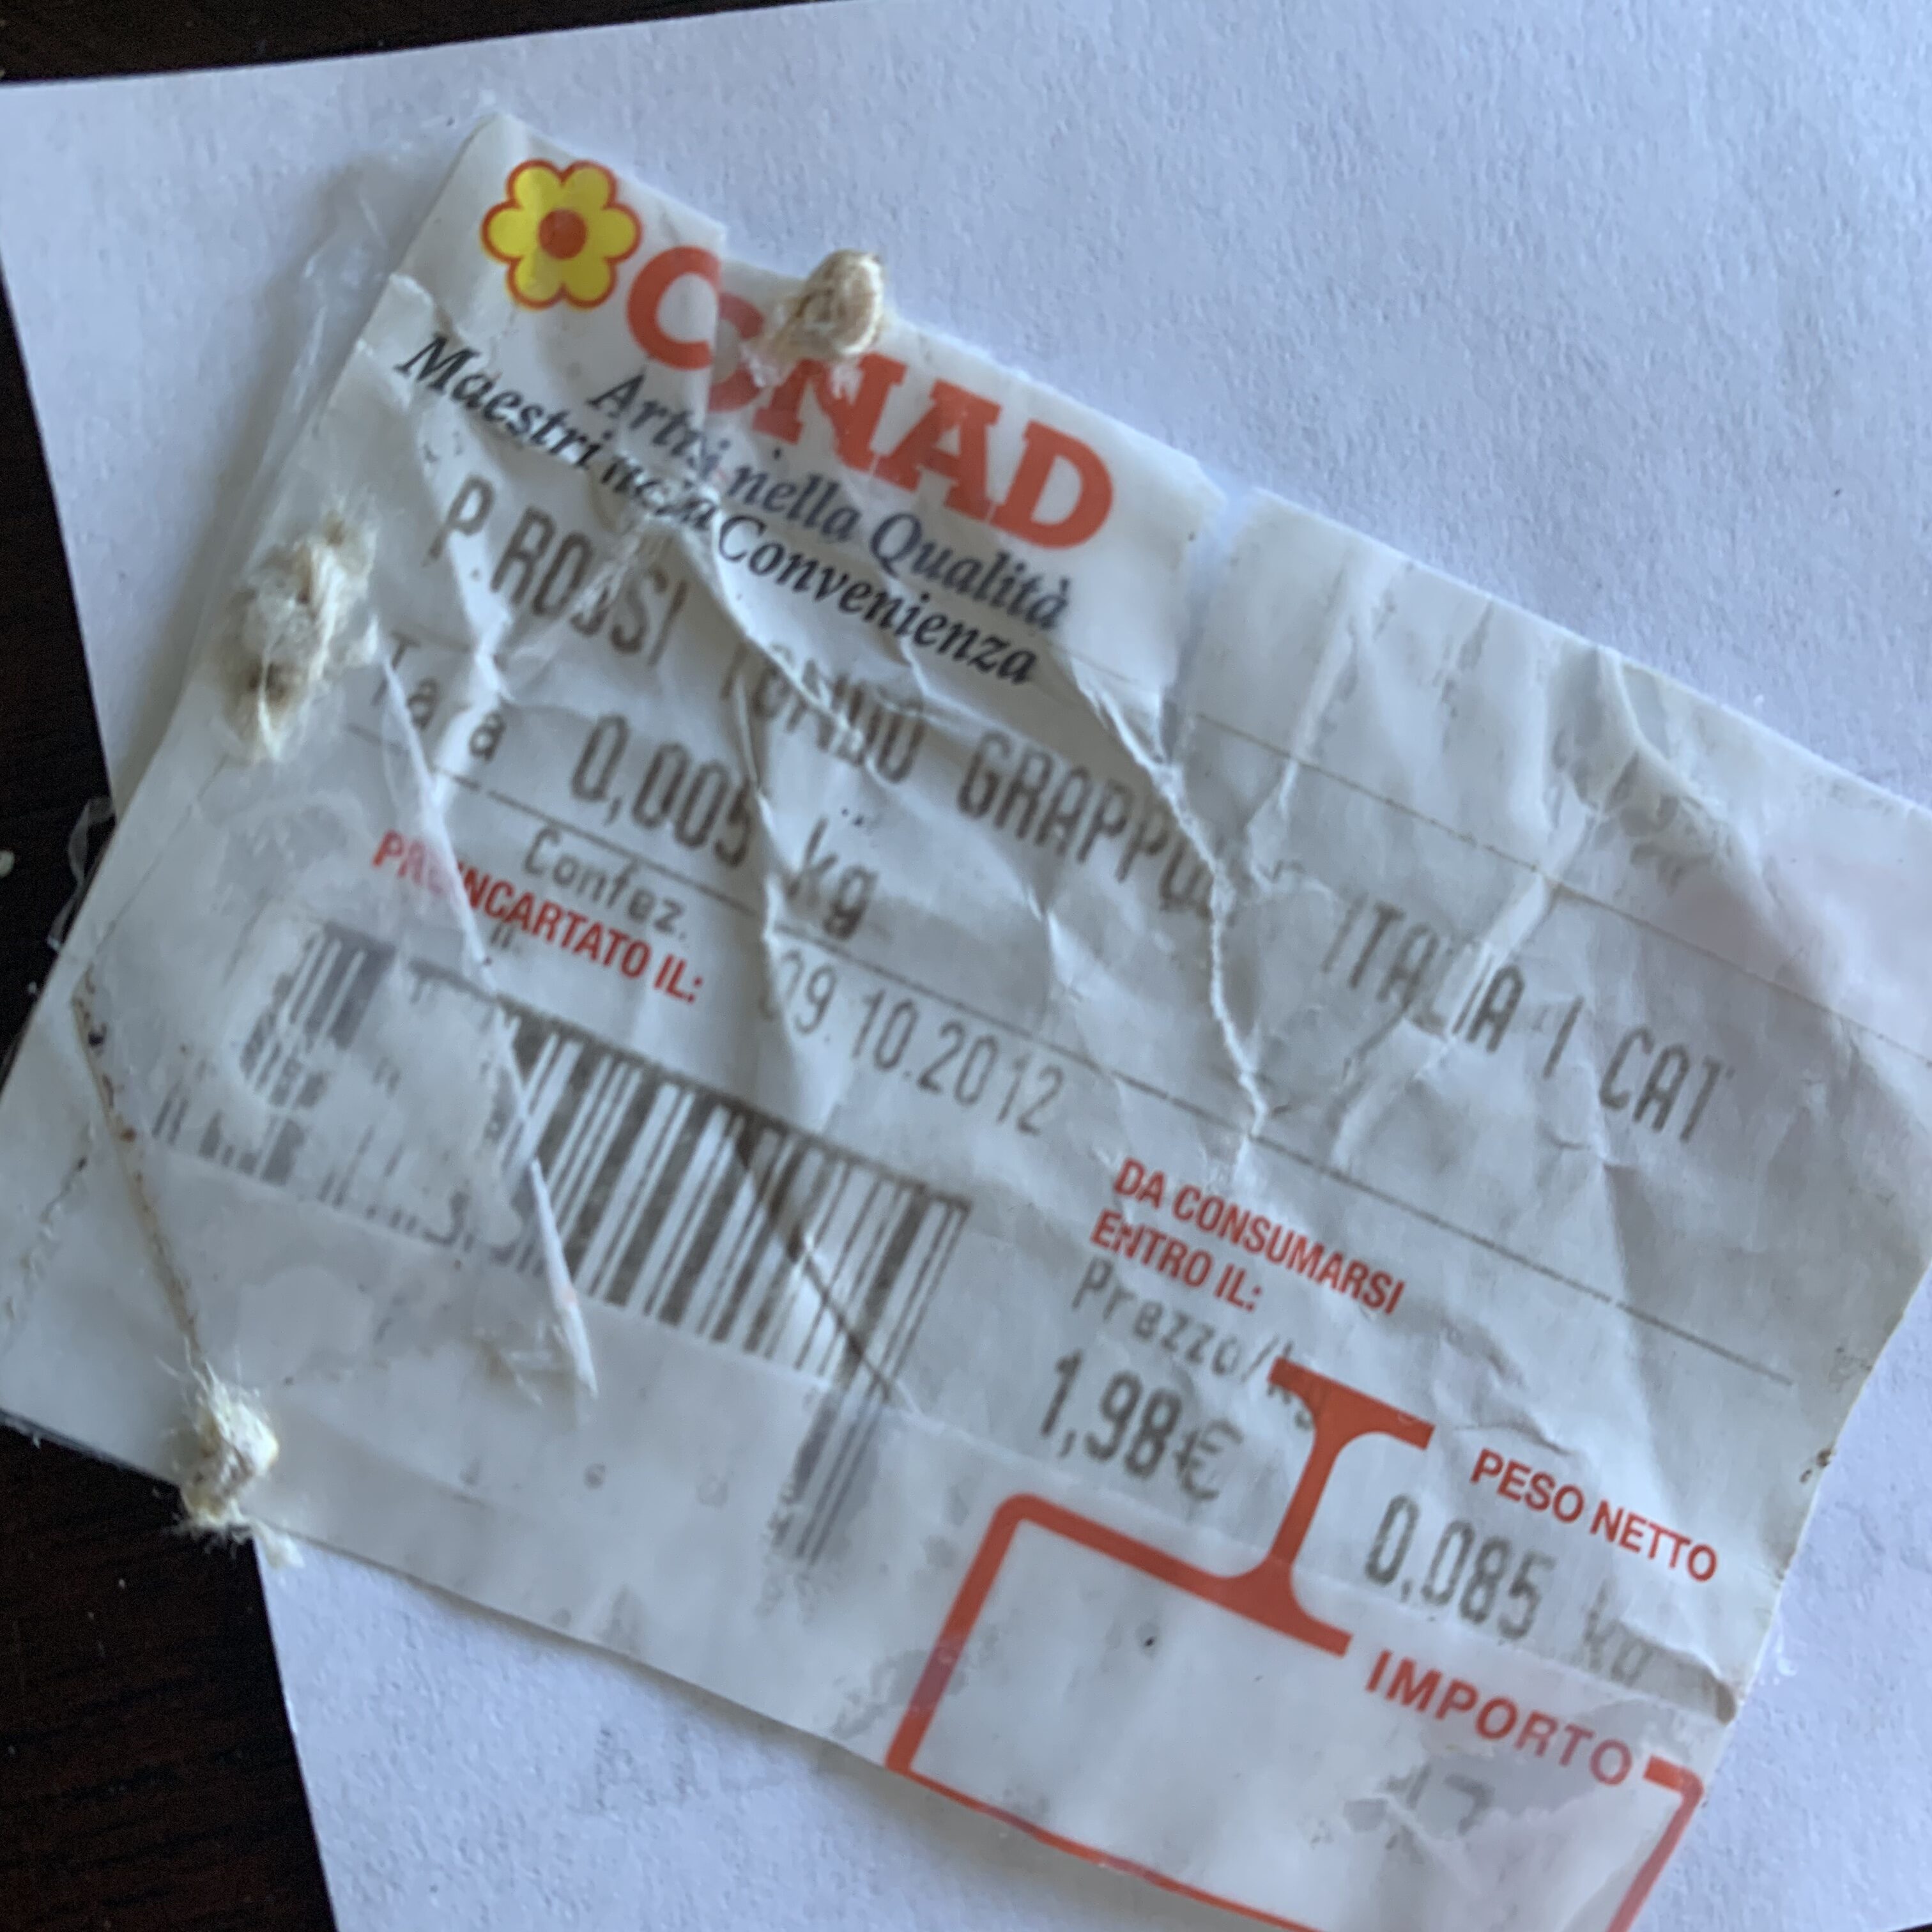
One of the seats I took was from a great variety. Here is the label that was on the package at the grocery store. I can’t read it since it’s in Italian. 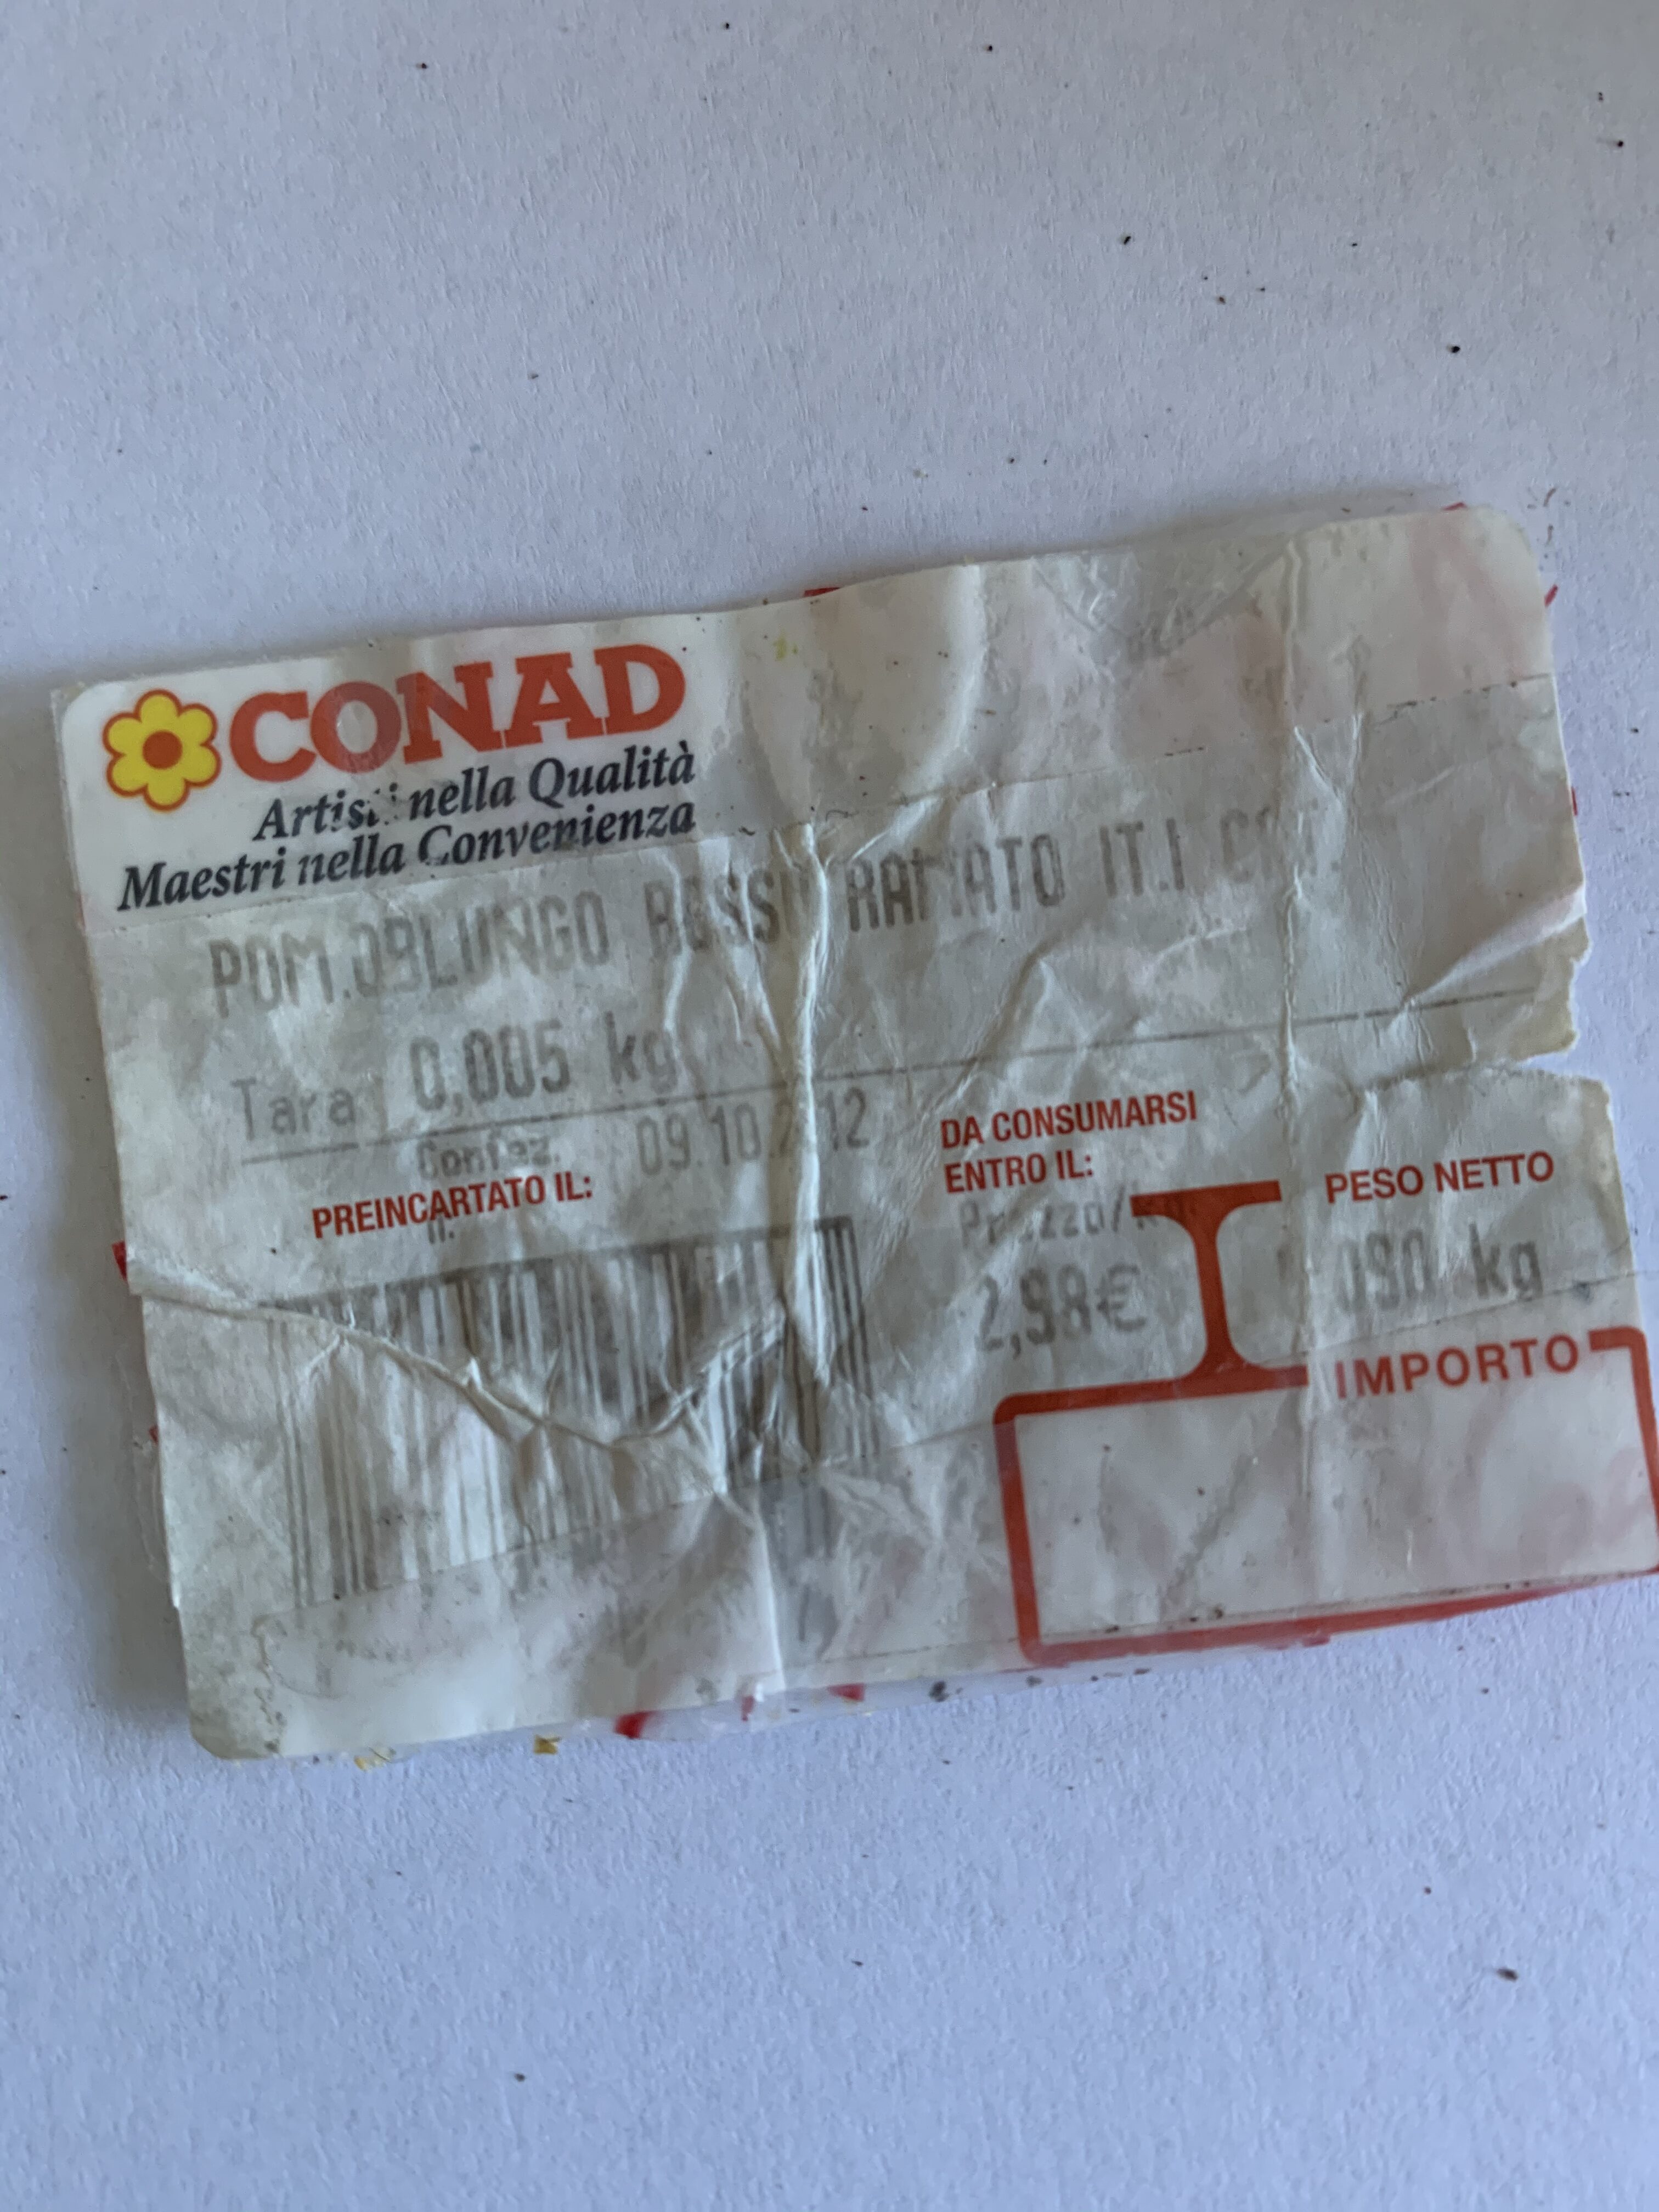
Here’s the label from the Italian plum or Roma style tomato. 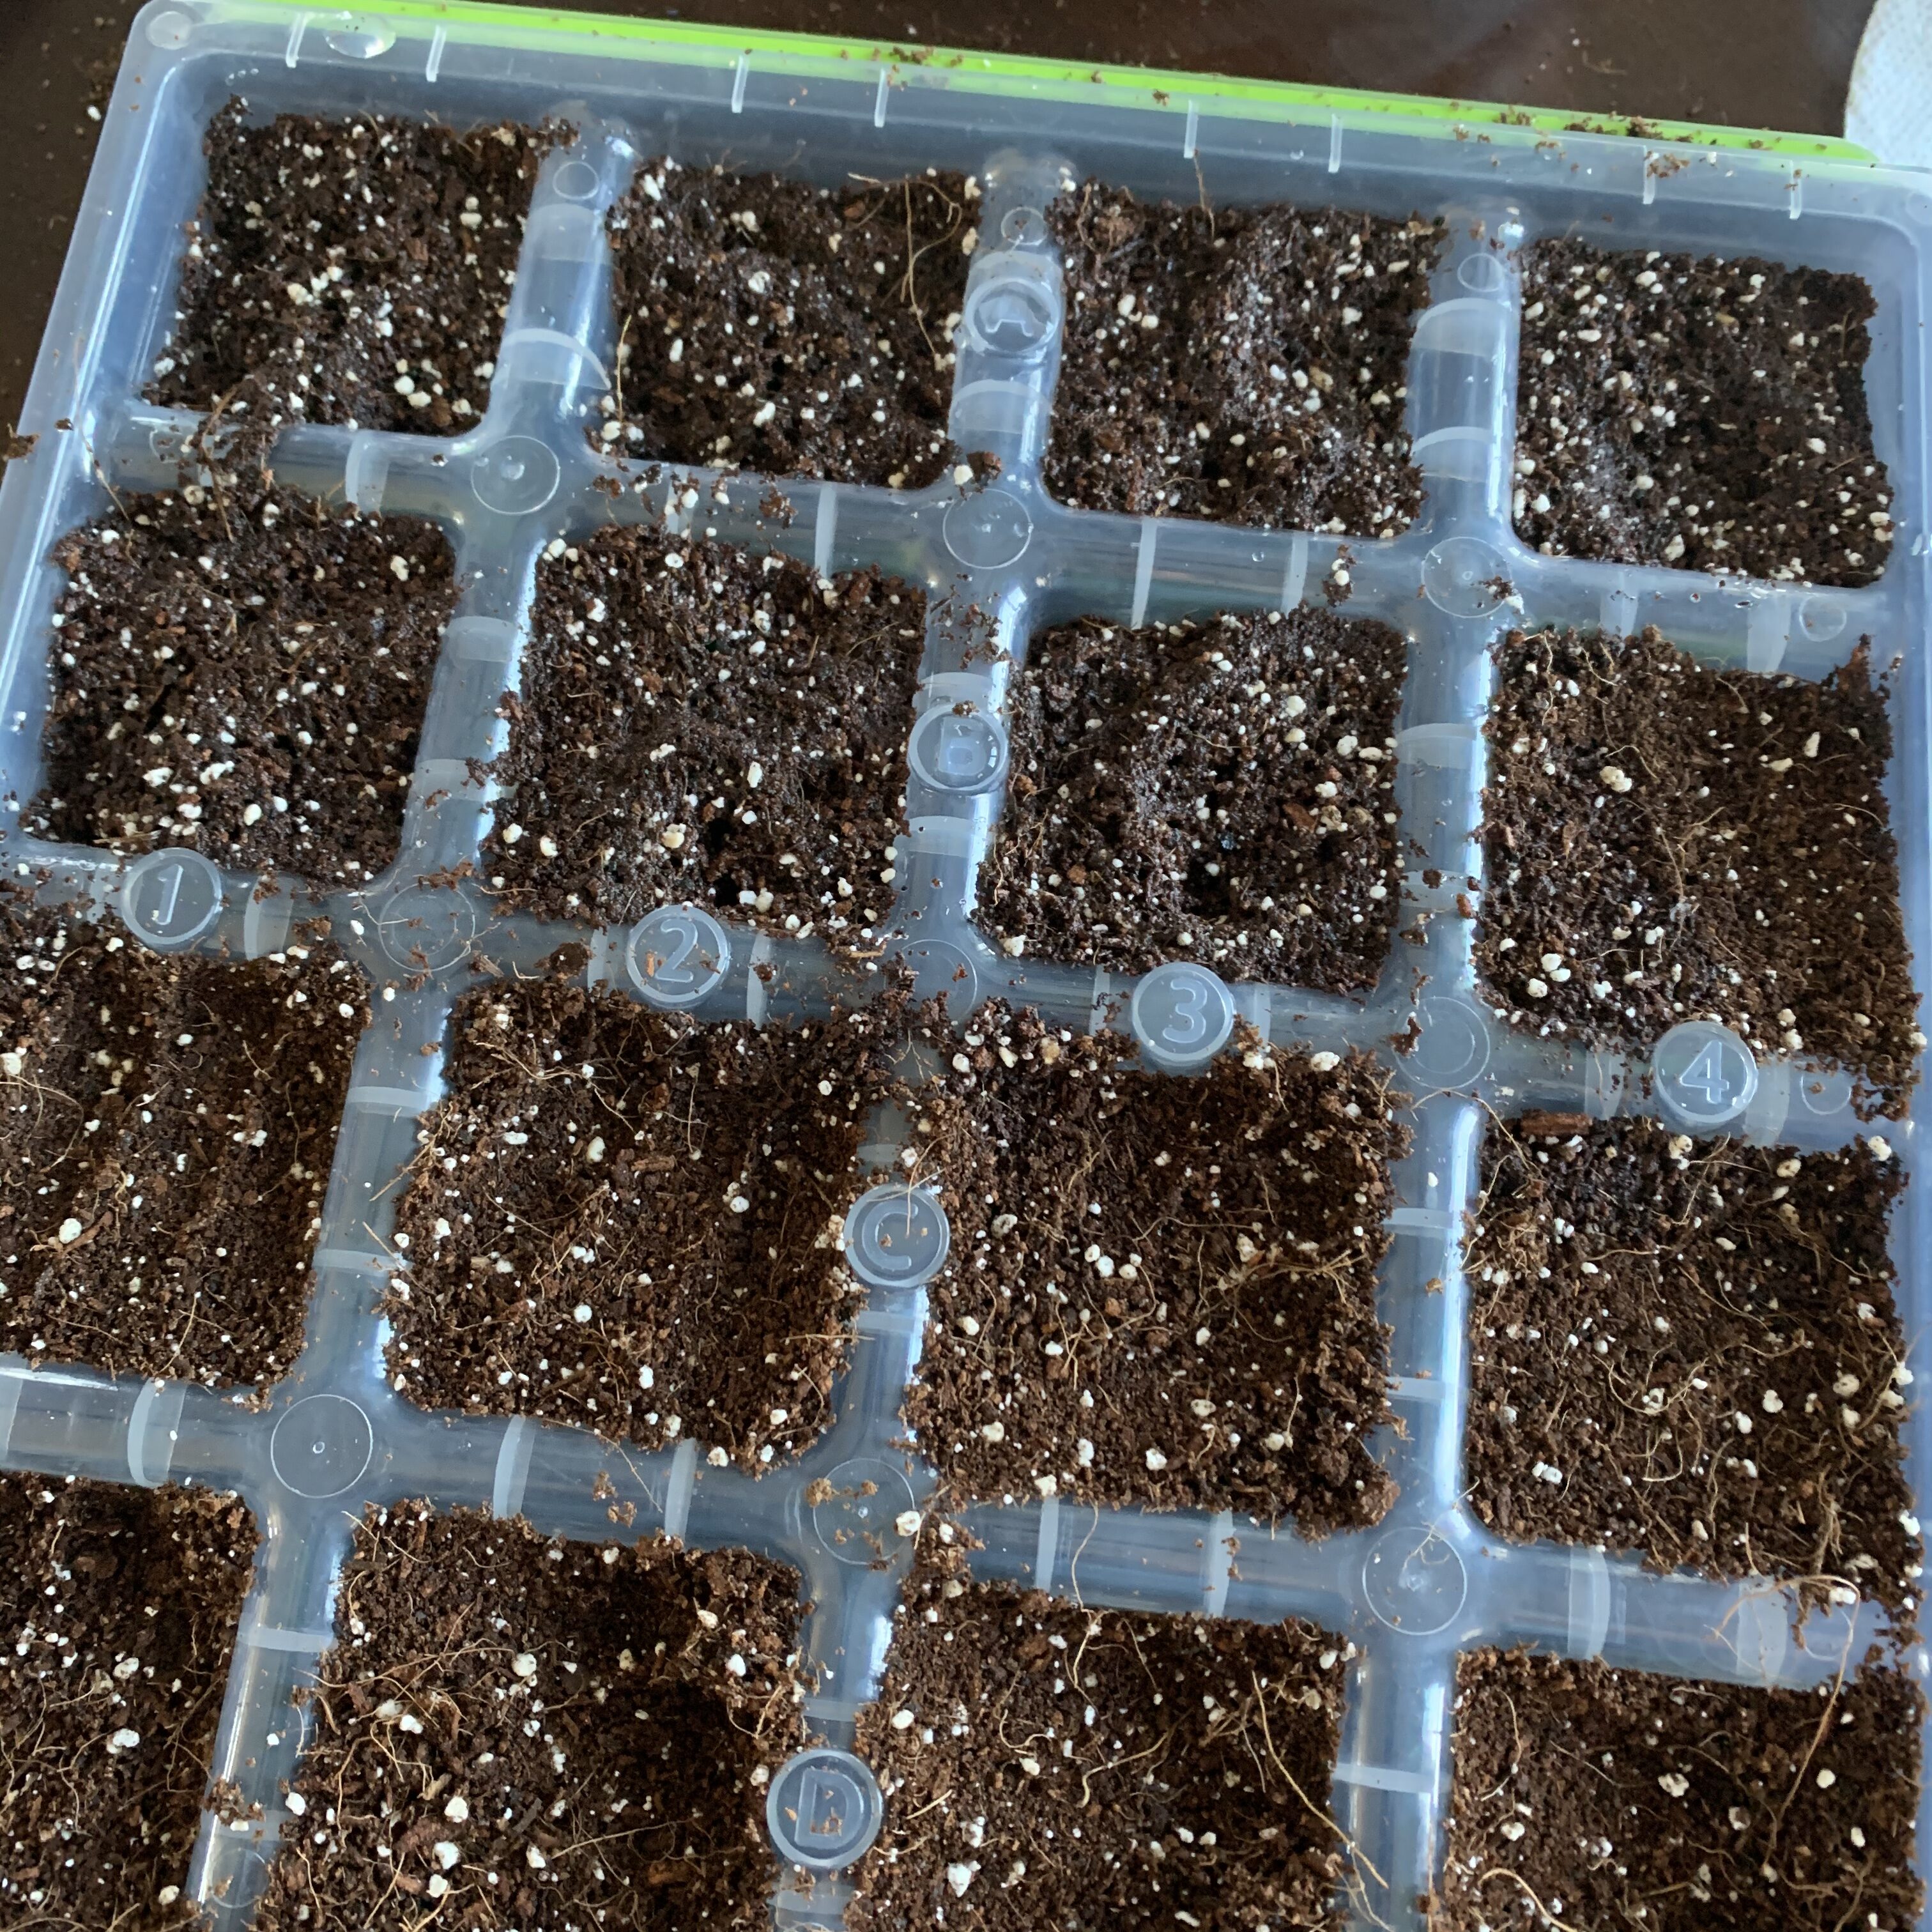
The seeds I ordered online aren’t in yet, so I only planted the first seven cells of the flat.
Planting was so easy that I ended up planting more seed varieties than I initially planned. I decided to go ahead and plant stew pica and the two Italian tomato seeds phrase that I collected several years ago. They are old seeds, and they were never fermented, but if they live I’ll go ahead and plant them out in the garden. When I was finished planting, I put some press and seal over the top of the seed flat to keep moisture in.
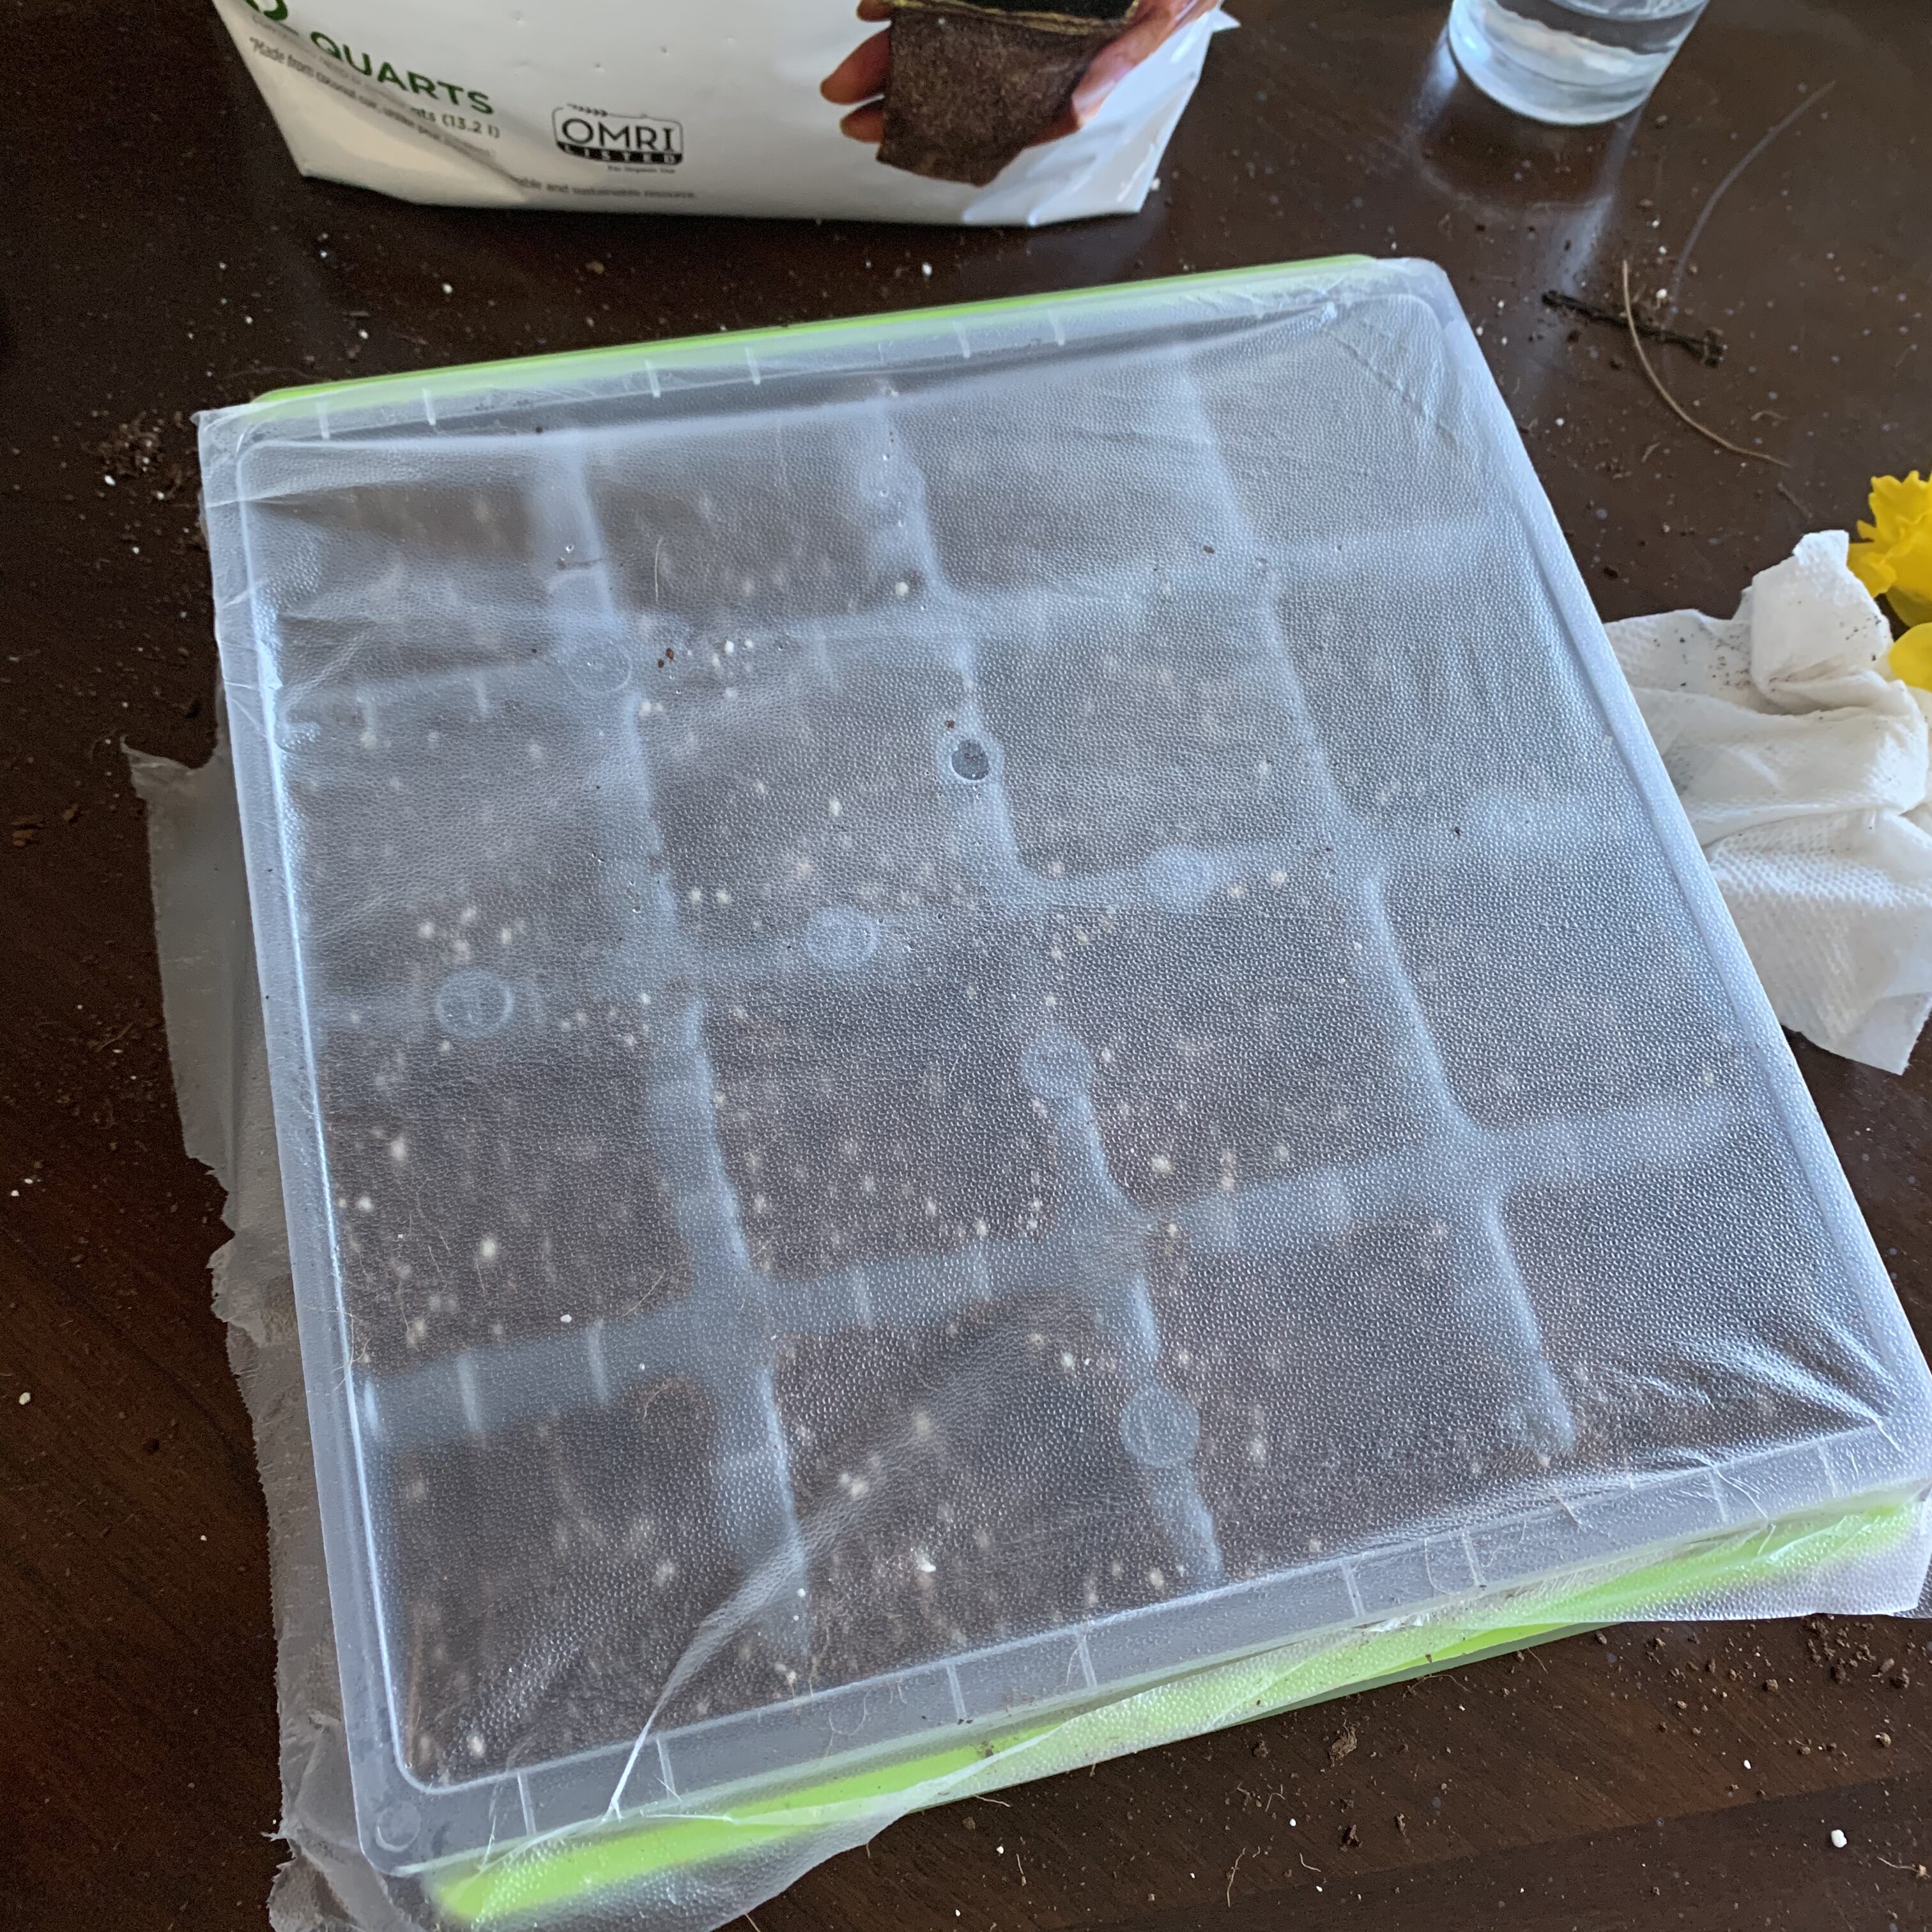
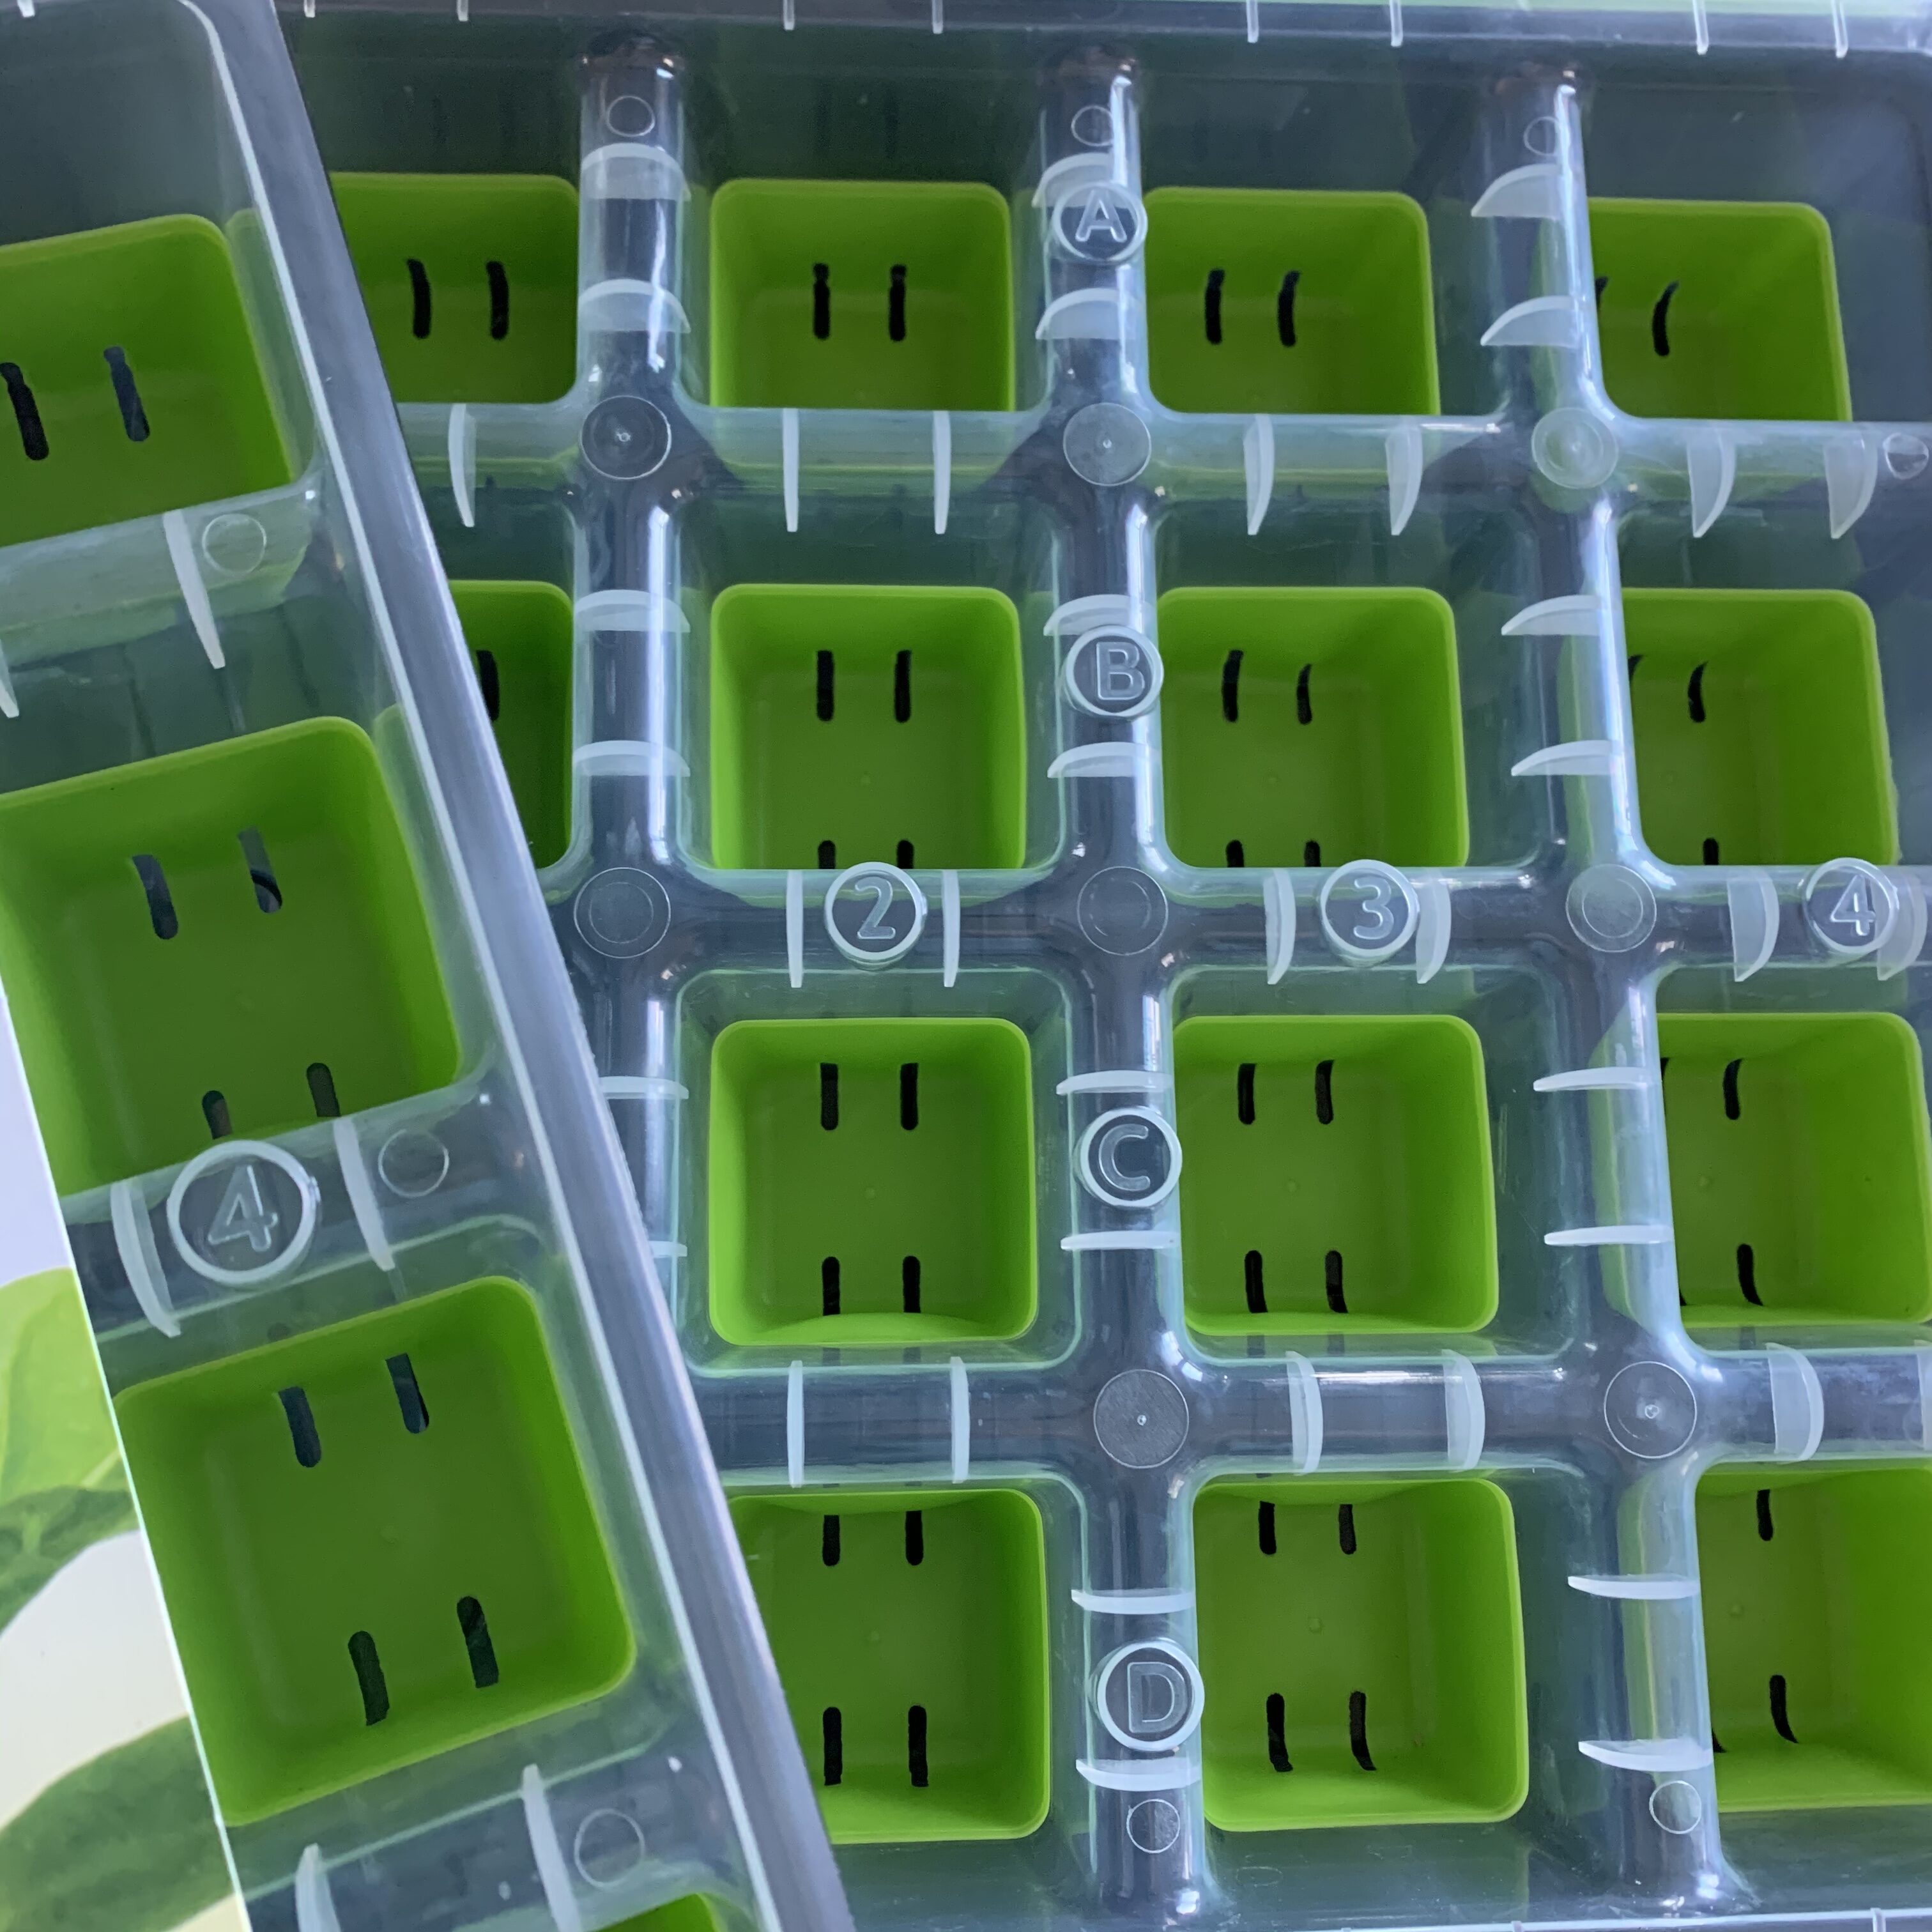
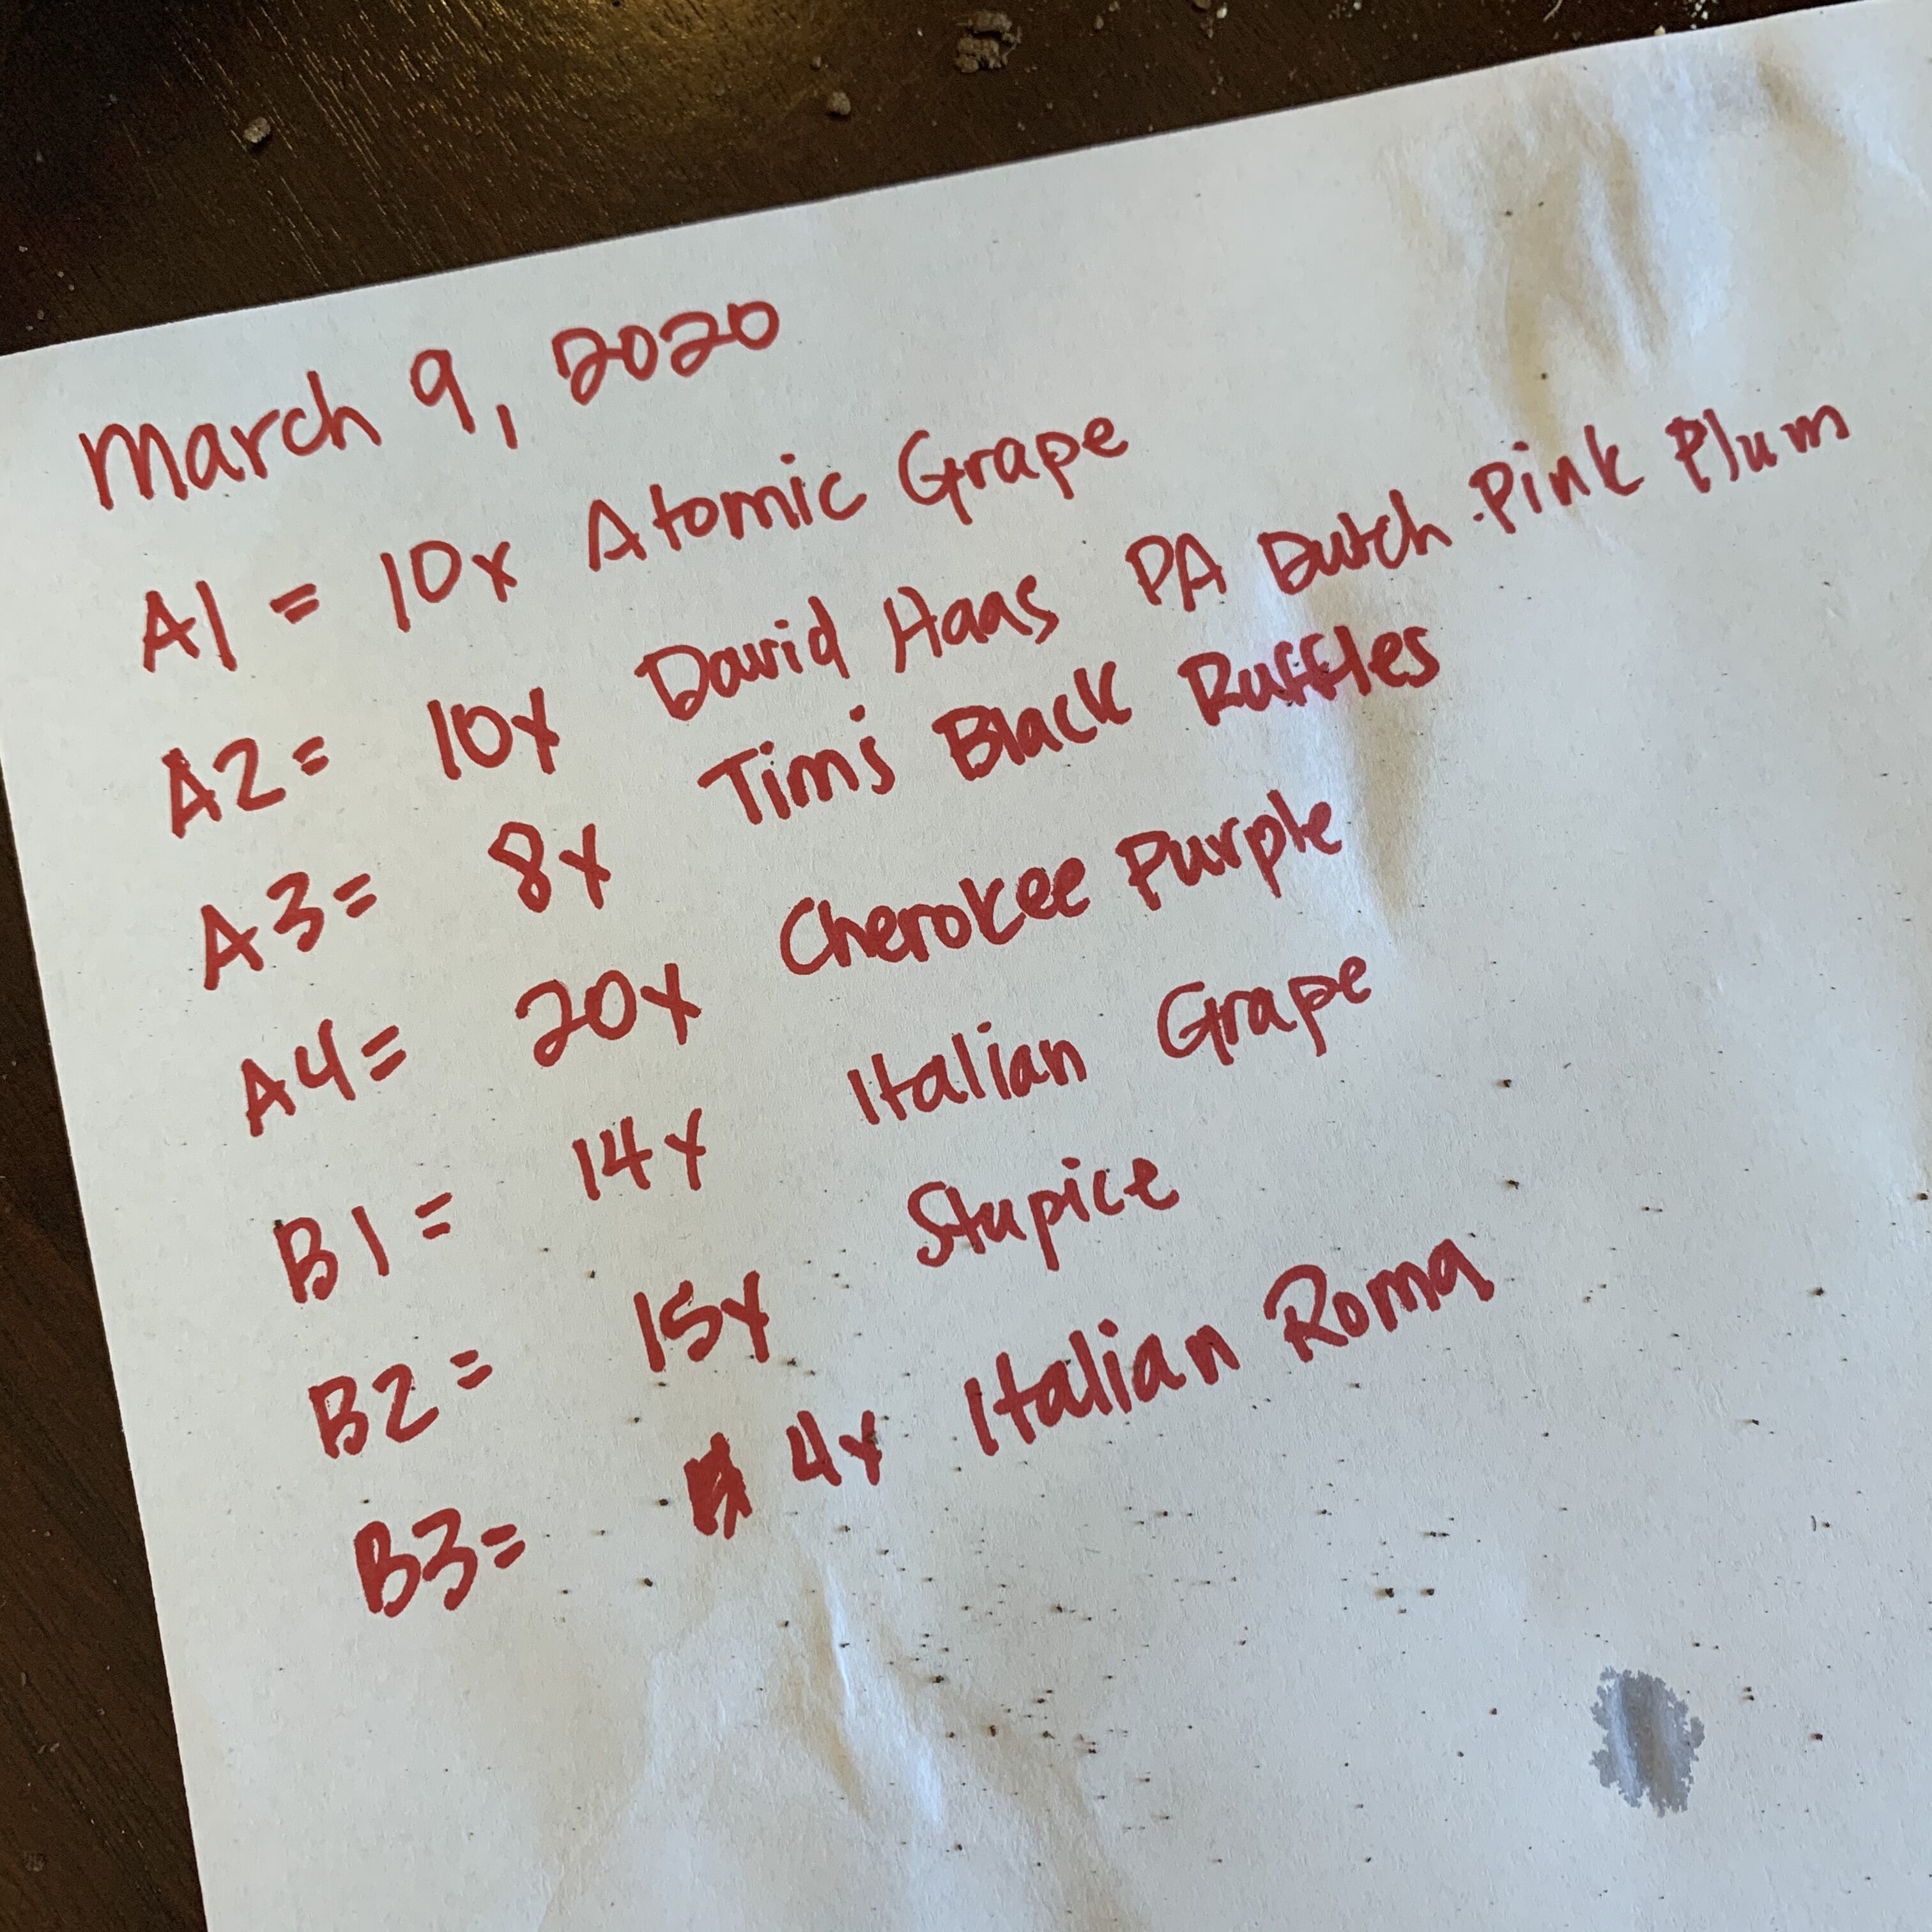
The Burpee seed starting Trey has each cell labeled with a letter and number. Are used that to track which seats I put in each cell. I am using the Craig Lehouillier method of dense planting to start my seedlings. I have between five and 20 seeds planted in each of the seven cells.
This year I bought a seed warming mat and thermostat from Amazon to start my ceilings. It was easy to set up. I set the temperature to 75° Fahrenheit to help the seedlings start quickly. The thermostat should keep the seedlings from becoming over warm. If you look at the temperature on the thermostat in the pictures below, you’ll see that the measured temperature is over 80° Fahrenheit. This is because I used warm water to pour over the seed starting mix because warm water absorbs better into dry mix. In the picture where the thermostat read 70°F, that’s because that is the measured temperature of my house. You can see why I need to use a seat map to help with germination because we keep the house relatively cool.
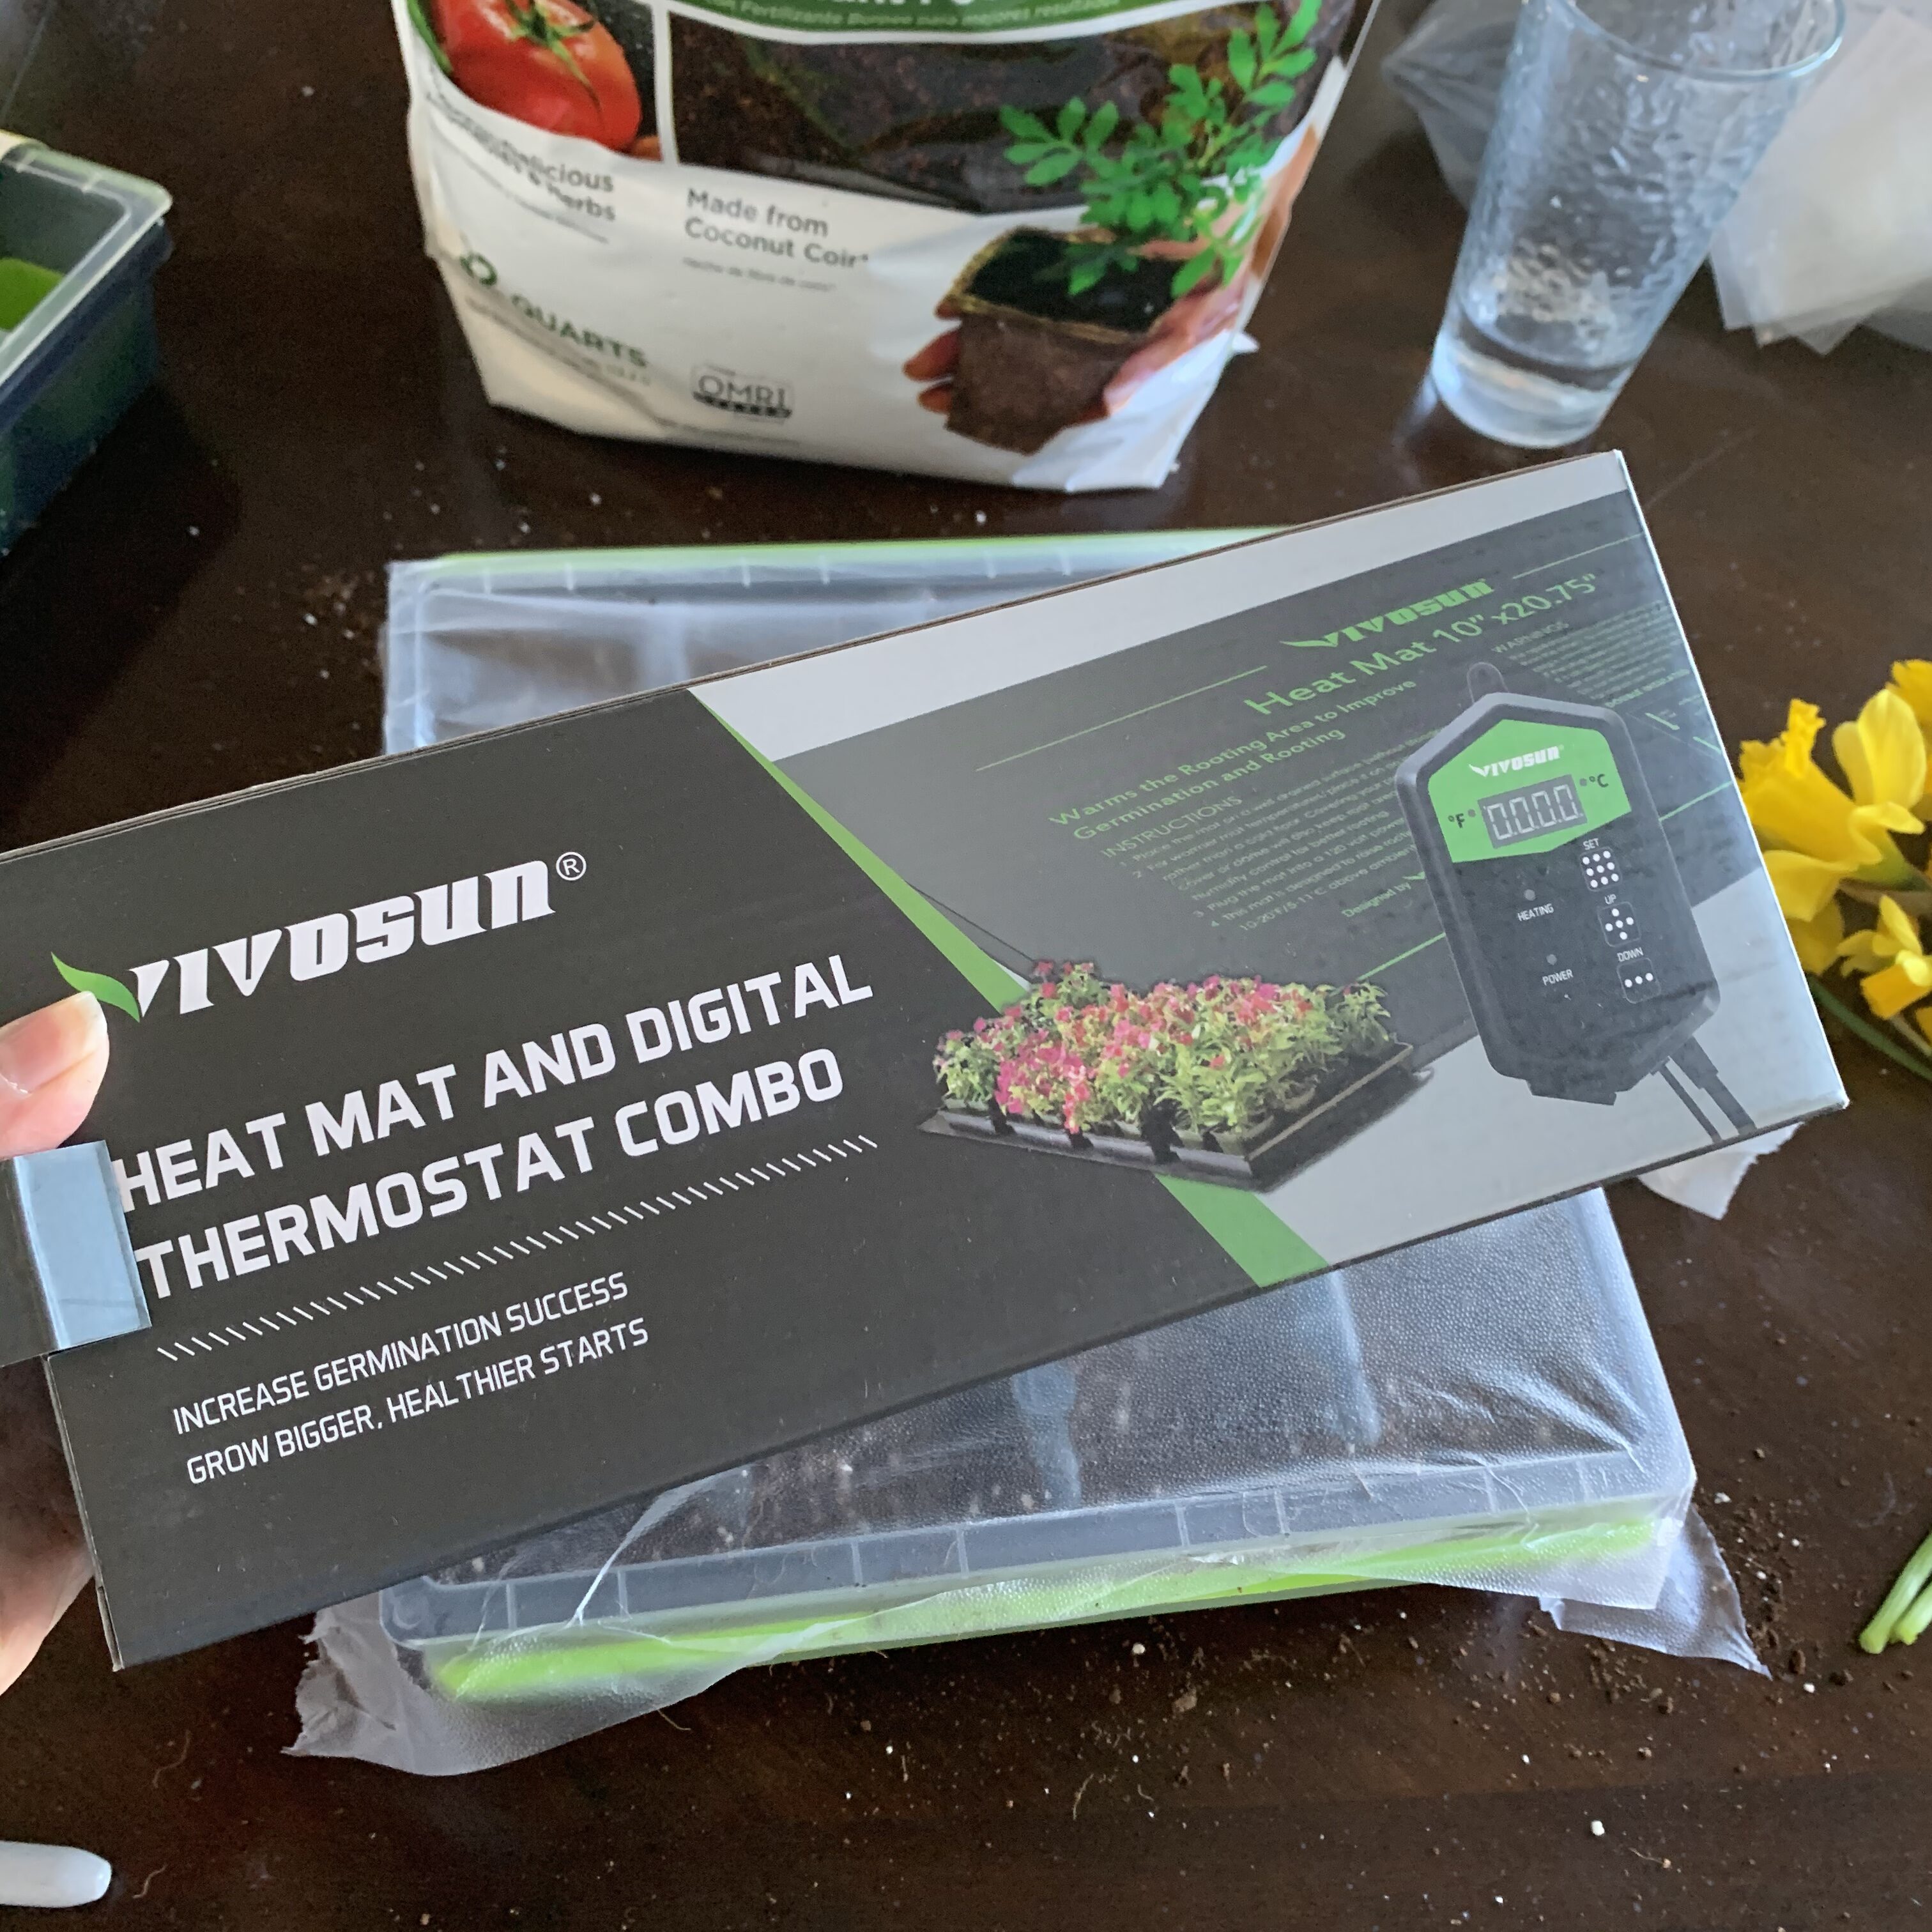
This cost $32 on Amazon shipped 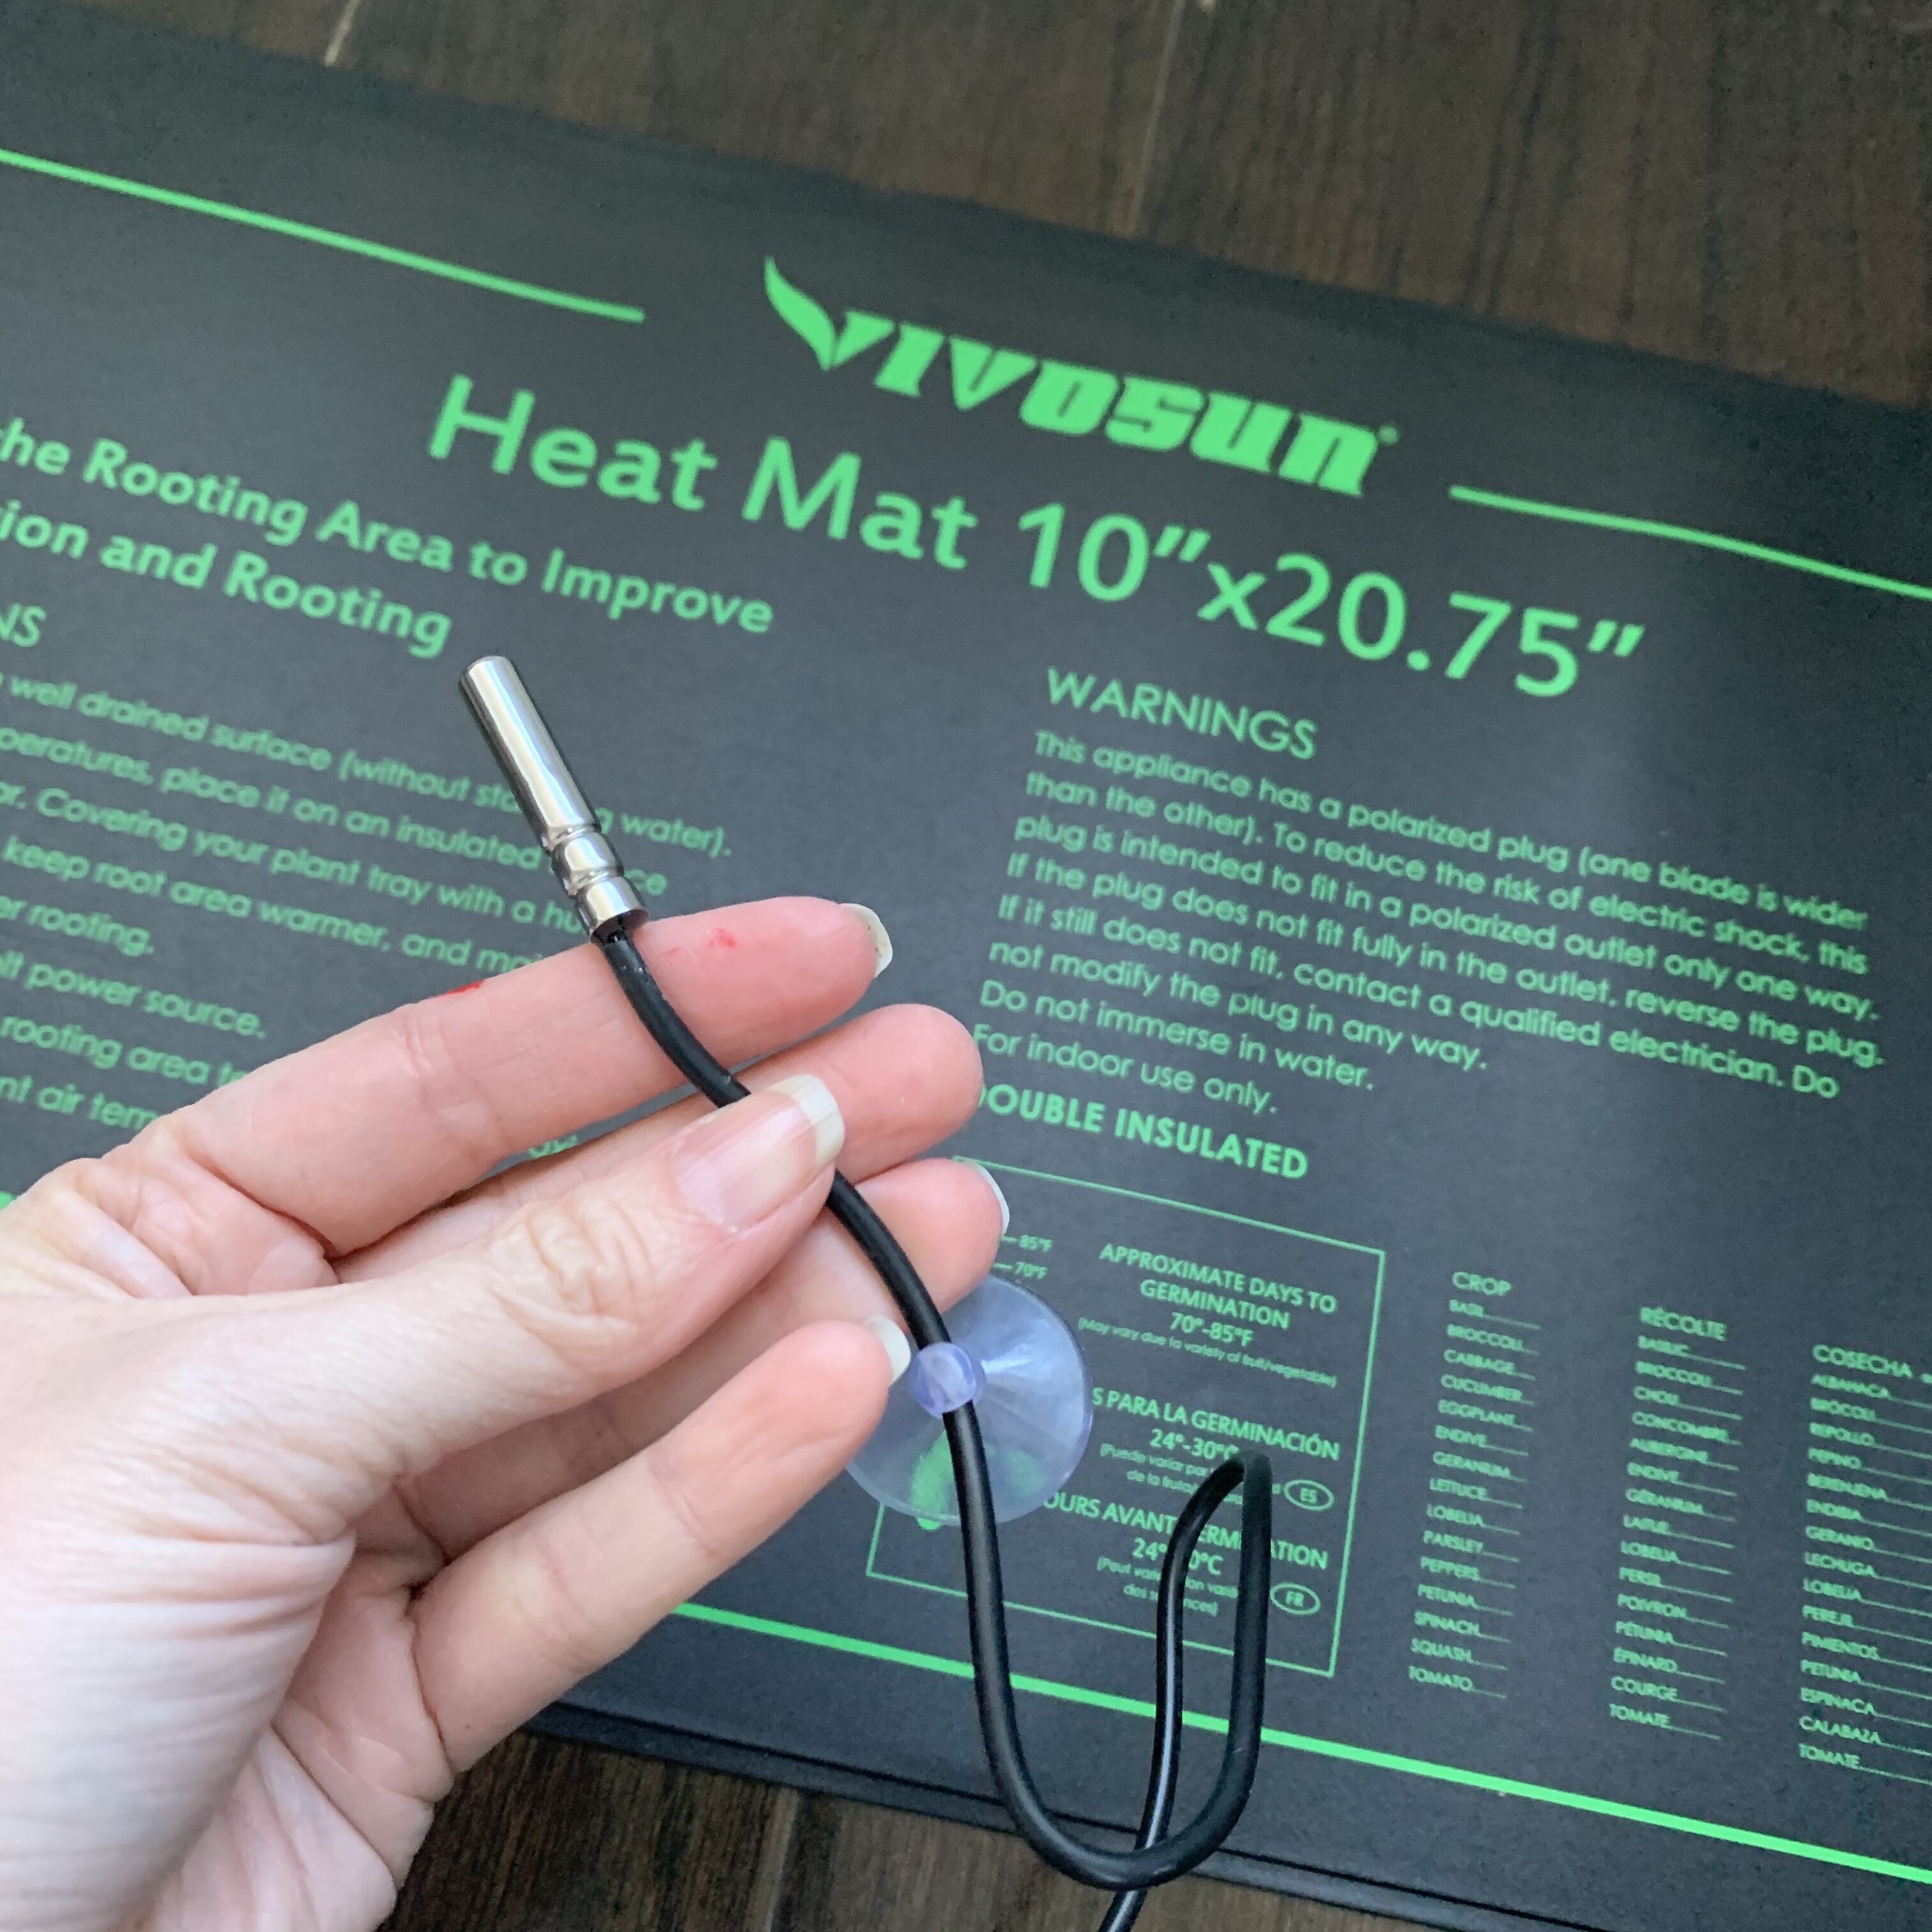
Temperature probe 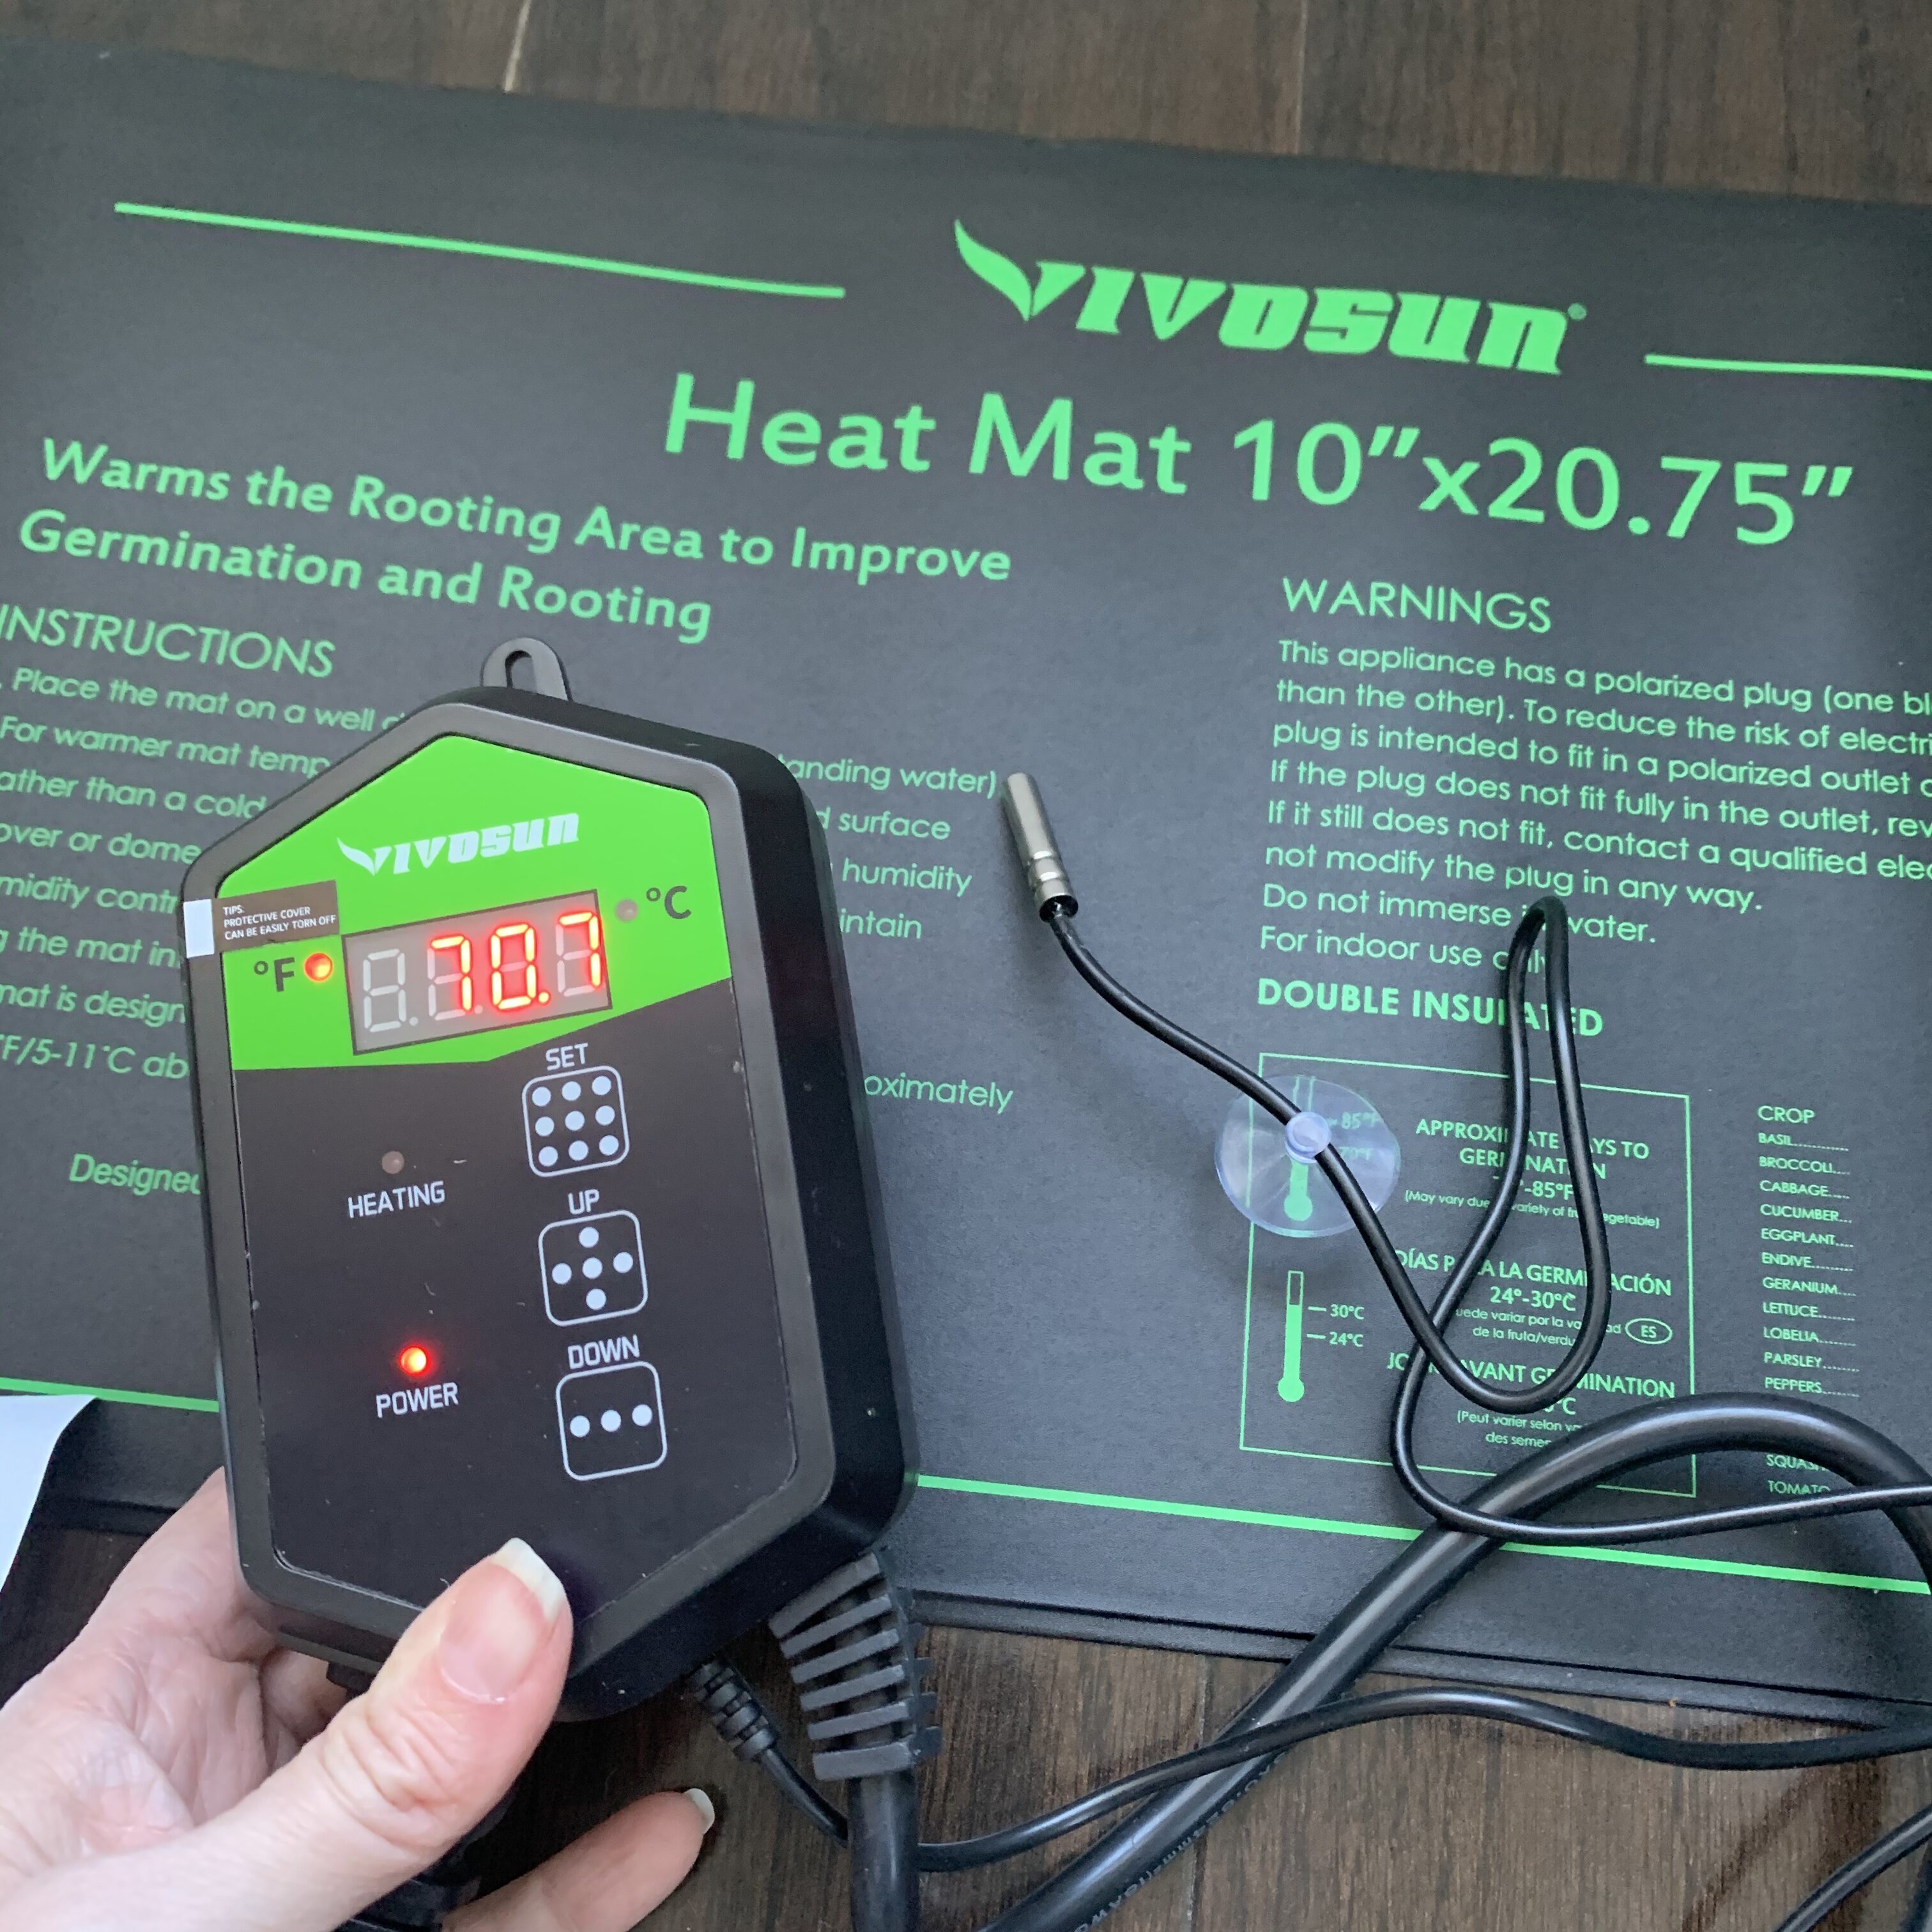
Heat mat with thermostat and probe 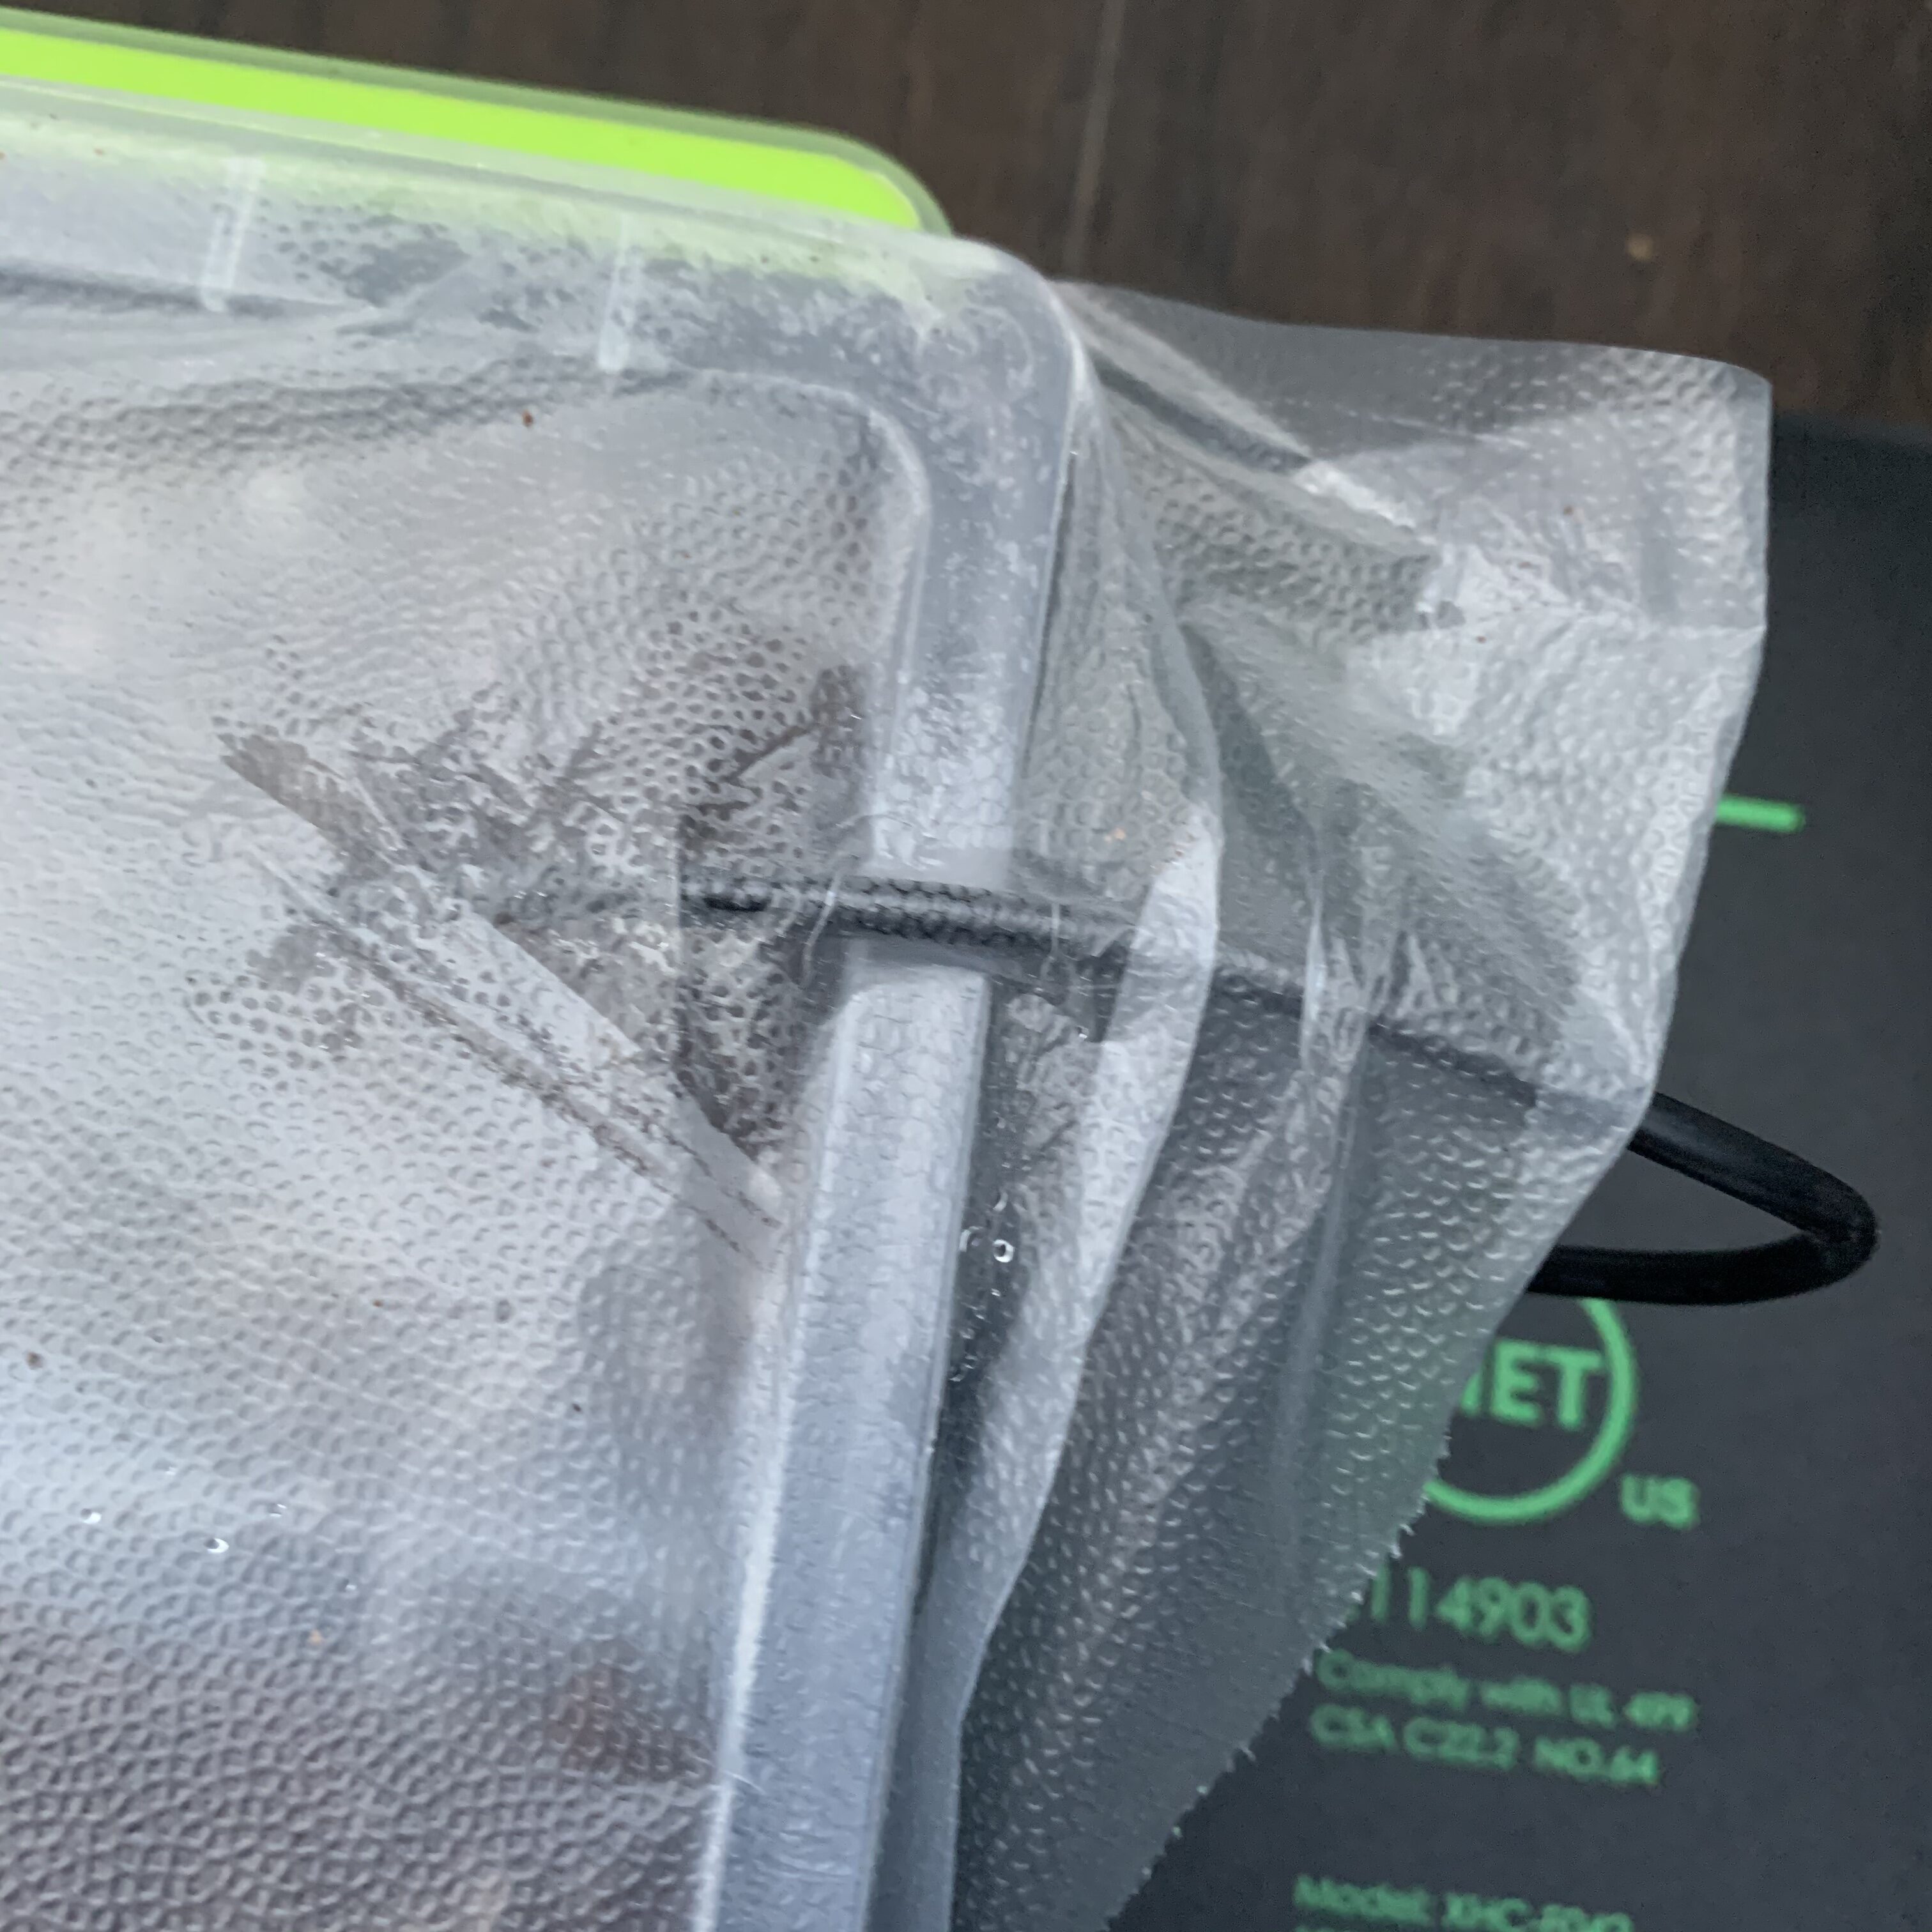
Temperature probe inserted into one of the cells 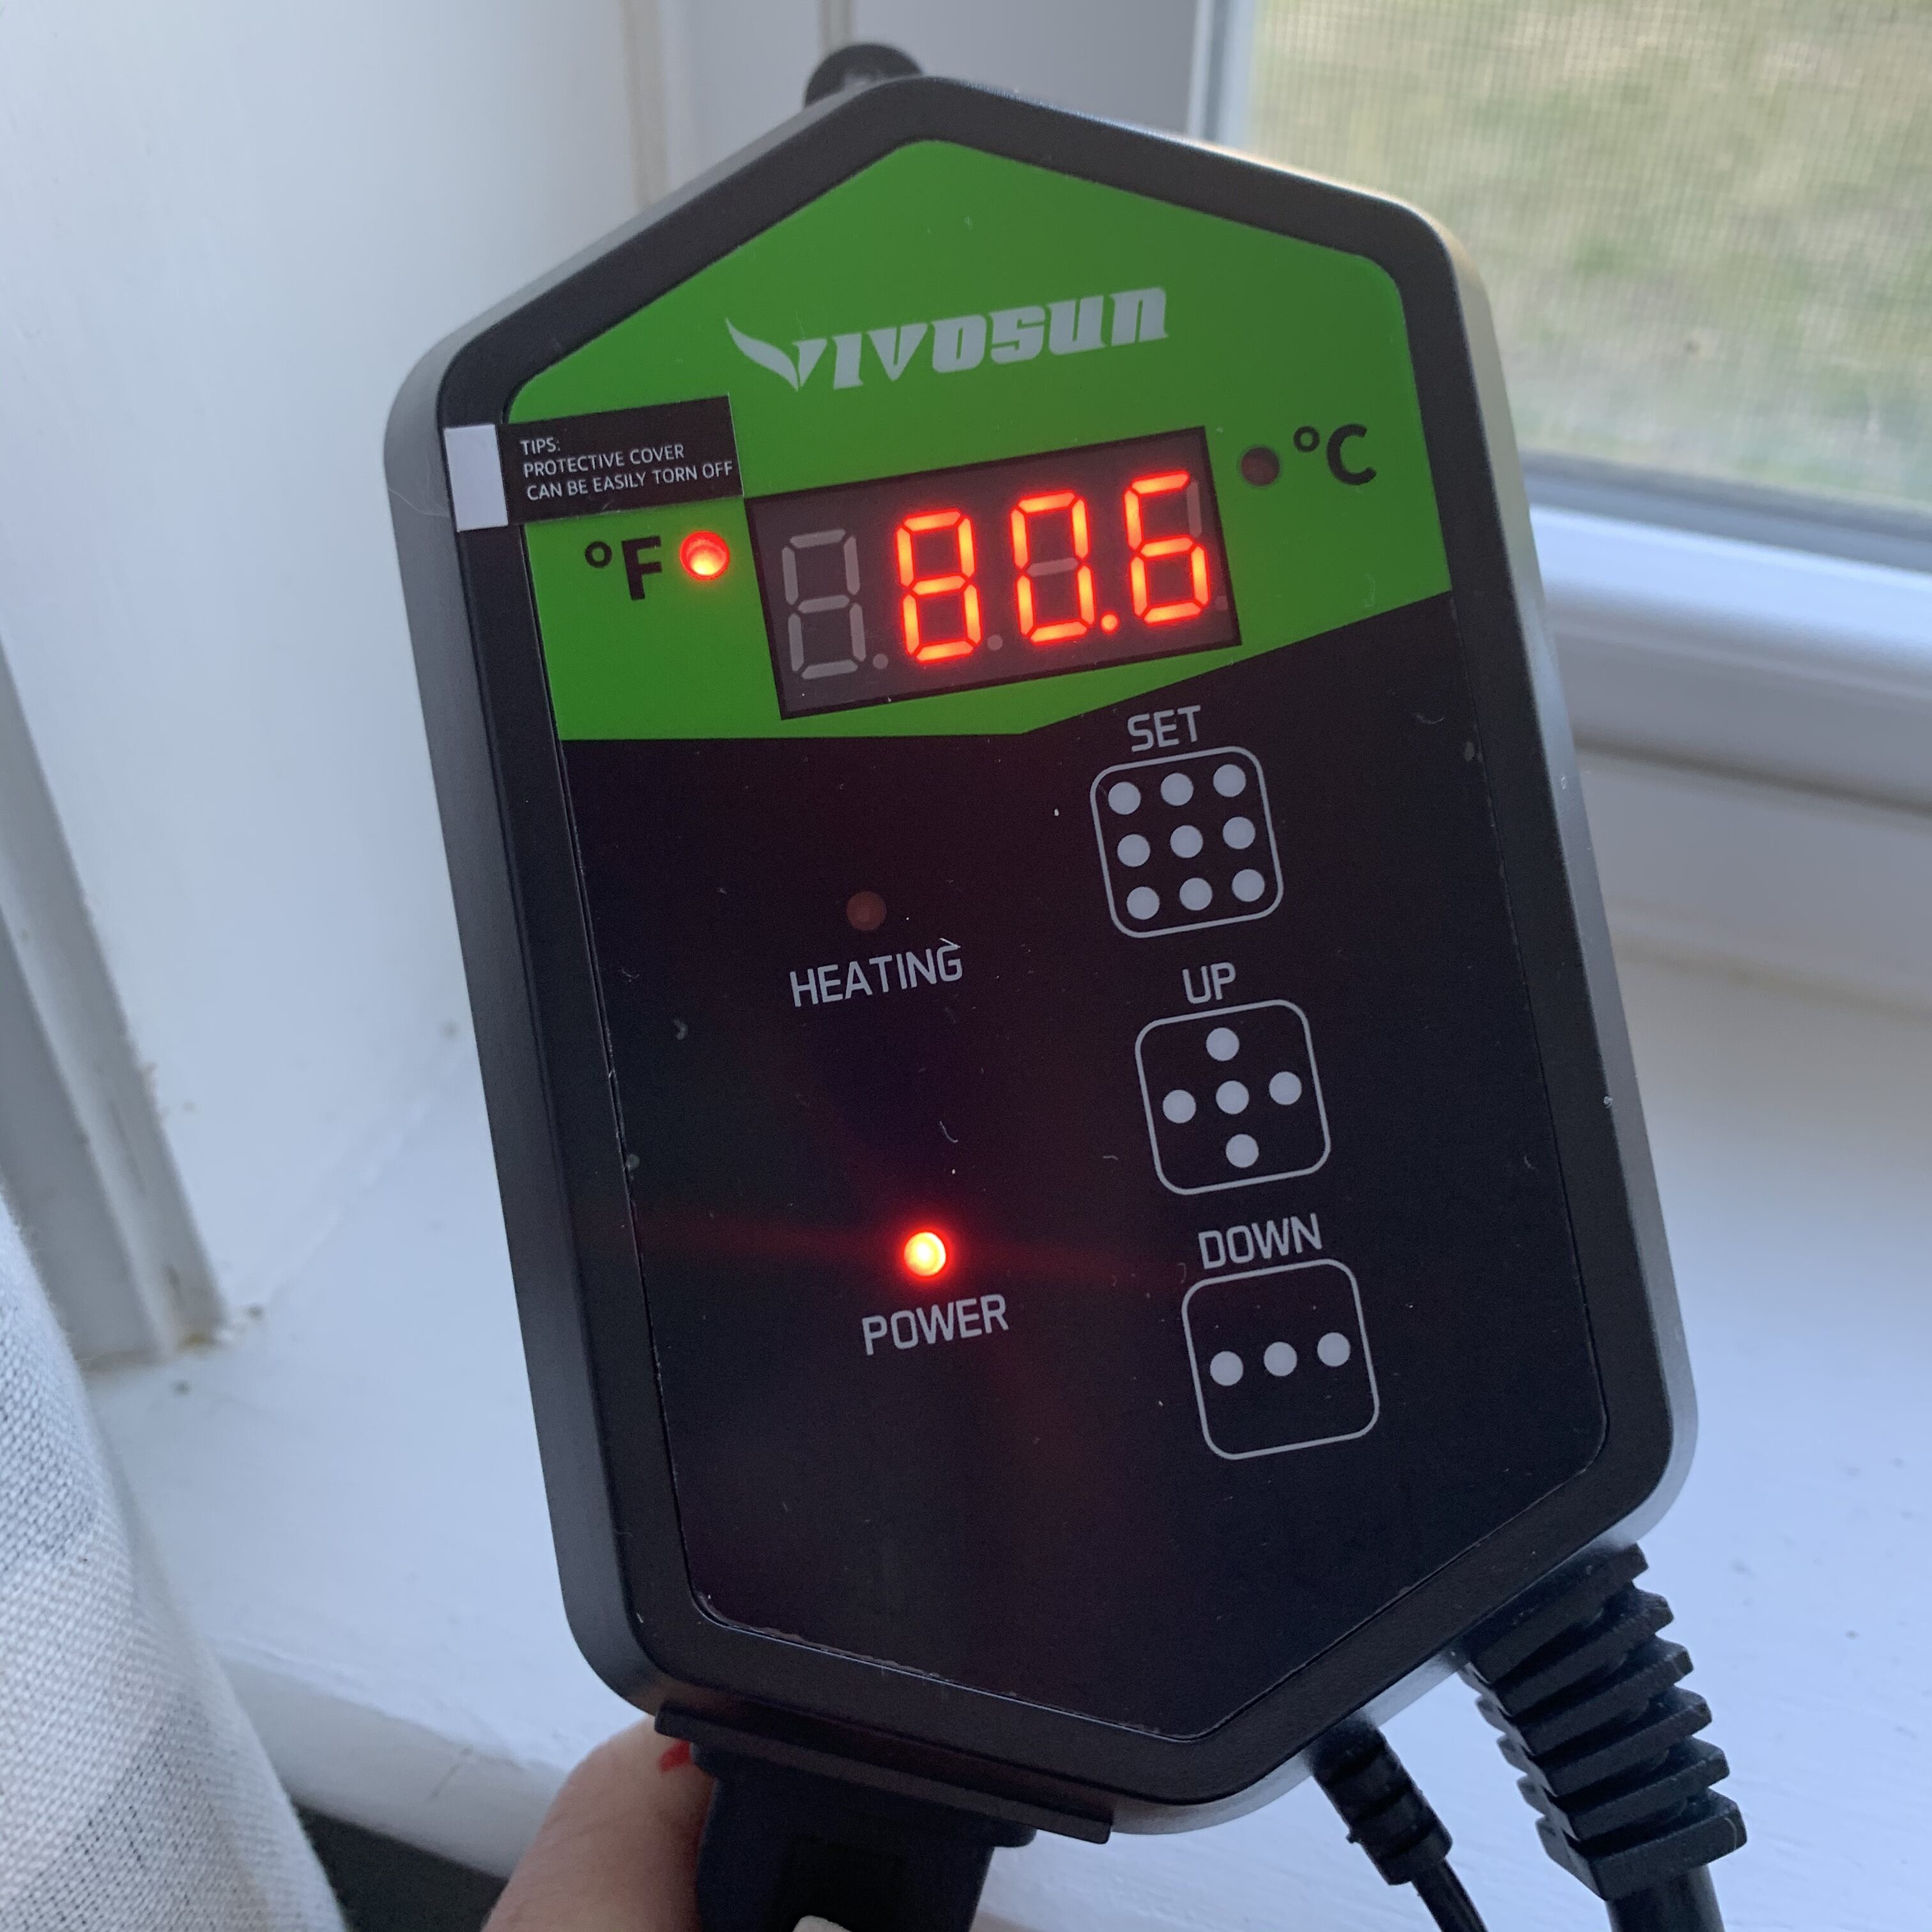
Measure temperature right after planting 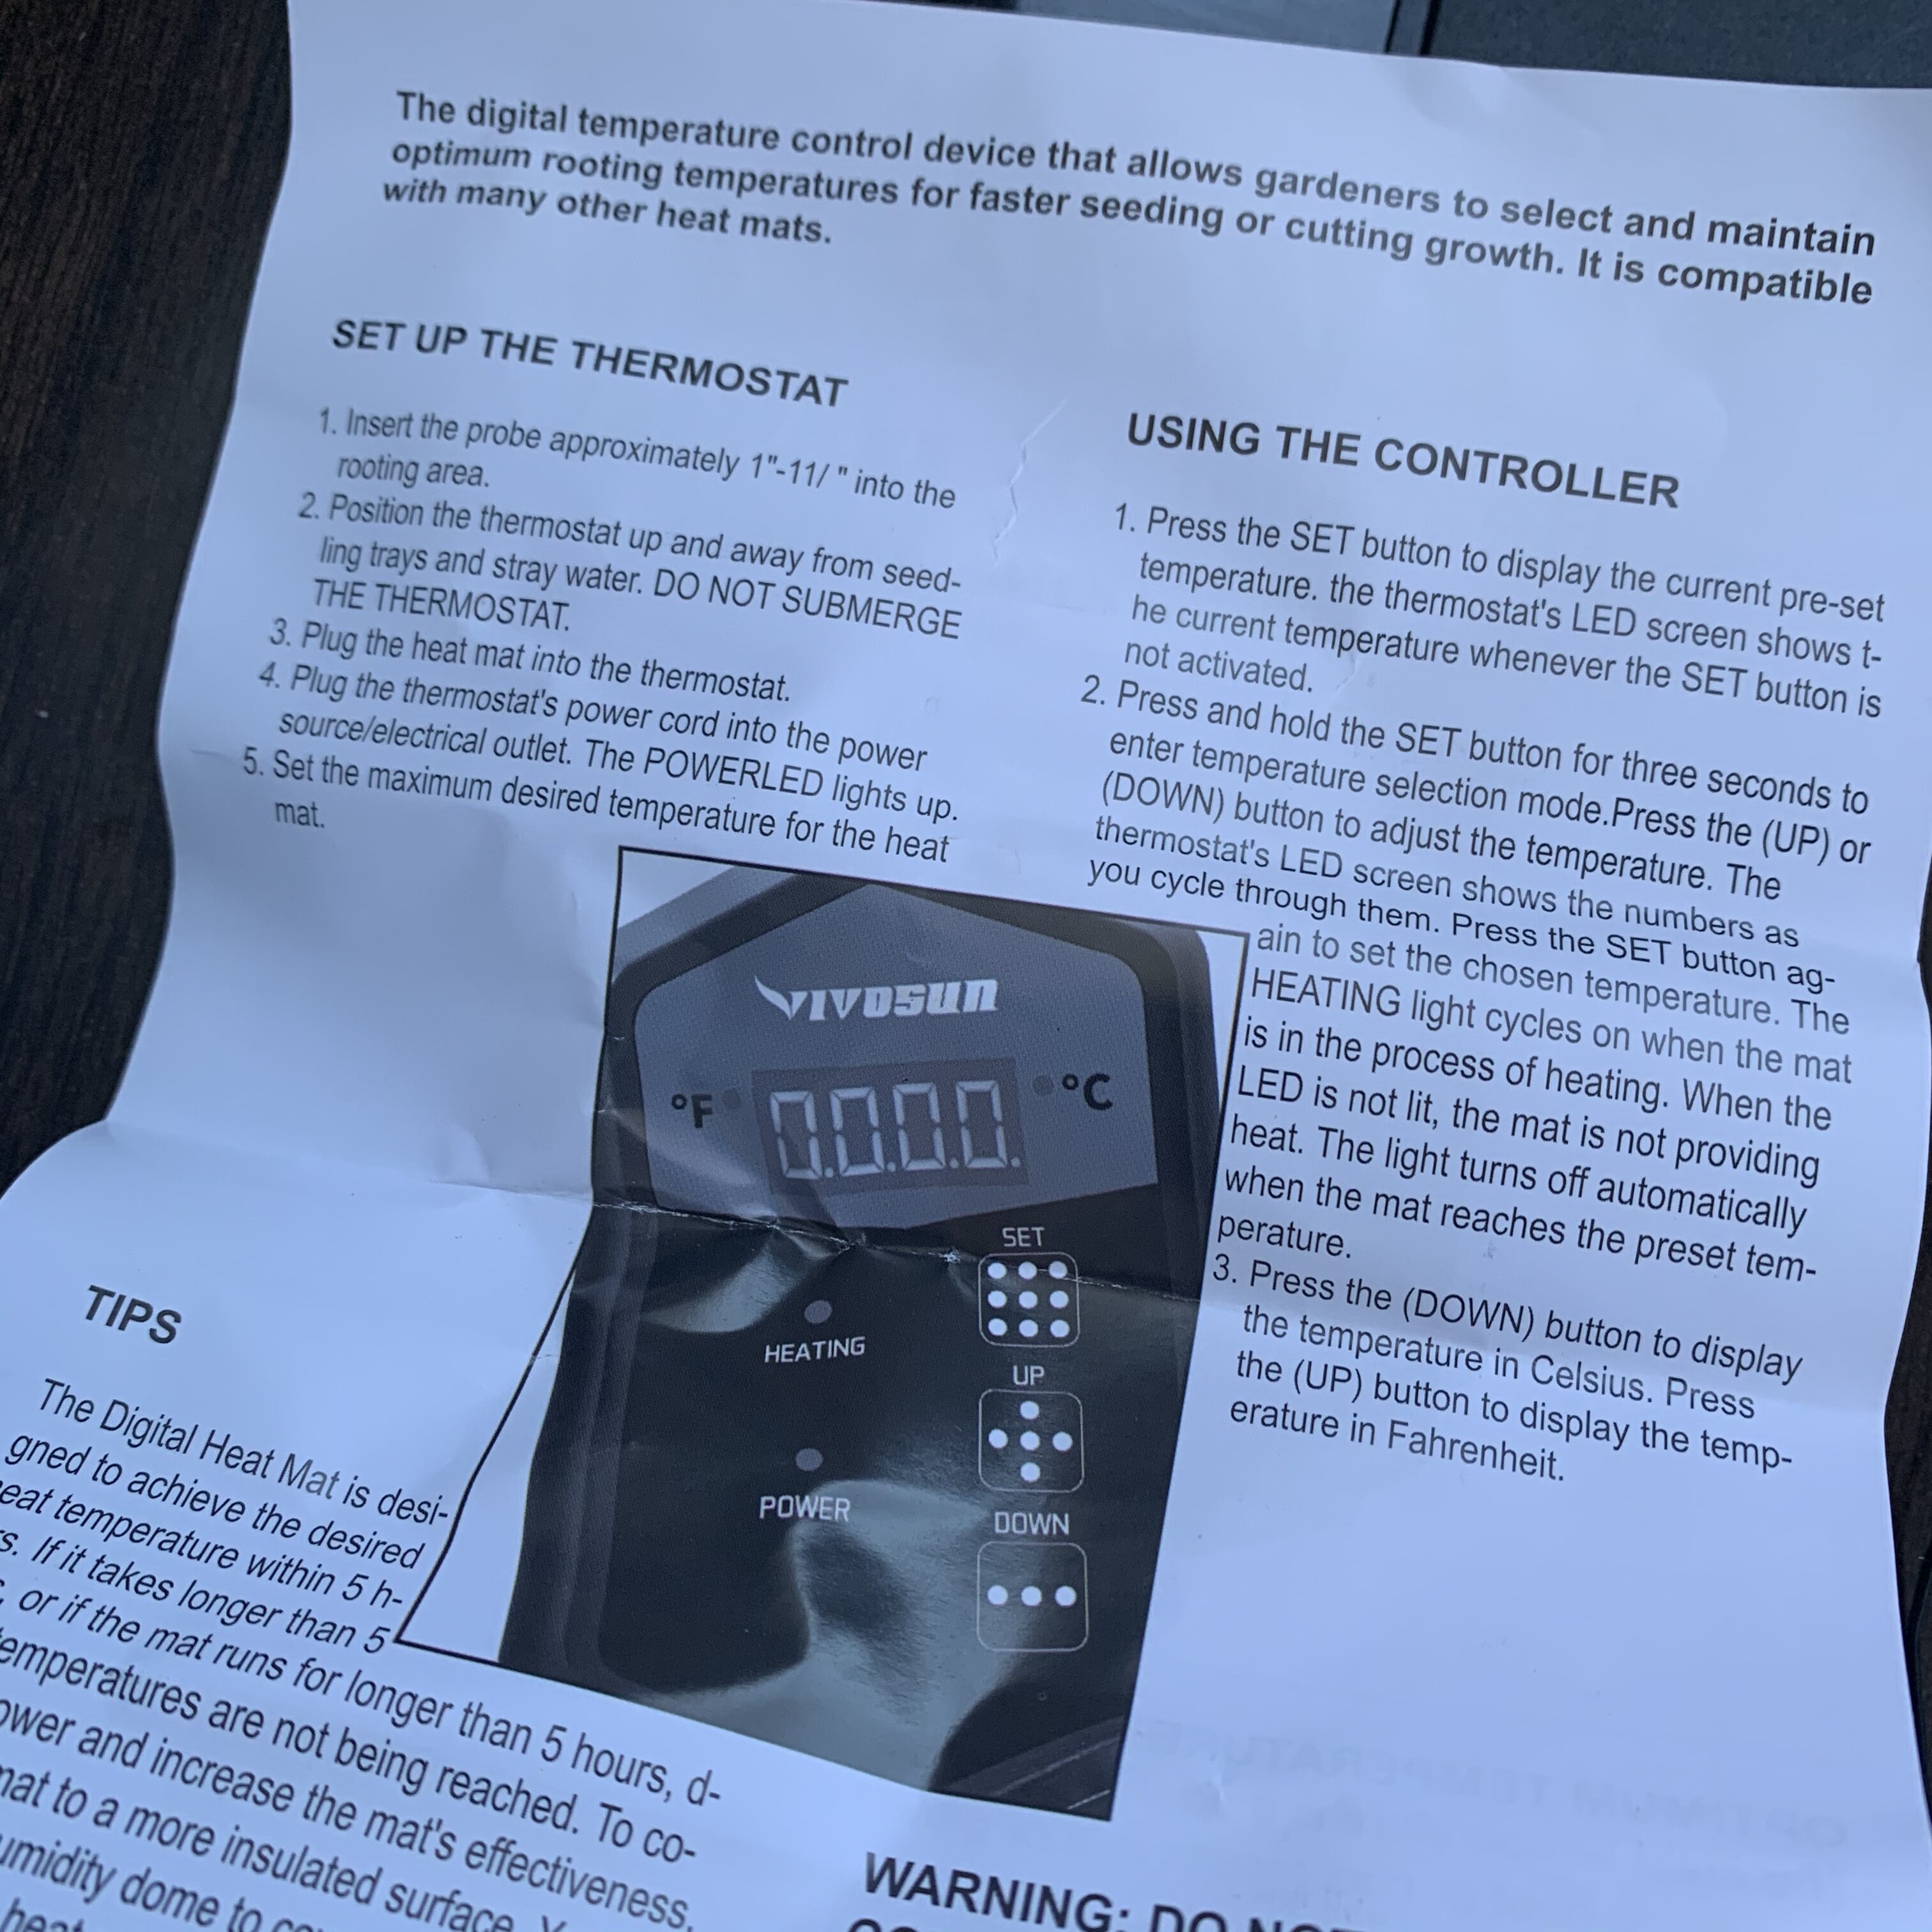
Easy instructions
The seedlings will stay on the warming mat for about a week. In about a month, I’ll pop the cells out and break apart the seedlings in order to transplant them into bigger pots. They’ll live in the bigger pots for about another month before I harden them off for transplanting into the garden. This year I’m growing a lot of seedlings hoping to give several away. For the first time, I am keeping the seedlings upstairs where they can get a little more light and warmth than in my basement. I usually keep a fluorescent light suspended right above the ceilings that I start. I’ll probably do the same this year even though I am keeping the seedlings in a south-ish facing window. This way I can ensure that the seedlings get plenty of light.
It’s really pretty outside today – in fact, it’s going to get up into the 70s. We’ve had an unusually warm spring here in Virginia, and the flowers are out a good bit earlier then as usual. I picked some of my early daffodils today and brought them into the house to put them in vases.
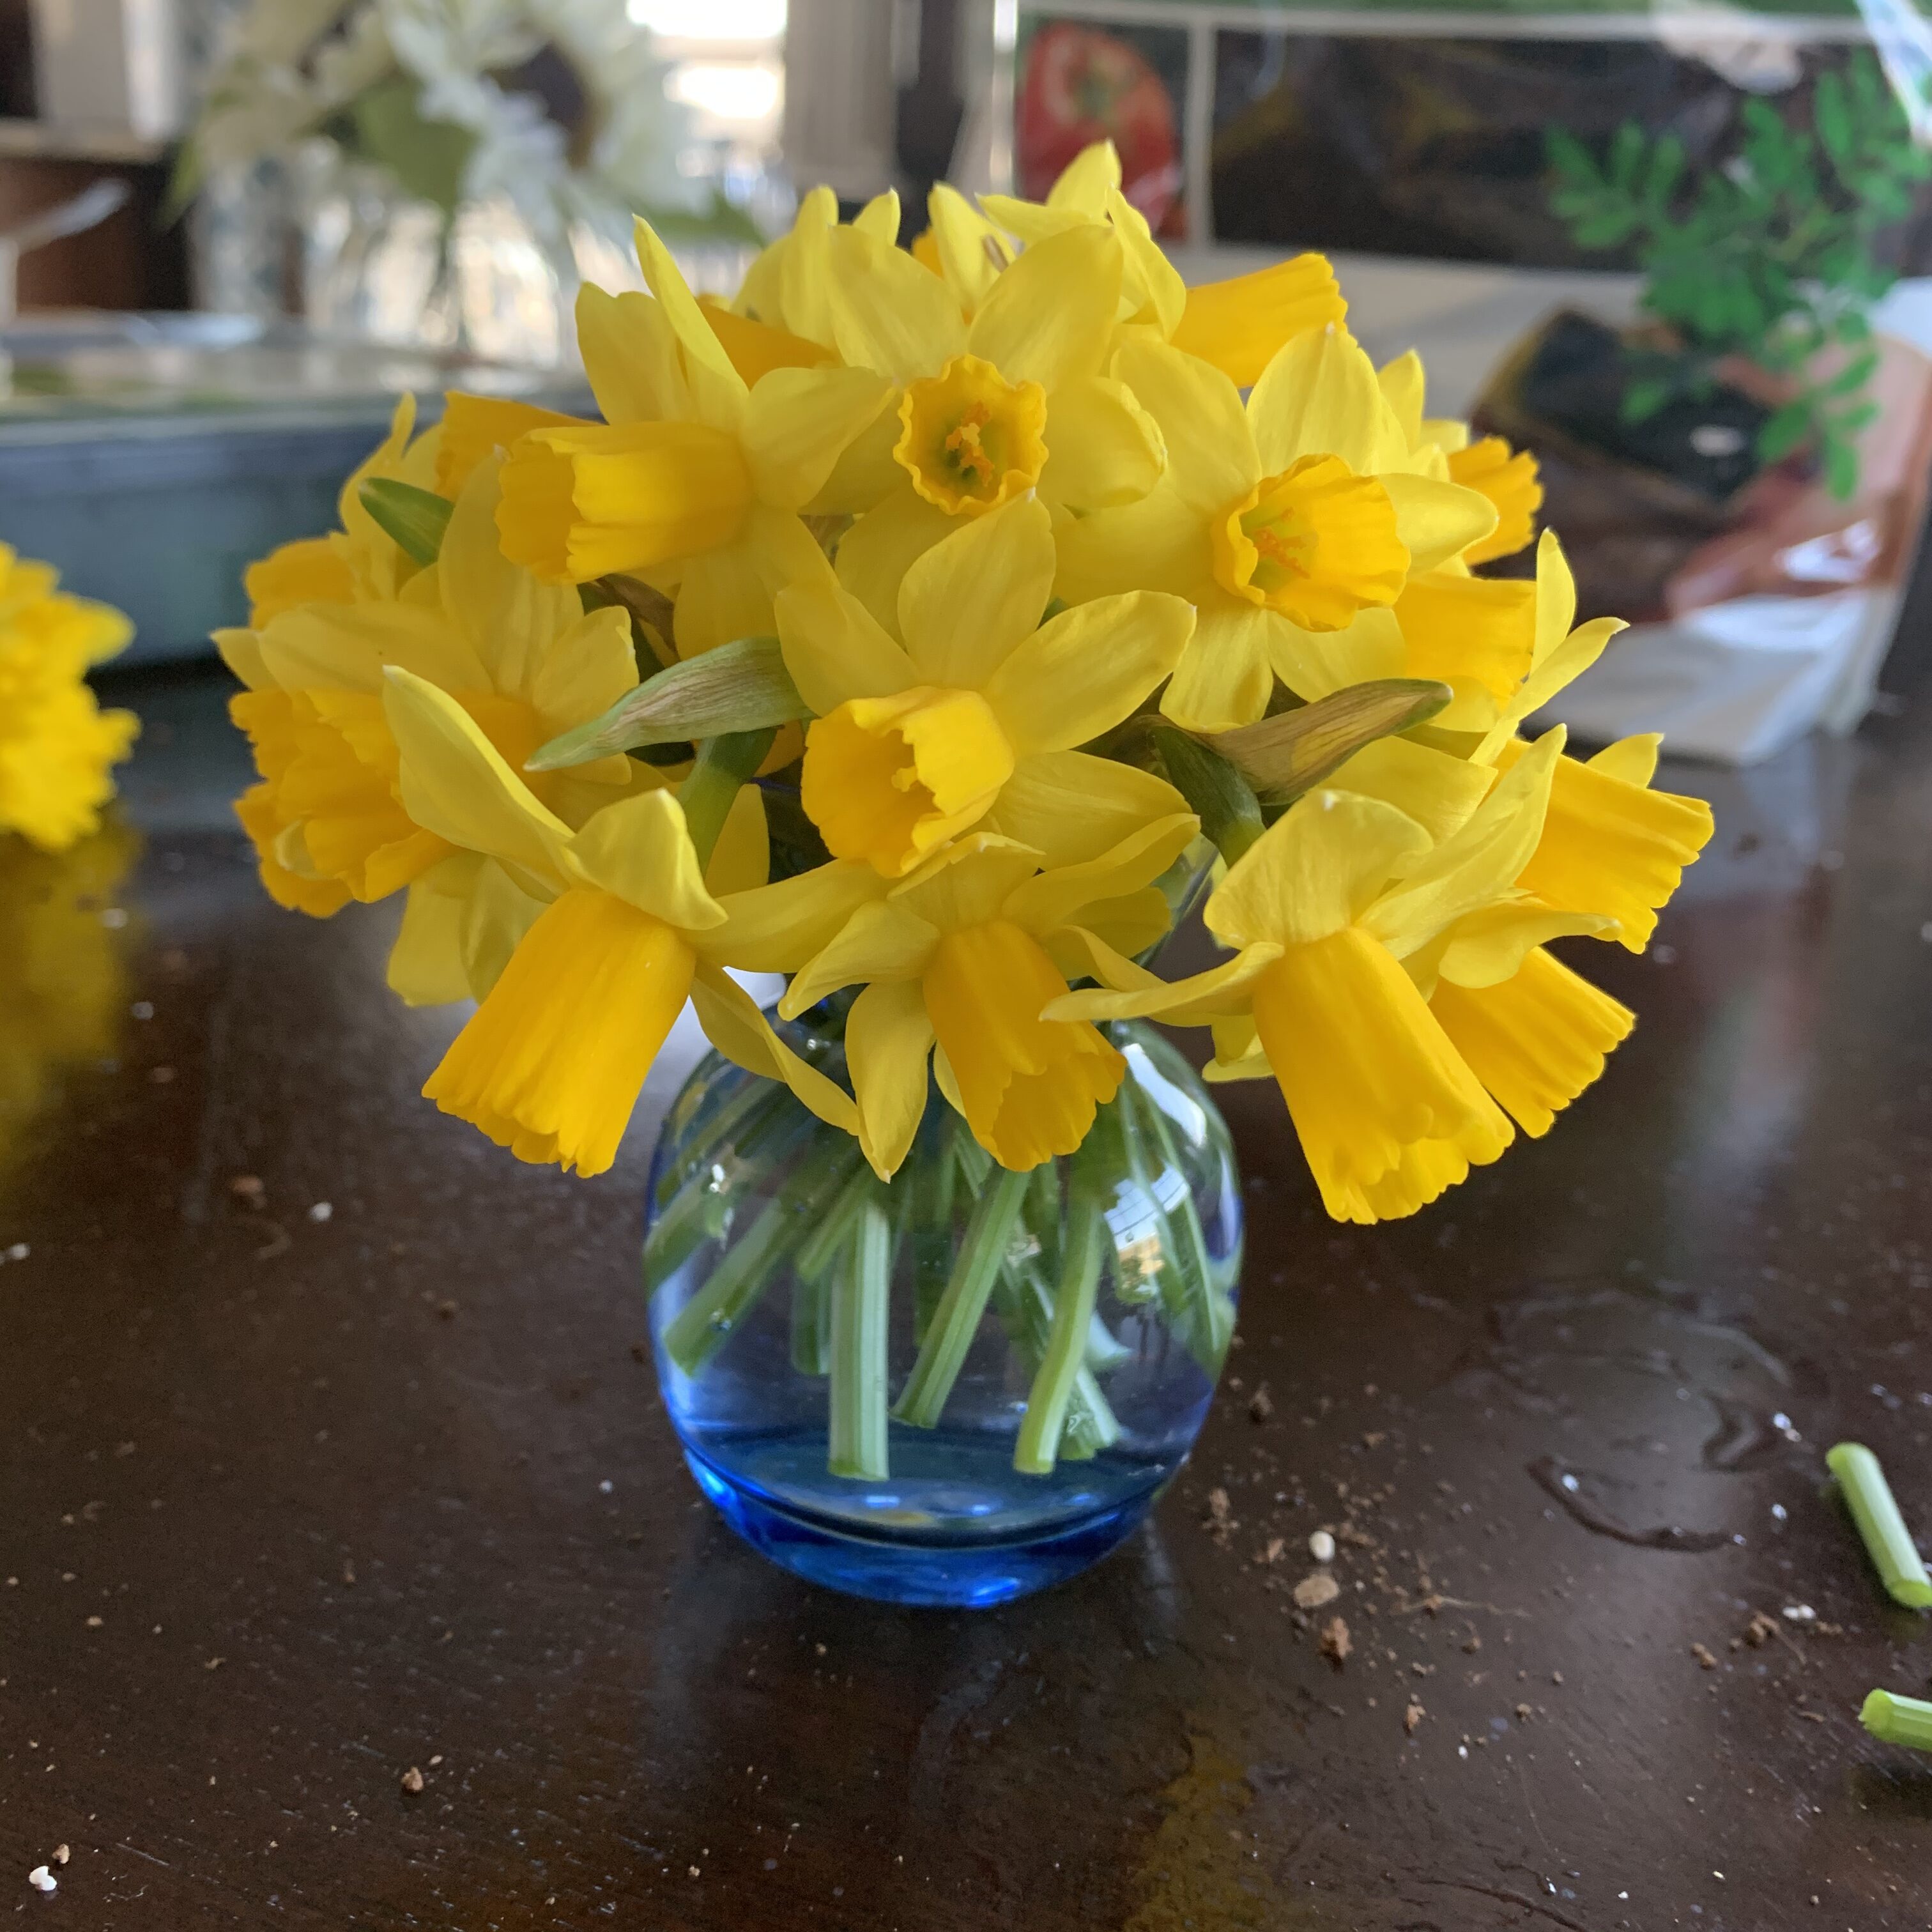
Tete a tete daffodils 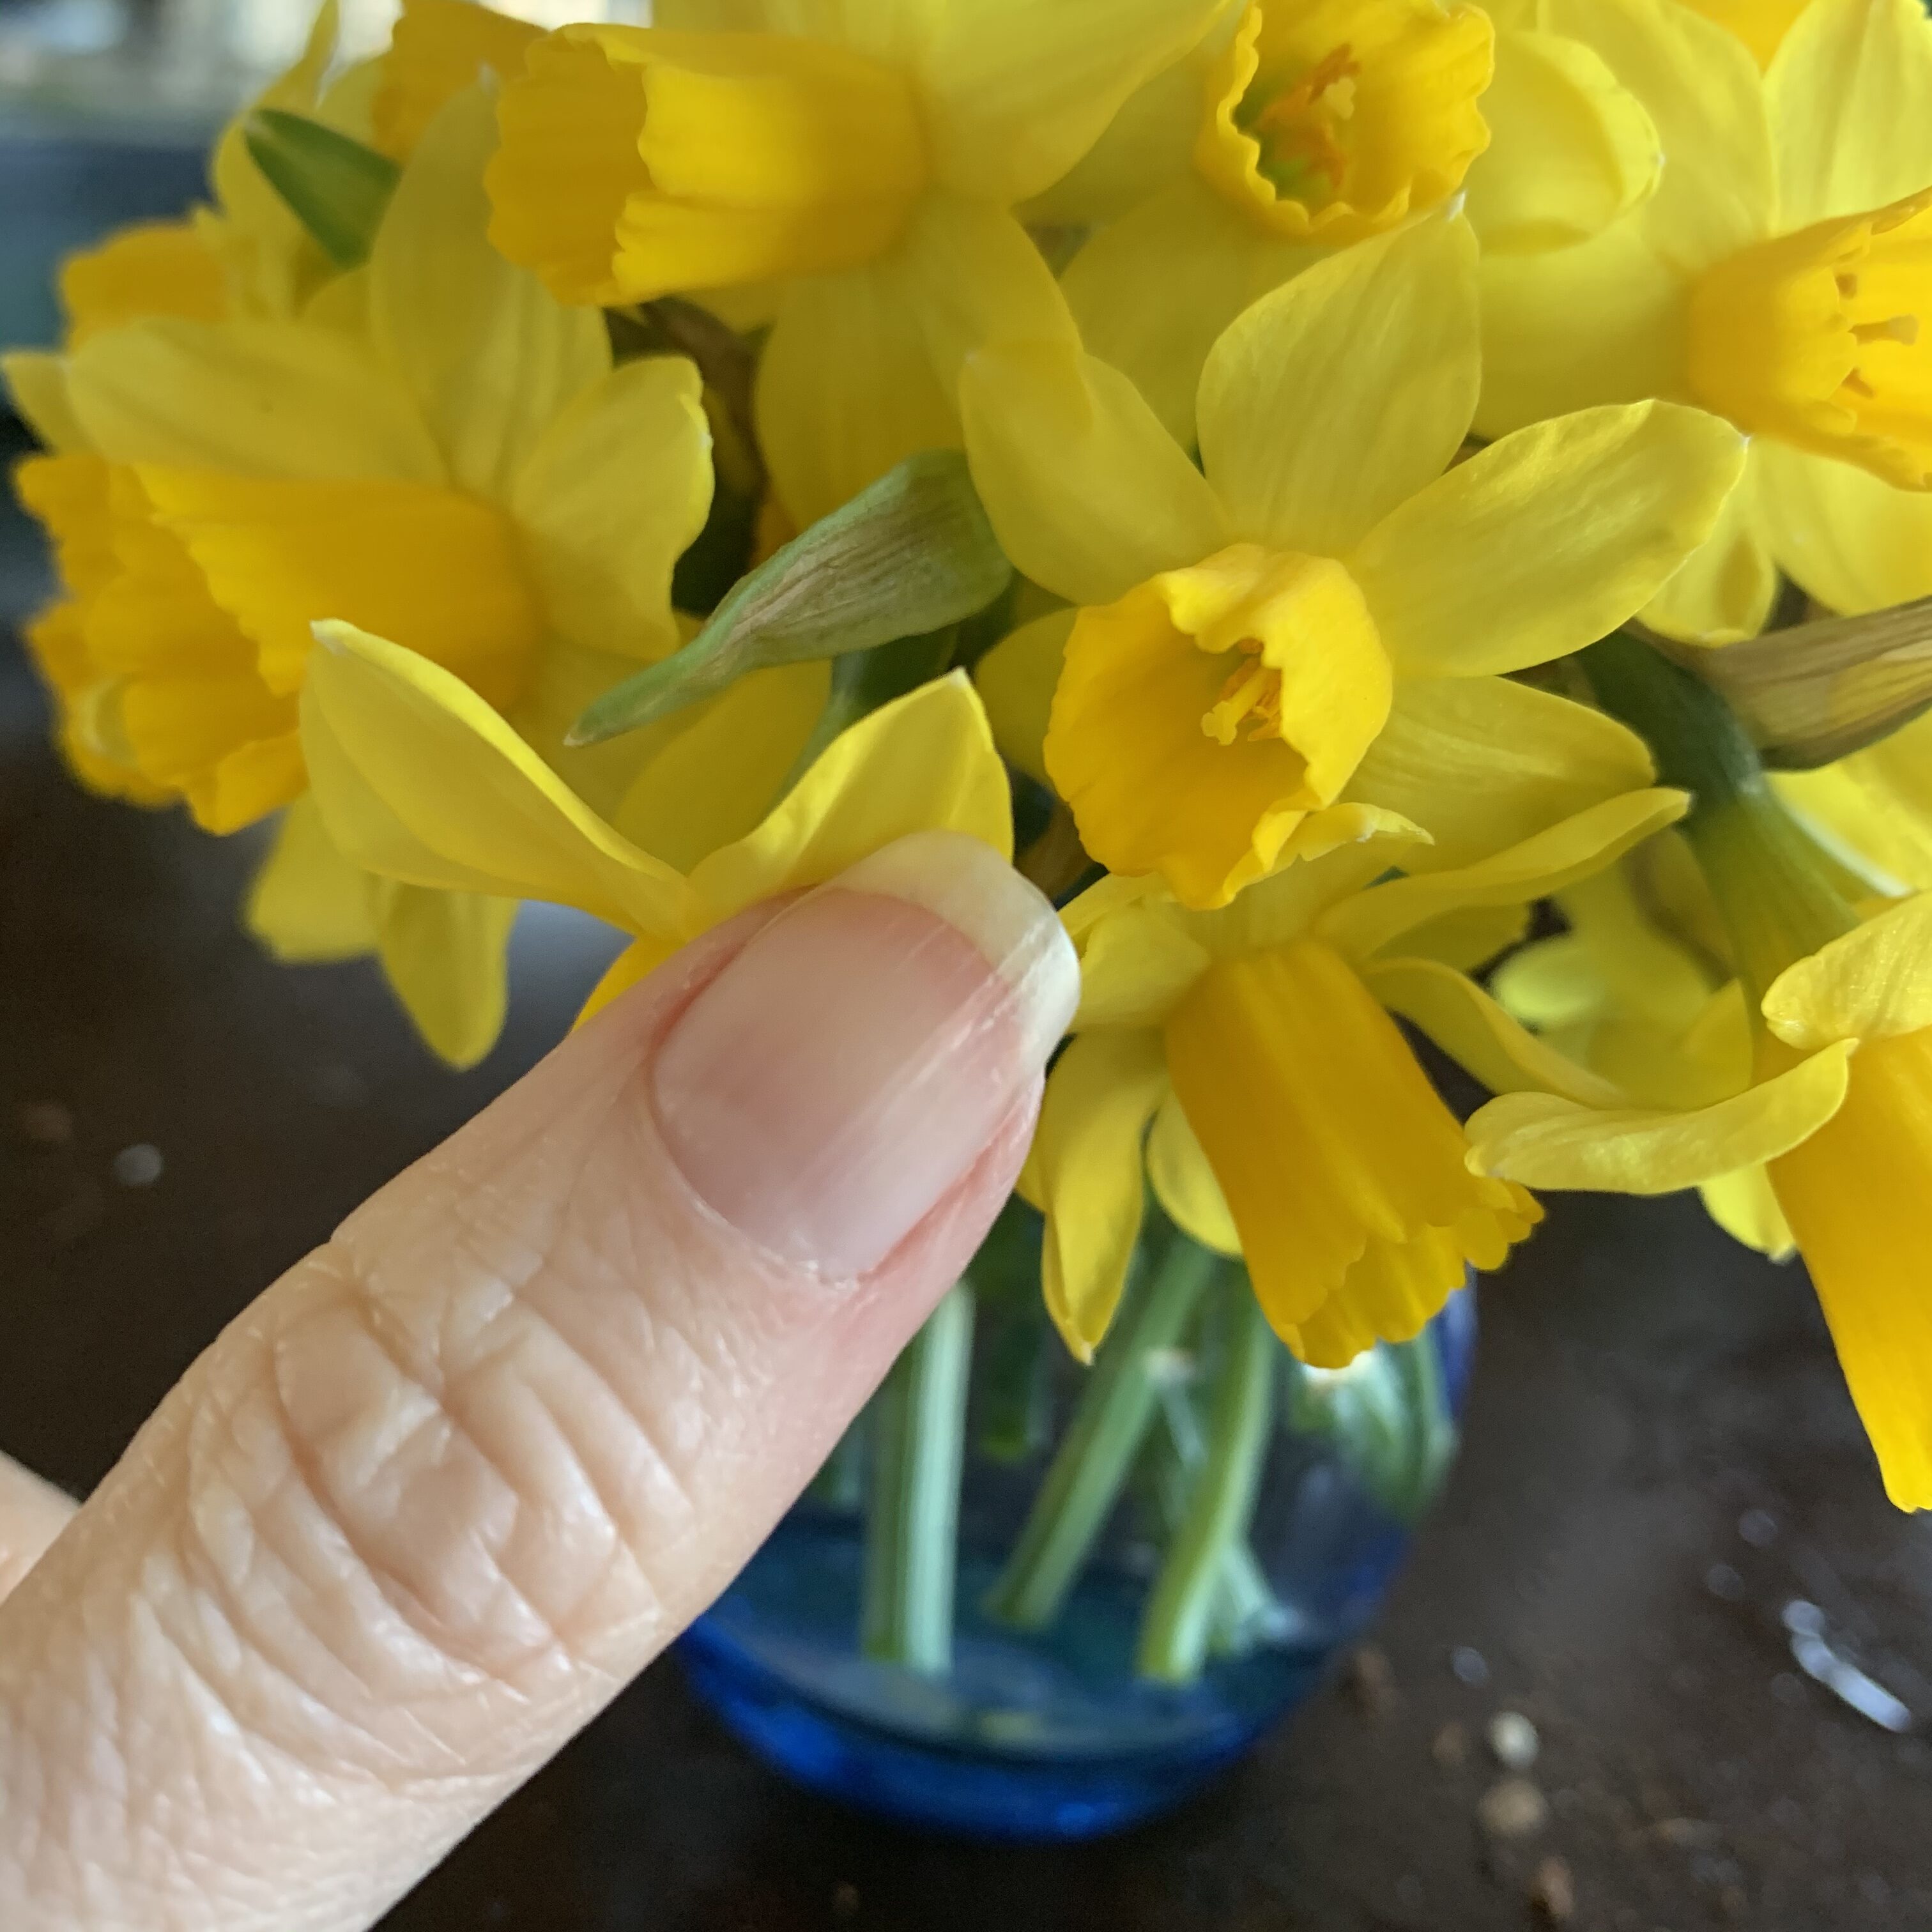
Tete a tete is tiny — here’s my thumbnail for scale 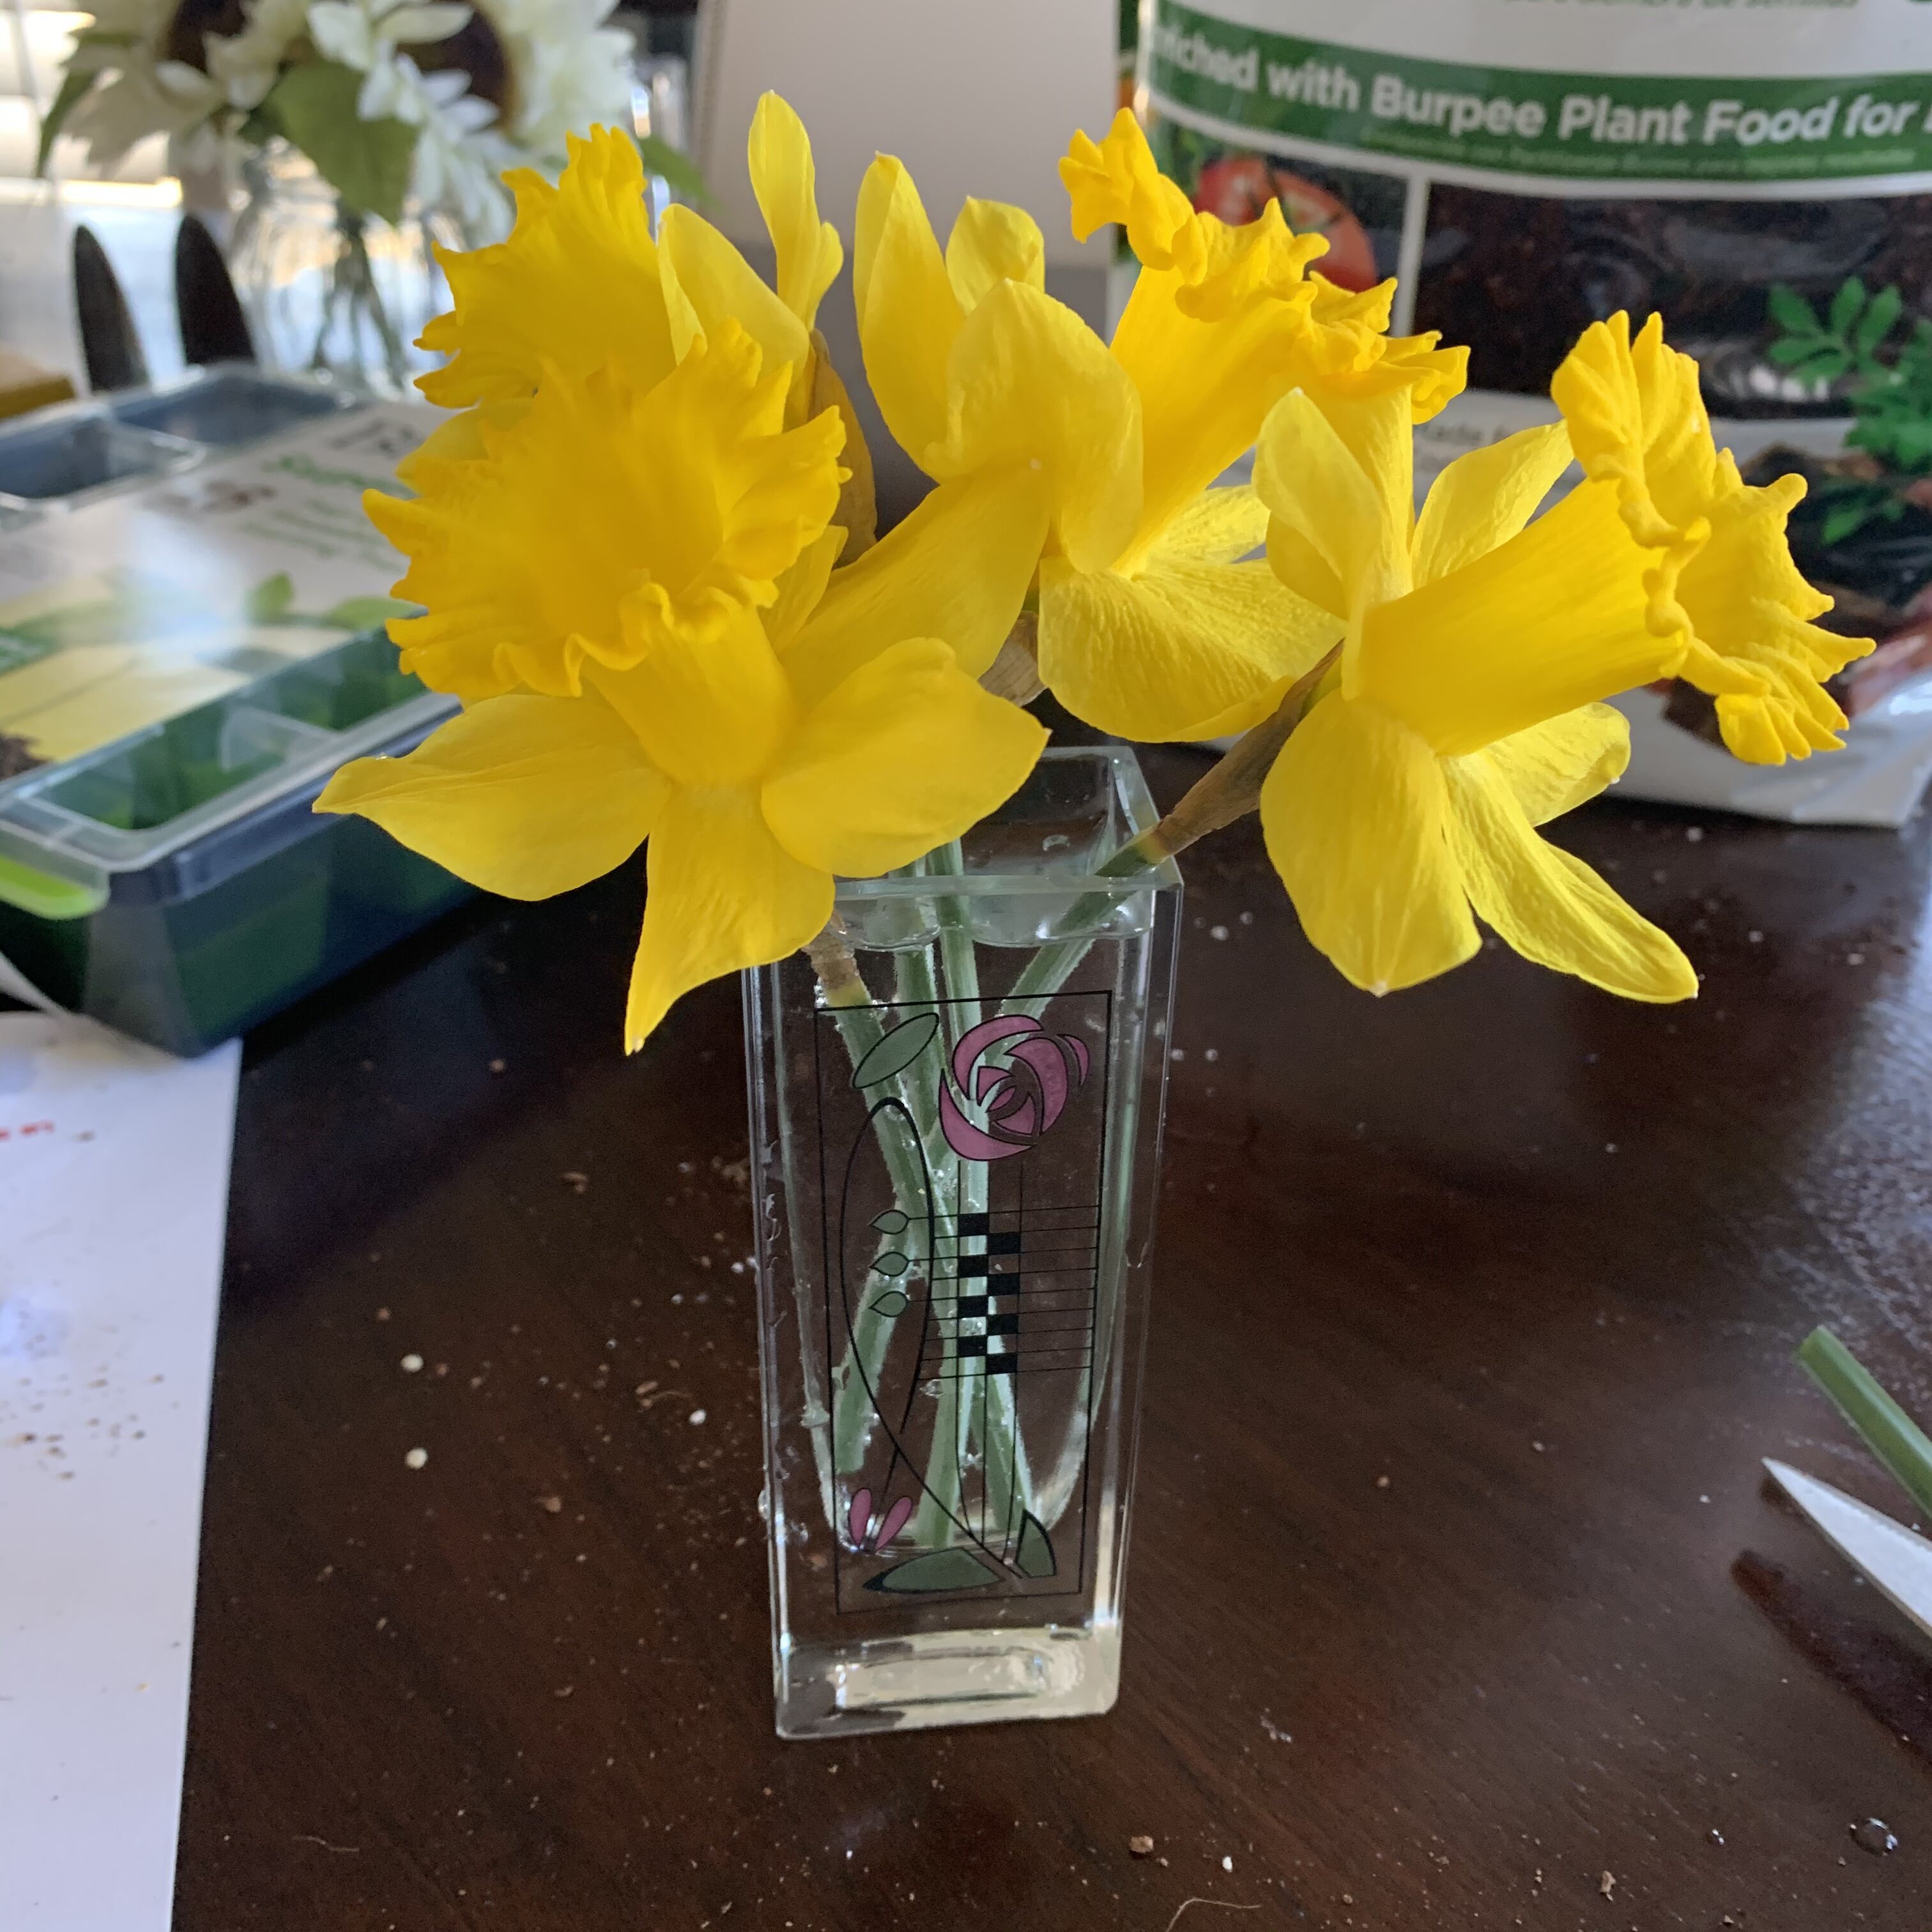
These are a very old variety that has been on our farm for years. They may actually be original King Alfred, because I think they may have been in place for 50+ years. 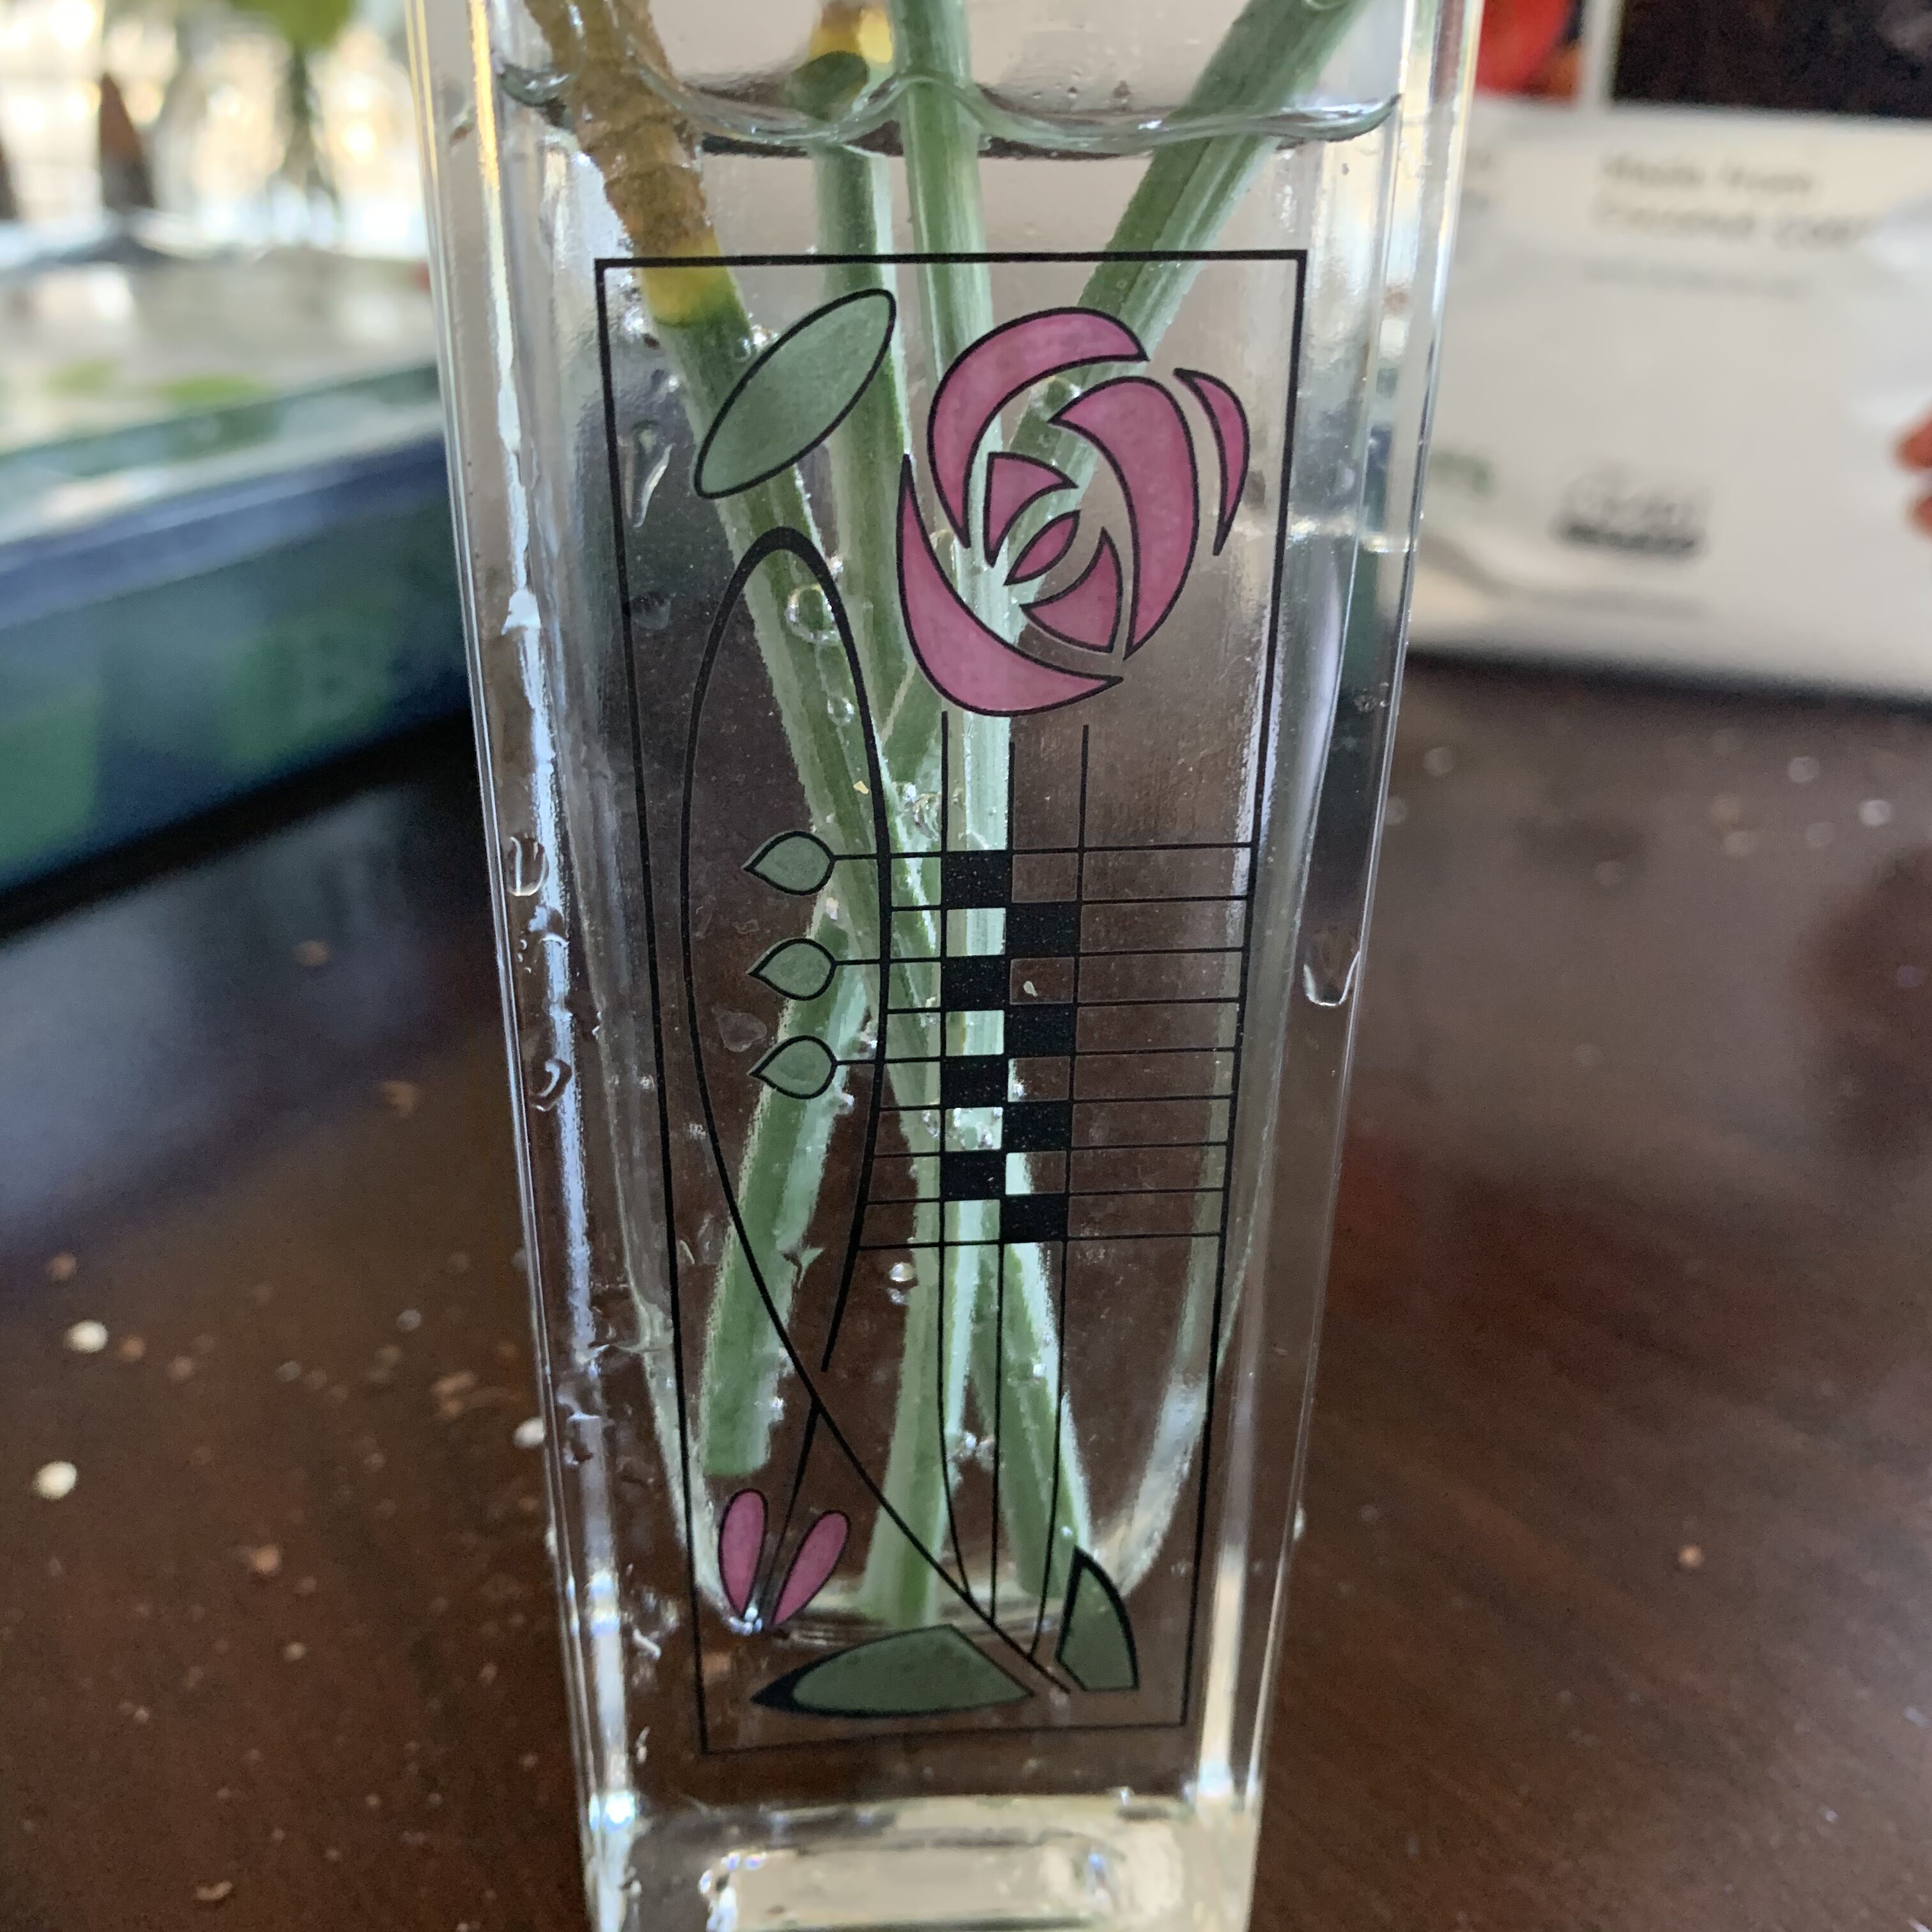
I bought this bud vase in Glasgow, Scotland, at the Charles Rennie McIntosh Museum. Macintosh is my favorite designer. 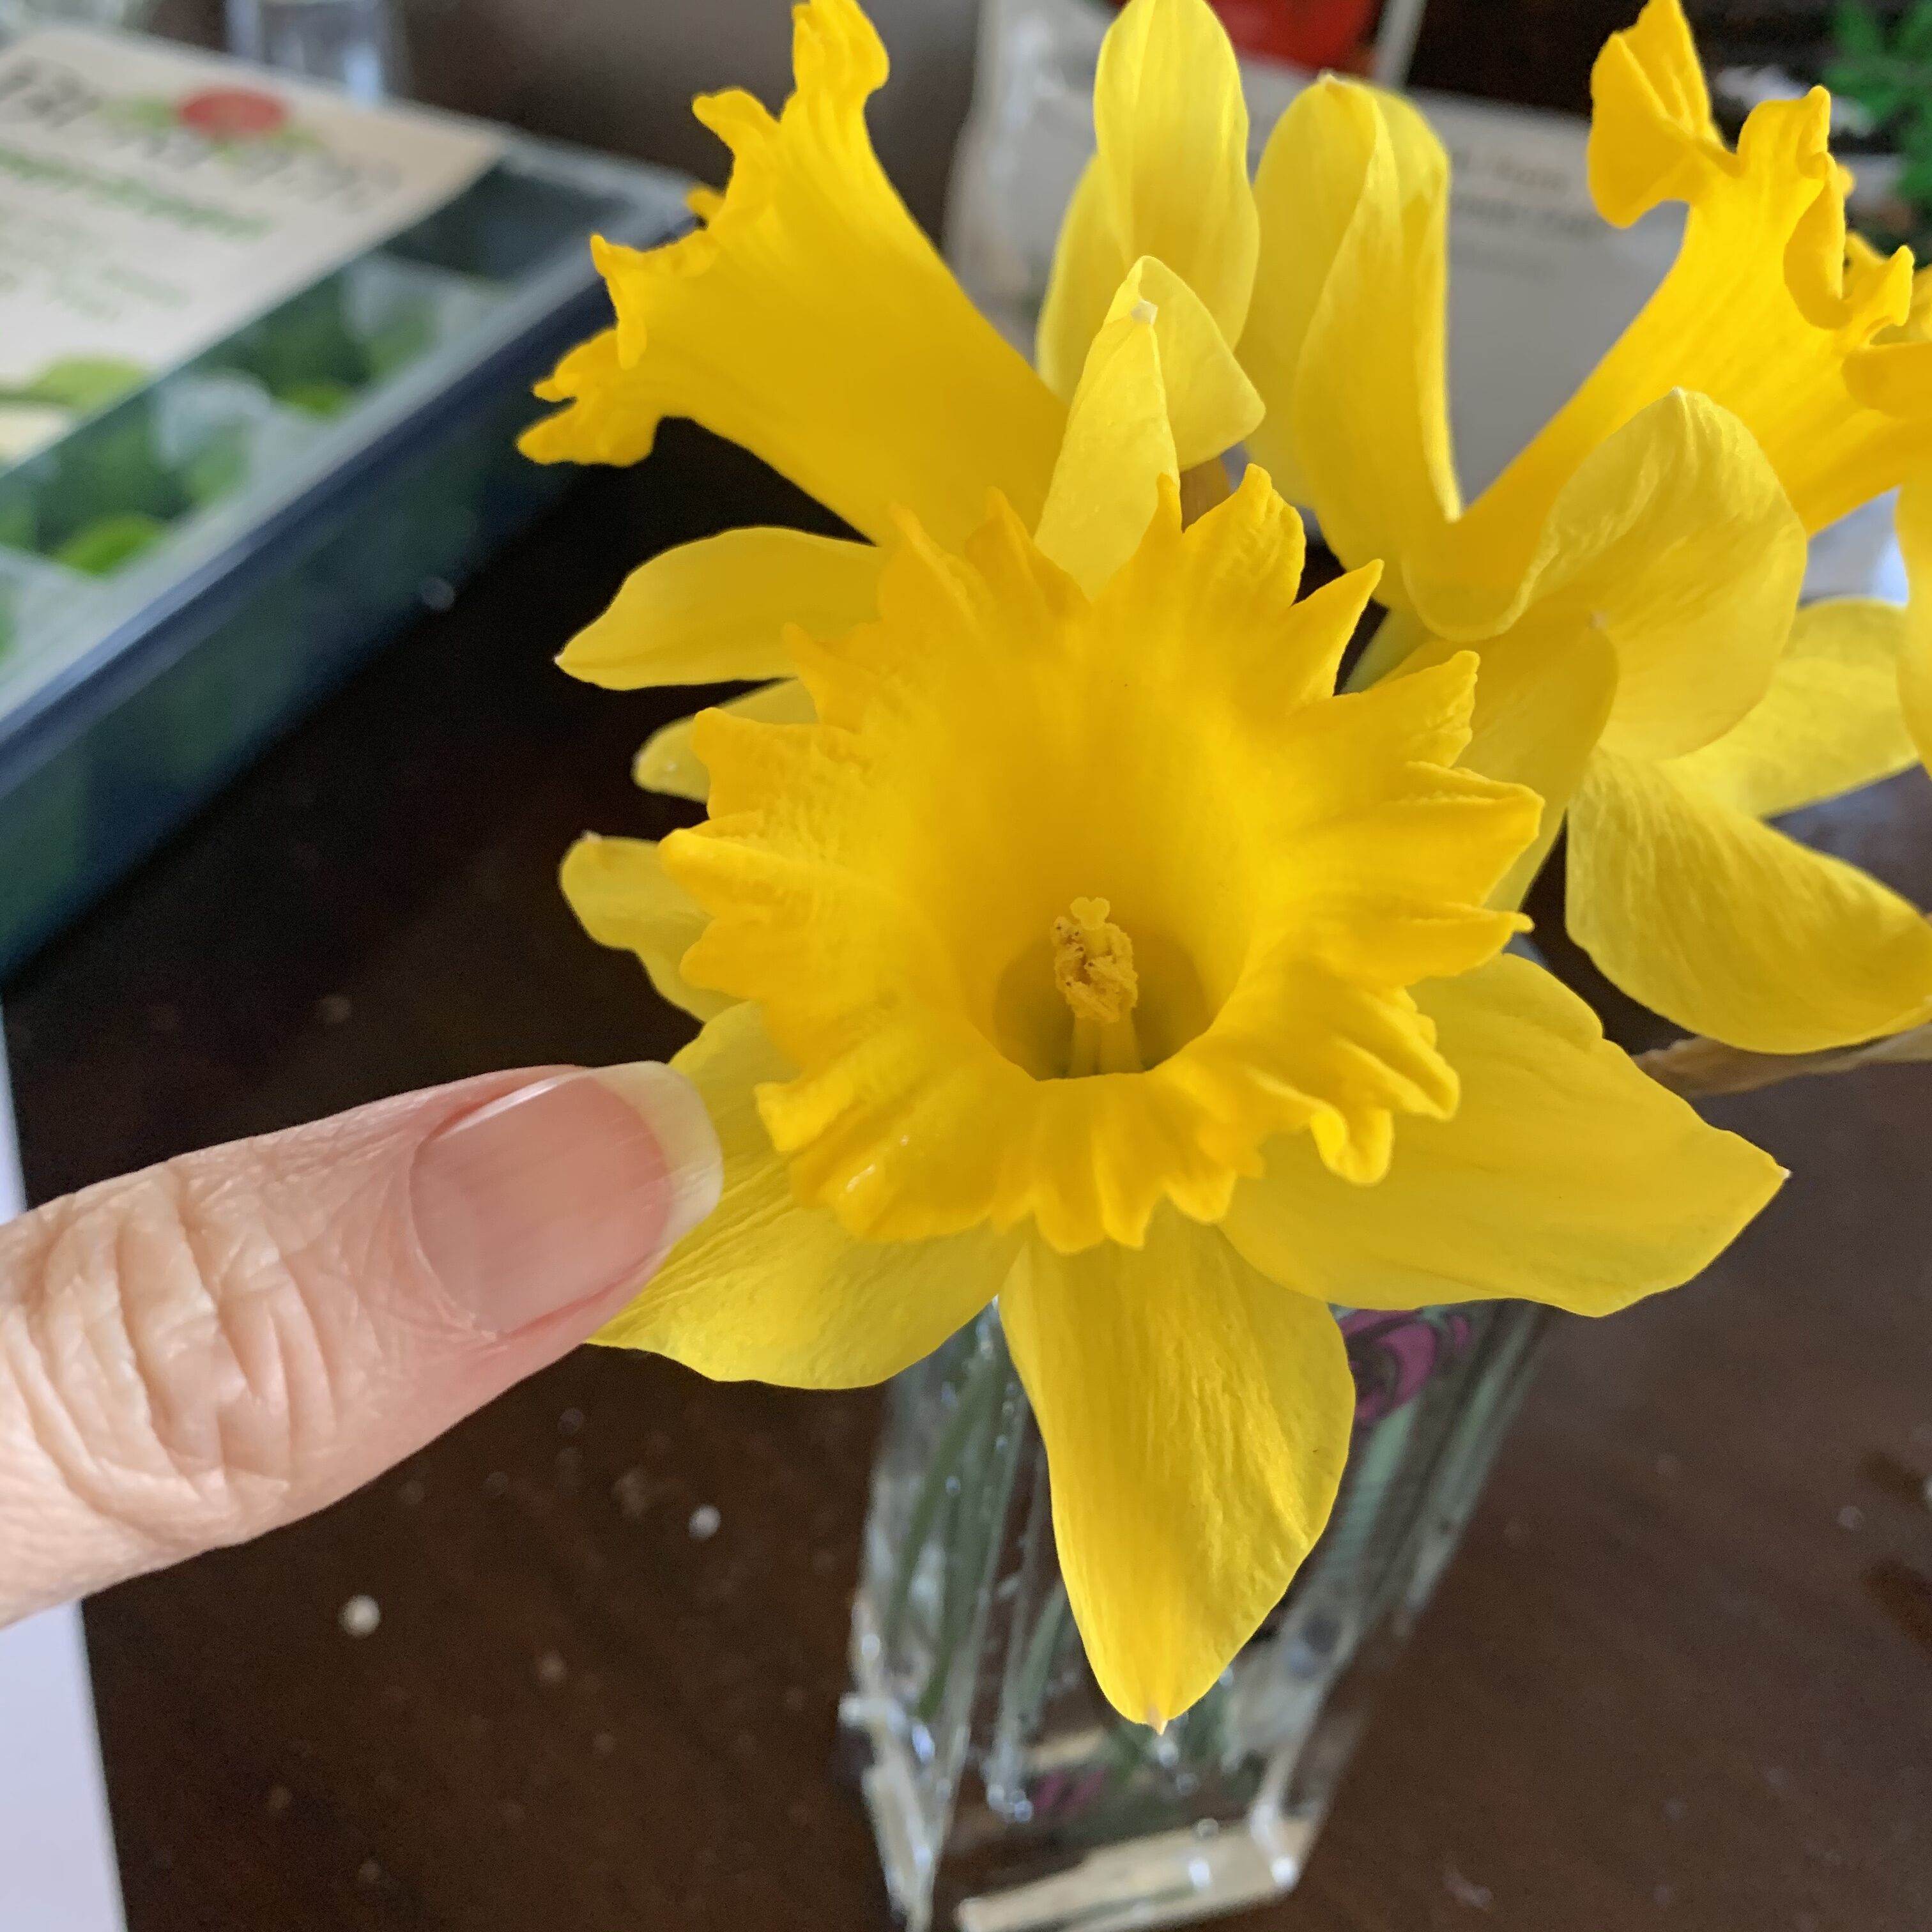
Here’s my thumb with the old variety daffodils for scale

